>>
30-MINUTE MEALS! Get the email series now →


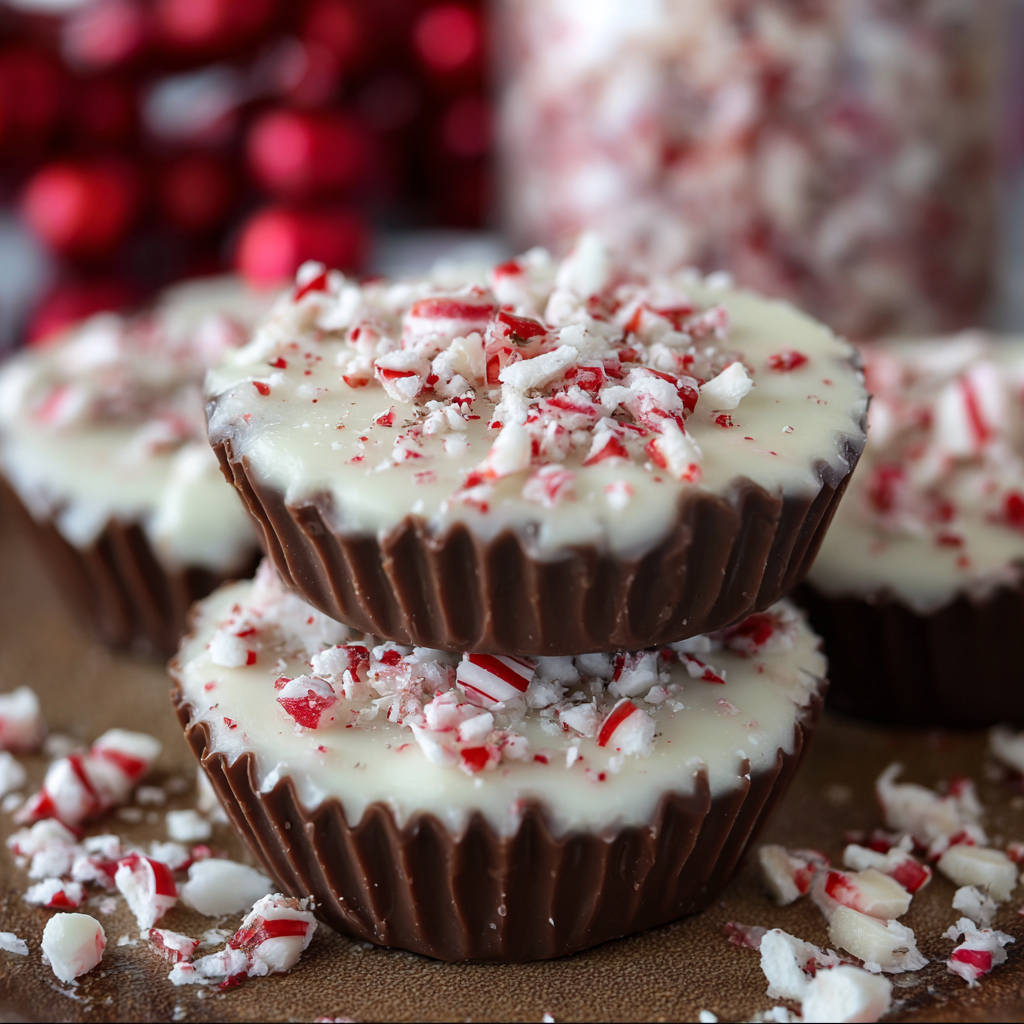
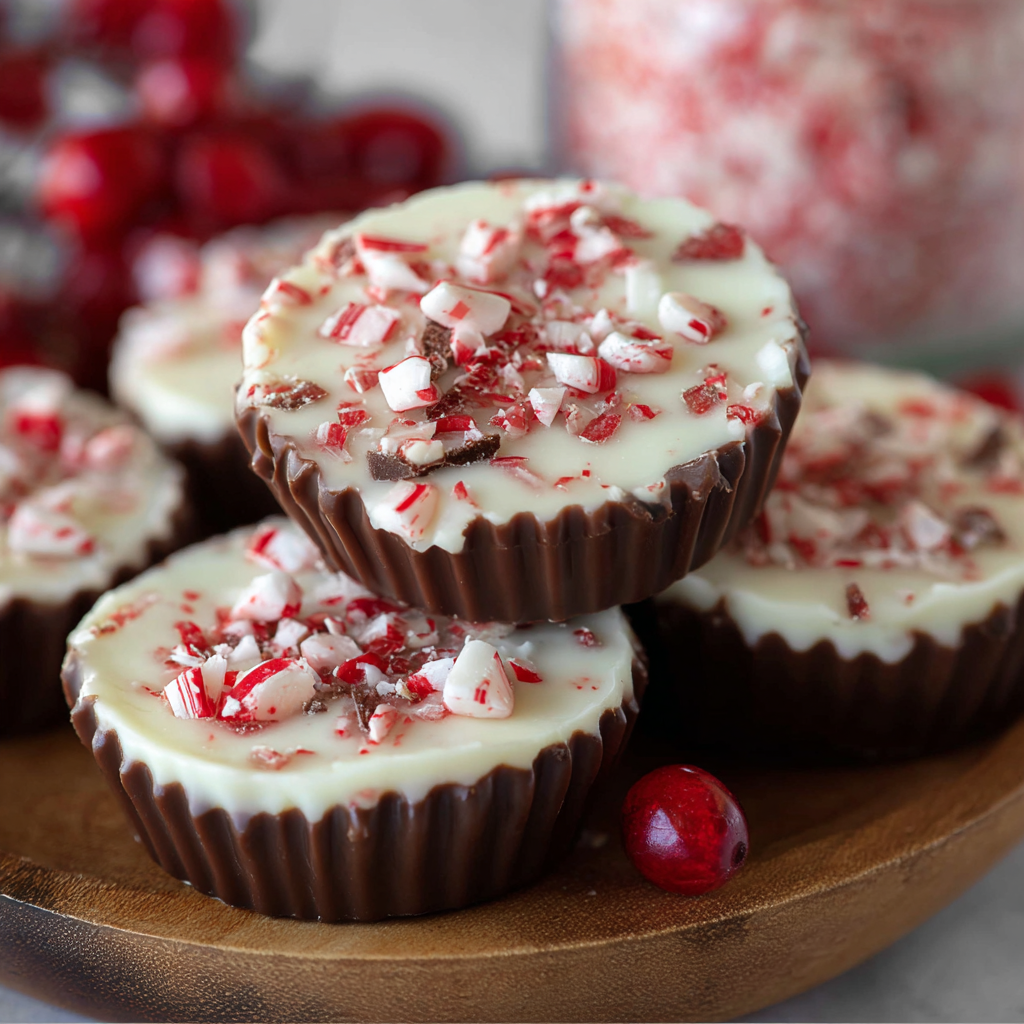
Easy no-bake peppermint bark cups layered with smooth milk chocolate and minty white chocolate, finished with crunchy candy cane bits—perfect for holiday gifting.

This peppermint bark cups recipe is my go-to holiday treat when I want something festive, fast, and crowd-pleasing. I first discovered this layered cup concept during a December cookie swap years ago: someone brought a tray of glossy chocolate cups dotted with crushed candy canes, and they disappeared before I’d finished my second cup. The texture of silky milk chocolate giving way to bright, minty white chocolate with a crunch of peppermint is what keeps me coming back. It’s a simple combination, but the contrast in temperatures and textures — cool peppermint, creamy chocolate, and snappy candy — creates a little moment of joy in every bite.
I love how accessible the ingredients are: good-quality chocolate chips and a jar of crushed candy canes are all you need to stock. The technique is forgiving, so even if you’re making these with kids or a beginner baker, you can expect beautiful results. I usually make a double batch for gatherings because these keep well when wrapped individually and make wonderful edible gifts. Over the years I’ve learned a few tricks—use heat-safe bowls, temper the chocolate lightly by not overheating, and press the chocolate thinly against the liners so the cups are crisp enough to hold the filling but still melt pleasantly in your mouth.
In my family these cups have become a holiday ritual. The first time I made them for a neighbors’ potluck everyone asked for the recipe, and I framed the printed version in my recipe binder. They’re that approachable and satisfying—always one of the first treats to go.
My favorite part is watching the reactions when people bite into these for the first time—their faces brighten at the clean mint snap against creamy chocolate. At holiday parties I’ve watched these cups become the unofficial welcome gift, often snapped up first before heavier desserts are tried.
Store the finished cups in an airtight container layered with parchment or wax paper to avoid sticking. At room temperature they’ll remain firm for about 7–10 days if kept away from sunlight and heat; refrigerate to extend life to two weeks. For long-term storage, freeze in a single layer for a couple of hours, then transfer to a freezer-safe container with parchment between layers—consume within three months for best texture. Thaw in the refrigerator before serving to prevent condensation on the chocolate surface.
Swap milk chocolate for semi-sweet chocolate for less overall sweetness, but be mindful the peppermint will taste slightly sharper. Use dark chocolate for a more sophisticated contrast with the sweet white layer; add a pinch of salt to the dark chocolate to enhance flavor. For a dairy-free version, choose vegan milk and white chocolate chips and verify the candy cane bits are free of dairy or additives. If you don’t have candy cane crunch, substitute crushed peppermint candies or peppermint baking chips in equal measure.
Serve these as part of a dessert platter with ginger cookies and spiced nuts for a festive spread. For gifting, wrap two or three cups in clear cellophane tied with ribbon or nestle them in decorative tins with tissue paper. They pair beautifully with a cup of hot cocoa, coffee, or an herbal tea—contrast the minty sweetness with a bright citrusy tea to cleanse the palate between bites.
Peppermint and chocolate have long been a holiday pairing in Western confectionery; crushed peppermint on chocolate traces back to the 19th century when candy canes became popular. Modern layered chocolate cups are an American adaptation of classic peppermint bark, taking the concept of marbled, crushed peppermint on chocolate and turning it into individual, giftable portions. This evolution makes them ideal for leftover candy-cane use and holiday baking swaps.
In winter, adorn cups with edible glitter or drizzle with tempered dark chocolate for contrast. For Valentine’s Day swap the peppermint for raspberry extract and replace candy cane with freeze-dried raspberry pieces. During summer, reduce peppermint and add a hint of orange zest to the white chocolate for a fresher profile. The technique remains the same allowing seasonal flavor swaps without changing the process.
Make these in batches and store in separate airtight containers for quick desserts or hostess gifts. Assemble the chocolate bases a day ahead and chill; add the white chocolate layer and candy on the day you plan to serve for the freshest look. Use disposable muffin pans if you’re bringing them to events—liners and pre-portioned cups make transport easy. Label containers with the preparation date if you’re freezing them for later use.
These peppermint bark cups are a tiny holiday ritual I cherish—easy to make, beautiful to give, and reliably delicious. Whether you’re assembling them with family, gifting them to neighbors, or tucking a few into lunchboxes, they offer a bright, minty moment that feels special without taking over the whole day. Try them once and they’ll likely become a holiday staple in your rotation.
Microwave chocolate in short bursts (about 30 seconds), stirring between each interval to avoid scorching.
Chill cups for 10–15 minutes to speed setting but avoid leaving them in the fridge too long which can dull the shine.
Taste the white chocolate mixture before dividing—add peppermint extract sparingly as it’s easy to over-flavor.
This nourishing peppermint bark cups recipe is sure to be a staple in your kitchen. Enjoy every moist, high protein slice — it is perfect for breakfast or as a wholesome snack any time.
This Peppermint Bark Cups recipe makes perfectly juicy, tender, and flavorful steak every time! Serve with potatoes and a side salad for an unforgettable dinner in under 30 minutes.
Line a 12-cup muffin pan with cupcake liners. Use foil for crisper edges or paper liners for easier gifting.
Place milk chocolate chips in a microwave-safe bowl and heat in 30-second bursts, stirring between intervals until smooth. Do not overheat.
Divide the melted milk chocolate evenly among liners, about 1–1½ tablespoons each, and tilt/spread to coat the base and sides. Chill briefly to set.
Melt white chocolate chips in 30-second bursts until smooth. Stir in 1/4 tsp peppermint extract and 1/3 cup candy cane crunch, tasting and adjusting peppermint if desired.
Divide the white chocolate mixture into the cups, smooth the tops, and sprinkle extra candy cane crunch on each cup.
Let cups set at room temperature for 30–60 minutes or chill for 10–15 minutes. Store in an airtight container in a cool place or refrigerate for longer keeping.
Last Step: Please leave a rating and comment letting us know how you liked this recipe! This helps our business to thrive and continue providing free, high-quality recipes for you.
Leave a comment & rating below or tag
@moodcooks on social media!
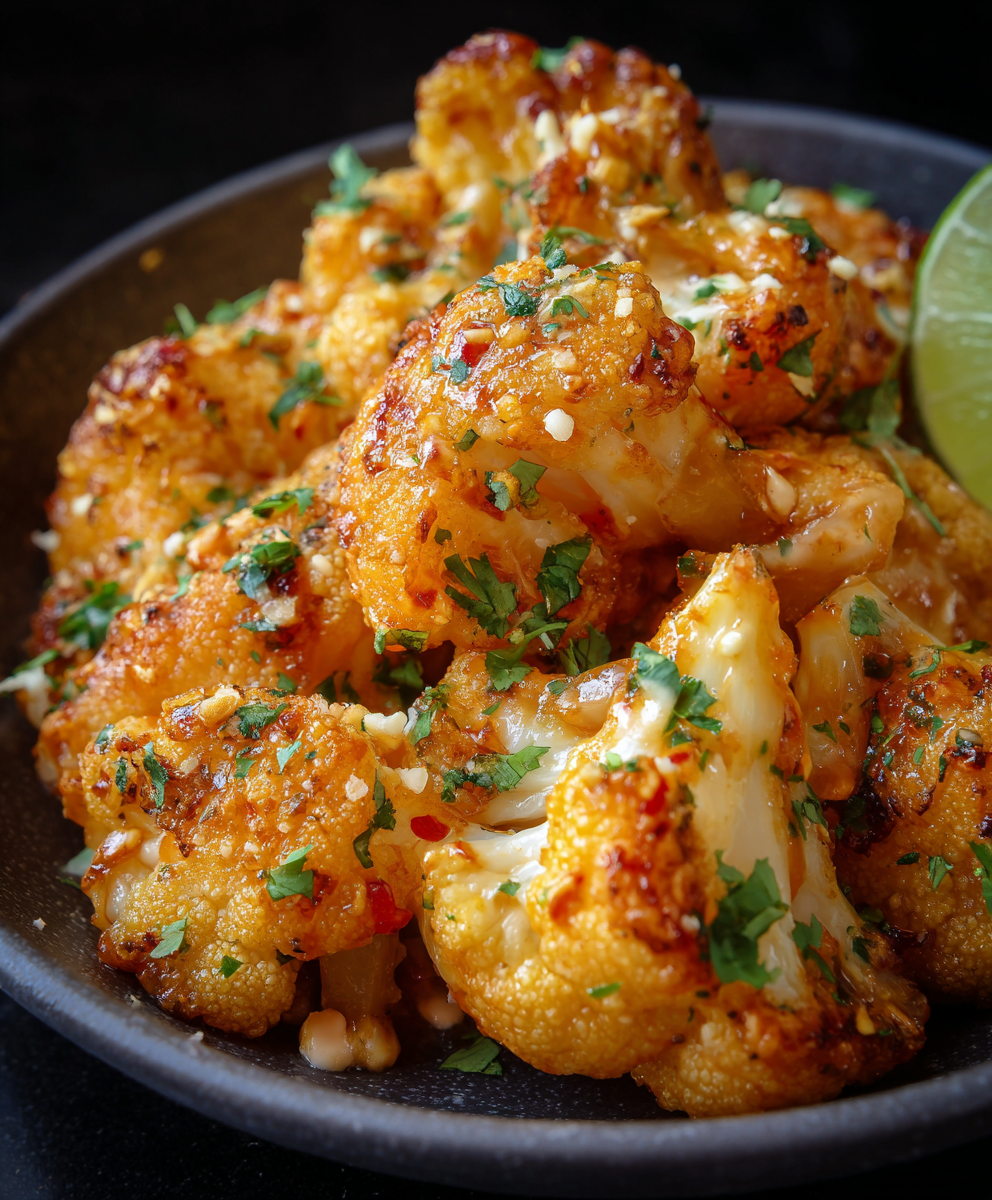
Crispy air-fried cauliflower tossed in a creamy sweet-spicy bang bang sauce — a crunchy, vegetarian appetizer or weeknight favorite that's ready in about 30 minutes.
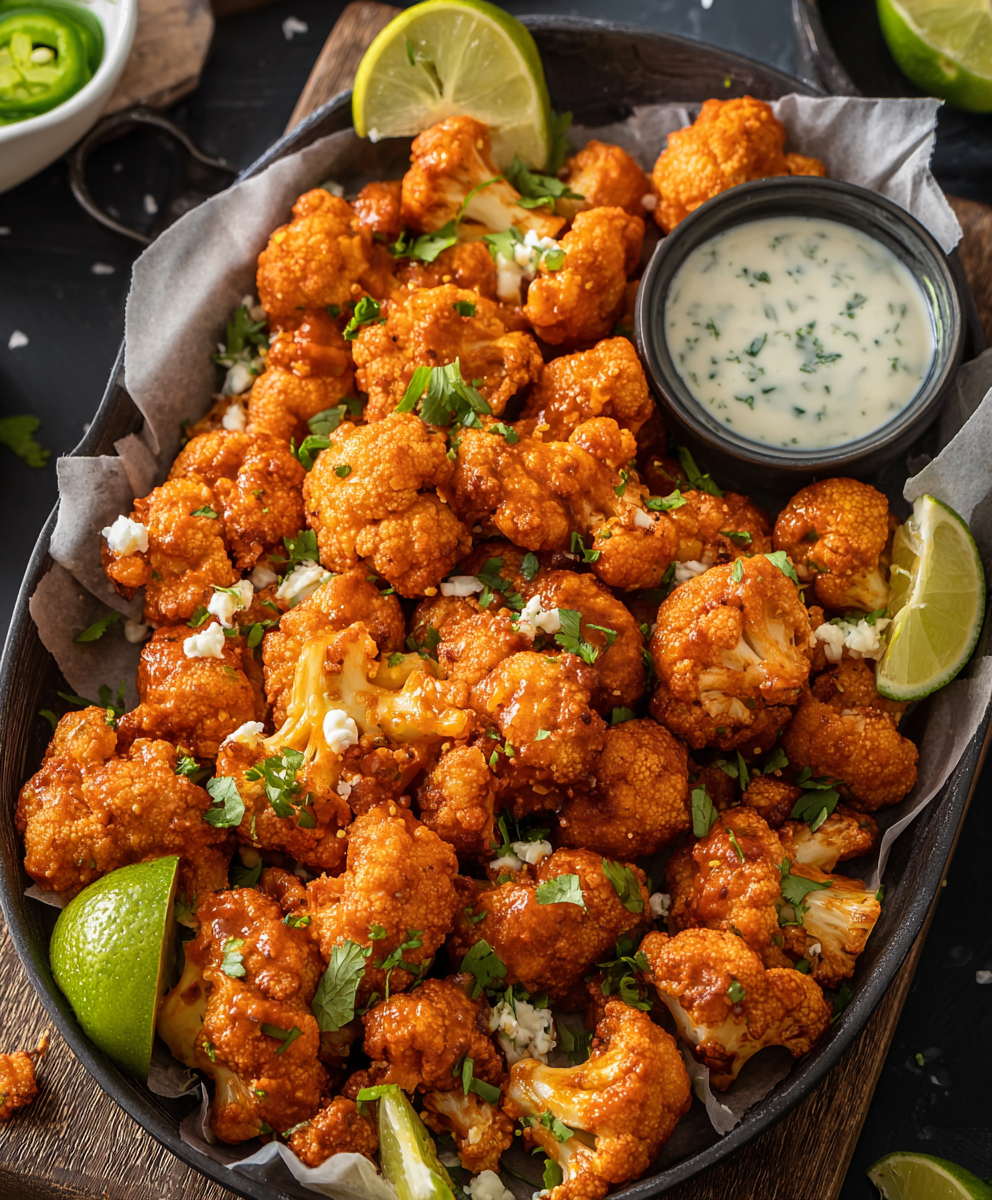
Crispy battered cauliflower florets tossed in tangy buffalo sauce — a spicy, vegetarian crowd-pleaser ready in under 40 minutes.
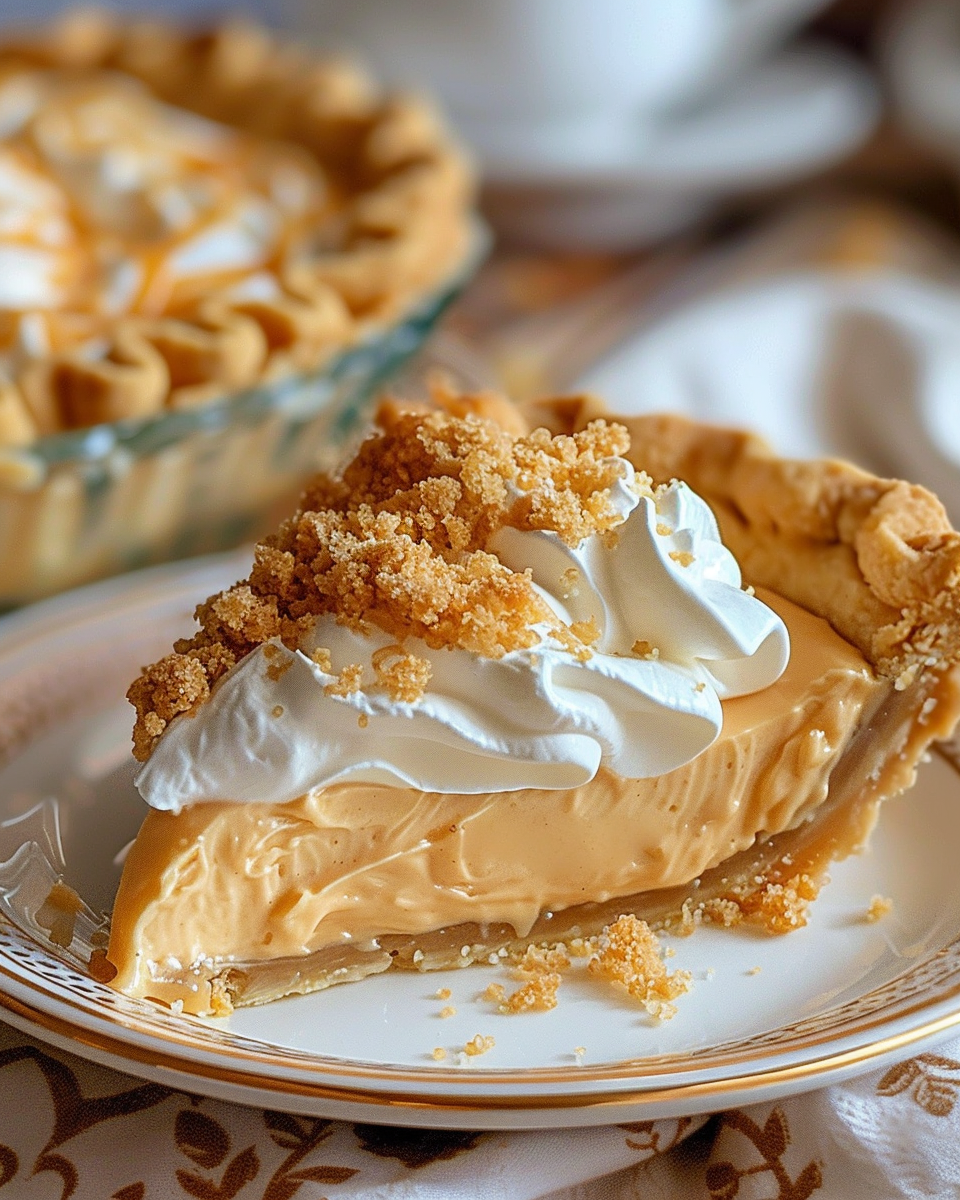
A nostalgic, no-bake peanut butter cream pie inspired by Amish kitchens—silky peanut butter filling, crunchy crumbles, and pillowy whipped topping in a buttery 9-inch crust.
Leave a comment & rating below or tag @moodcooks on social media!
Enjoyed this recipe? Share it with friends and family, and don't forget to leave a review!
This recipe looks amazing! Can't wait to try it.
Comments are stored locally in your browser. Server comments are displayed alongside your local comments.

Join to receive our email series which contains a round-up of some of our quick and easy family favorite recipes.