
No-Bake Snowman Truffles

Adorable, dairy-free snowman truffles made with crushed cookies, dairy-free cream cheese and white chocolate — a quick no-bake treat perfect for holidays and parties.
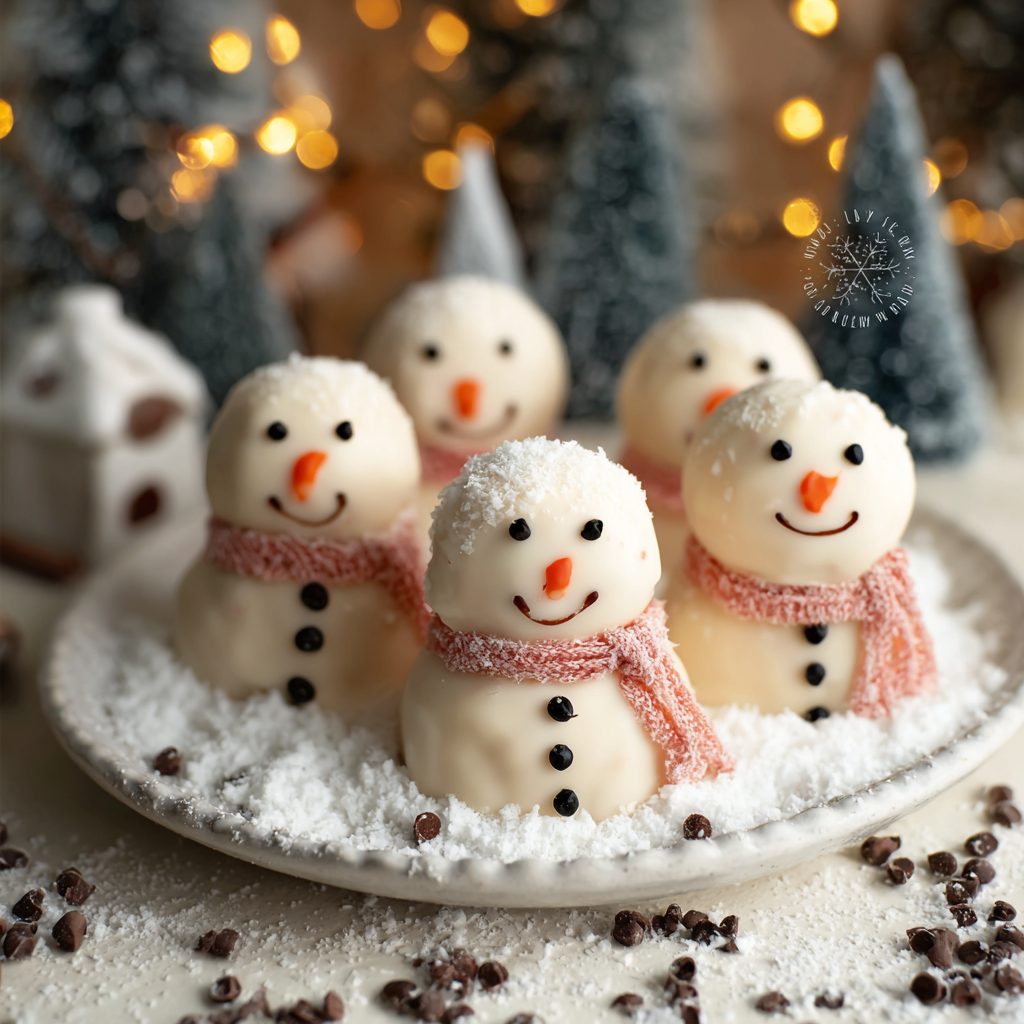
This little batch of snowman truffles has been a seasonal favourite in my kitchen ever since I first assembled them on a freezing December afternoon. They began as a fun attempt to make a child-friendly holiday treat that required no baking, no complicated tempering and very little time — just pantry staples and a bit of patience while the chocolate sets. The texture is a satisfying contrast: a slightly chewy, cookie-forward centre that holds together with dairy-free cream cheese, coated in a crisp shell of dairy-free white chocolate. Making the tiny snowman shapes became a ritual: rolling, chilling, and decorating while a thermos of tea steamed on the counter.
I discovered this method years ago when I wanted a festive dessert that would travel well for a holiday potluck. The recipe’s simplicity and the fact that it’s dairy-free allowed me to serve a sweet that almost everyone could enjoy. Beyond the nostalgic charm — children pressing on little candy scarves and piping tiny faces — the truffles are genuinely delicious: creamy, sweet, and balanced by the subtle biscuit flavour. They’re a great last-minute gift, a fun activity with kids, and a pretty party plate that tastes better than it looks.
Why You'll Love This Recipe
- Totally no-bake and beginner-friendly: ready in about 30 minutes active time, with short chilling stages so you can finish everything in under an hour.
- Uses pantry-friendly ingredients like sandwich biscuits and dairy-free chocolate — swap easily for gluten-free biscuits or different candies for a quick adaptation.
- Dairy-free and easily made vegan when you choose vegan cream cheese and white chocolate, so it’s friendly for many dietary needs.
- Perfect for parties and gifting: the truffles hold up well in the freezer and travel nicely when packed between parchment sheets.
- Fun, hands-on assembly that kids and adults both enjoy — rolling, dipping and decorating turns dessert-making into a festive activity.
- Small batch flexibility: scale up or down easily without changing technique — one small mixing bowl does the job.
My family’s reaction the first time I brought these to a holiday brunch was unforgettable: my niece declared them the cutest cookies she’d ever seen and promptly asked if she could make an entire snow army. Over the years I’ve learned a few tricks — chill well, use a thin spatula to guide drips, and pipe decorations on a cold surface to avoid smudging — that transform this simple idea into reliably attractive results.
Ingredients
- Golden sandwich biscuits (crushed): About 1 1/2 cups of crumbs (5.3 oz). Look for a familiar brand you enjoy; crushing Oreo-style biscuits gives a subtle sweet-vanilla base that pairs beautifully with the white chocolate.
- Dairy-free cream cheese: 1/4 cup (2 oz). Choose a thick, spreadable vegan cream cheese (brands like Violife or Kite Hill have good texture); it binds the crumbs without making the mixture greasy.
- Dairy-free white chocolate: 7 oz (about 1 1/6 cups) of good quality dairy-free white chocolate or coating melts. Select a brand that melts smoothly — it is the snow coat and its shine matters for presentation.
- Black food gel: Small amount for eyes, mouth and buttons. Food gel gives strong colour with only a tiny dab so you don't water down the chocolate.
- Orange food gel: A little for the carrot nose; gel works best for small precise piping details.
- Strawberry laces or candy pencils: For scarves — cut to size and wrap gently around the neck. These add colour and whimsy; choose chewy candies so they bend easily.
Instructions
Prepare the tray and tools: Line a baking tray with parchment or greaseproof paper and set aside. Have two small bowls ready: one for the melted chocolate and one for any excess drips. Work on a clean, cool surface to keep the truffles firm while you finish other steps. Crush the biscuits: Place the biscuits in a food processor and pulse until they become fine crumbs. If you don’t have a processor, seal them in a sturdy resealable bag and use a rolling pin to bash them to a sandy texture. Aim for even crumbs — no large chunks — so the mixture binds uniformly. Make the base mixture: Transfer the crumbs to a large mixing bowl and add the dairy-free cream cheese. Use a silicone spatula or clean hands to combine until the mixture is sticky and holds shape when squeezed. If it feels too loose, chill 5–10 minutes; if too dry, add a teaspoon of dairy-free milk. Form the snowmen: Weigh or measure roughly 3/4 ounce (about 20 g) of mixture for the body and 1/4 ounce (about 7 g) for the head. Roll the larger portion into a smooth ball, then make a smaller ball and place on top, pressing gently. Repeat until all mixture is used; you should get approximately 8 snowmen. Arrange on the lined tray and freeze for about 20 minutes until firm. Melt the chocolate: Five minutes before the snowmen are ready, melt the dairy-free white chocolate in a heatproof bowl over a saucepan of simmering water (bain-marie) or in 20–30 second bursts in the microwave, stirring between intervals. Aim for glossy, lump-free chocolate at about 105–113°F (40–45°C) to keep it fluid for dipping. Coat the snowmen: Remove the chilled snowmen from the freezer. Insert a toothpick into the underside of a snowman and dunk it into the melted chocolate, or balance it on a fork and spoon chocolate over to coat. Tap off excess and place back on the tray. Repeat for a second coat if needed for a thicker shell. Return to the freezer for 5–10 minutes — the cold truffles set the coating almost instantly. Decorate: Colour small amounts of leftover white chocolate with black and orange food gel (a toothpick-sized amount goes a long way) and transfer each to a piping bag with a tiny snip. Pipe an orange carrot nose, then black eyes, mouth and buttons. Cut strawberry laces to size and wrap as scarves; secure with a dab of melted white chocolate if needed. Chill briefly to set decorations, then serve.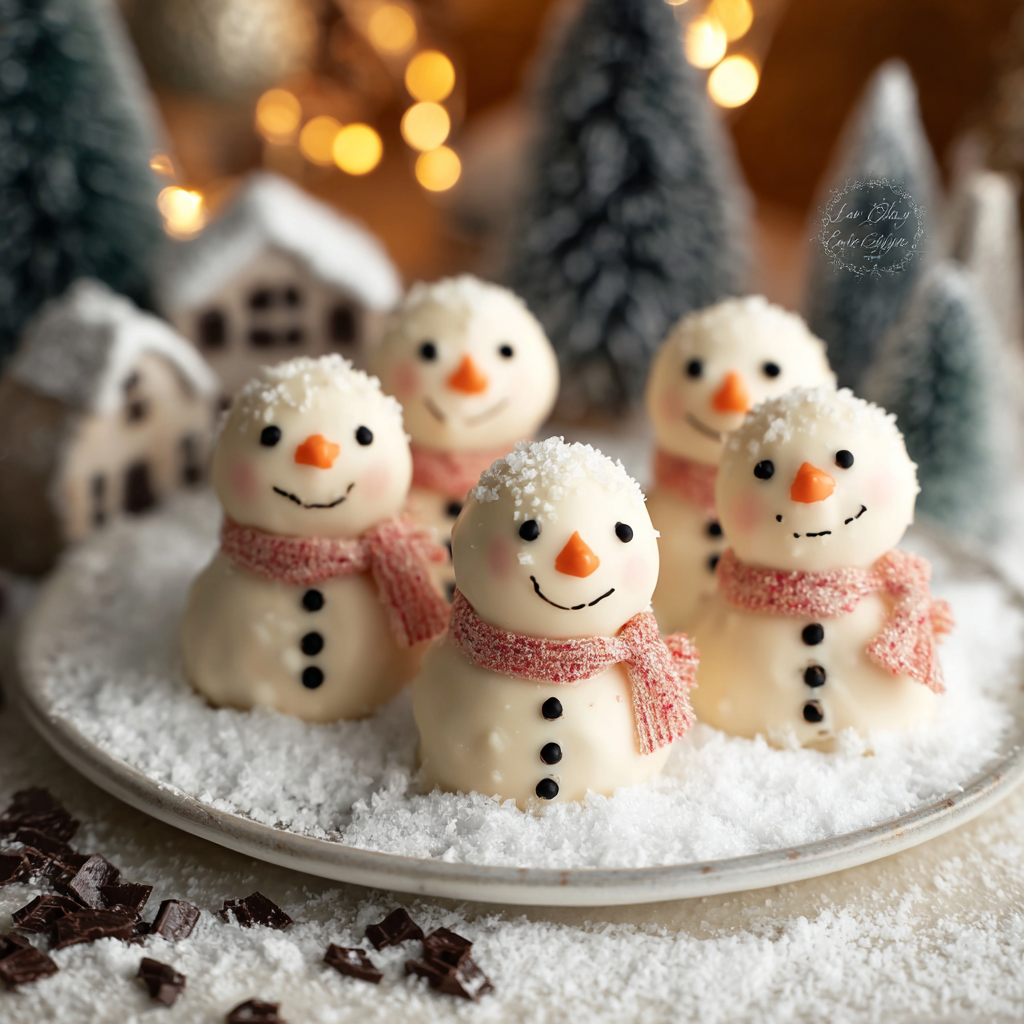
You Must Know
- Storage: Keep truffles frozen for best texture — they freeze well for up to 3 months and defrost quickly at room temperature for 10–15 minutes before serving.
- Chilling helps: Work with cold hands and a chilled tray; the colder the centres, the smoother and shinier the coating will be.
- Allergen notes: Use certified gluten-free biscuits to make them gluten-free; confirm your dairy-free chocolate is suitable for vegan diets.
- High in energy: These are small but rich treats — one truffle contains roughly 240 calories, so portion accordingly at parties.
My favourite part is the decorating stage: arranging scarves and adding imperfect smiles is where the truffles become charming rather than just pretty. Family members often request a “grumpy” or “silly” snowman version, and it’s become a running joke that nobody gets to eat the one with the crooked nose until photos are taken.
Storage Tips
After the truffles are fully set and decorated, store them layered between sheets of parchment in an airtight container. Keep the container in the freezer for long-term storage (up to 3 months) or in the refrigerator for up to 7 days. If refrigerated, pull them out 10–15 minutes before serving for a softer centre. When transporting, keep them on a bed of ice packs and between cardboard layers to prevent shifting and damage to decorations.
Ingredient Substitutions
You can swap golden sandwich biscuits for gluten-free sandwich cookies if you need a gluten-free option — weight and texture are similar. If you prefer a richer base, use cream cheese with slightly higher fat (vegan varieties vary); add a teaspoon of vanilla extract for depth. For the coating, any dairy-free melting wafers or vegan chocolate chips that melt smoothly will work; tempering isn’t necessary for home use but reheating gently will keep the chocolate glossy.
Serving Suggestions
Arrange the truffles on a winter-themed platter with a scattering of edible glitter or freeze-dried raspberry crumbs for colour contrast. They pair wonderfully with spiced tea, hot chocolate or a simple espresso. For a party, provide a small station with extra candy accents — mini chocolate chips, tiny sprinkles and additional candy laces — so guests can personalise their own snowmen.

Cultural Background
These truffles are a modern take on classic chocolate truffles and no-bake cookie balls found in many home kitchens. They borrow from European chocolate-dipped traditions and American sandwich-biscuit flavours to create something playful and seasonal. The snowman motif is a winter holiday staple in numerous cultures — a universally recognisable symbol that adds instant festive cheer to simple sweets.
Seasonal Adaptations
Make them for holidays by swapping scarves and noses for themed colours: red and green laces for Christmas, or pastel ribbons for winter baby showers. For autumn, coat in caramel-coloured chocolate and add tiny leaf-shaped candies. In summer, reduce chilling time slightly and decorate with vibrant fruit-flavoured gel to keep the aesthetic bright and fresh.
Meal Prep Tips
To prep ahead for a party, complete the cookie-cream-cheese mixture and roll the snowmen the day before, storing them on a tray covered loosely in the fridge. On the day, dip and decorate straight from chilled. If you need more truffles, double the base batch; the same technique scales well — just melt chocolate in larger batches and keep the melted chocolate warm using gentle heat or a thermos bowl.
These frozen little snowmen always spark conversation and smiles. They’re an easy, adaptable way to celebrate with something that looks special but takes surprisingly little time — a recipe I return to every winter and sometimes mid-year when I need an instant mood lift.
Happy rolling and decorating — and don’t forget to leave one snowman with a deliberately crooked smile for someone to find!
Pro Tips
Chill the rolled centres until very firm before dipping; cold centres produce a smooth chocolate shell.
Use gel food colouring to tint small portions of melted chocolate—gel doesn’t alter texture the way liquid colourings can.
If the chocolate thickens while dipping, warm it gently in 10-second bursts in the microwave or over low heat to restore fluidity.
Work on a cool surface and handle truffles with chilled hands to prevent melting and fingerprints.
This nourishing no-bake snowman truffles recipe is sure to be a staple in your kitchen. Enjoy every moist, high protein slice — it is perfect for breakfast or as a wholesome snack any time.
FAQs about Recipes
Can I make these gluten-free?
Yes—use certified gluten-free sandwich biscuits to make the truffles gluten-free. Ensure all other products (cream cheese and chocolate) are also labelled gluten-free.
How long do they keep?
Yes—store in the freezer for up to 3 months in an airtight container. Thaw 10–15 minutes before serving.
Tags
No-Bake Snowman Truffles
This No-Bake Snowman Truffles recipe makes perfectly juicy, tender, and flavorful steak every time! Serve with potatoes and a side salad for an unforgettable dinner in under 30 minutes.
Ingredients
Main
Decorations
Instructions
Line a tray
Line a baking tray with parchment and set aside so you can place truffles on a cold surface after coating.
Crush biscuits
Pulse biscuits in a food processor to fine crumbs, or place in a bag and crush with a rolling pin until sandy and even in texture.
Combine with cream cheese
Mix the biscuit crumbs with dairy-free cream cheese until sticky and able to hold shape when squeezed; chill briefly if needed.
Form snowman shapes
Weigh or portion about 20 g for the body and 7 g for the head, roll into balls and stack the small ball on top of the larger one. Freeze on the lined tray for 20 minutes.
Melt chocolate
Melt dairy-free white chocolate in a bain-marie or microwave until smooth and glossy; keep warm but not hot for dipping.
Coat and set
Dip chilled snowmen in the melted chocolate, tap off excess, and return to the tray. Place in the freezer for 5–10 minutes to set the coating.
Decorate
Tint small portions of chocolate with black and orange gel, pipe eyes, mouth, buttons and a carrot nose, and wrap a cut candy lace as a scarf. Chill briefly to set decorations.
Last Step: Please leave a rating and comment letting us know how you liked this recipe! This helps our business to thrive and continue providing free, high-quality recipes for you.
Nutrition
Did You Make This?
Leave a comment & rating below or tag
@moodcooks on social media!
Categories:
You might also like...

Air Fryer Bang Bang Cauliflower
Crispy air-fried cauliflower tossed in a creamy sweet-spicy bang bang sauce — a crunchy, vegetarian appetizer or weeknight favorite that's ready in about 30 minutes.

Air Fryer Buffalo Cauliflower
Crispy battered cauliflower florets tossed in tangy buffalo sauce — a spicy, vegetarian crowd-pleaser ready in under 40 minutes.
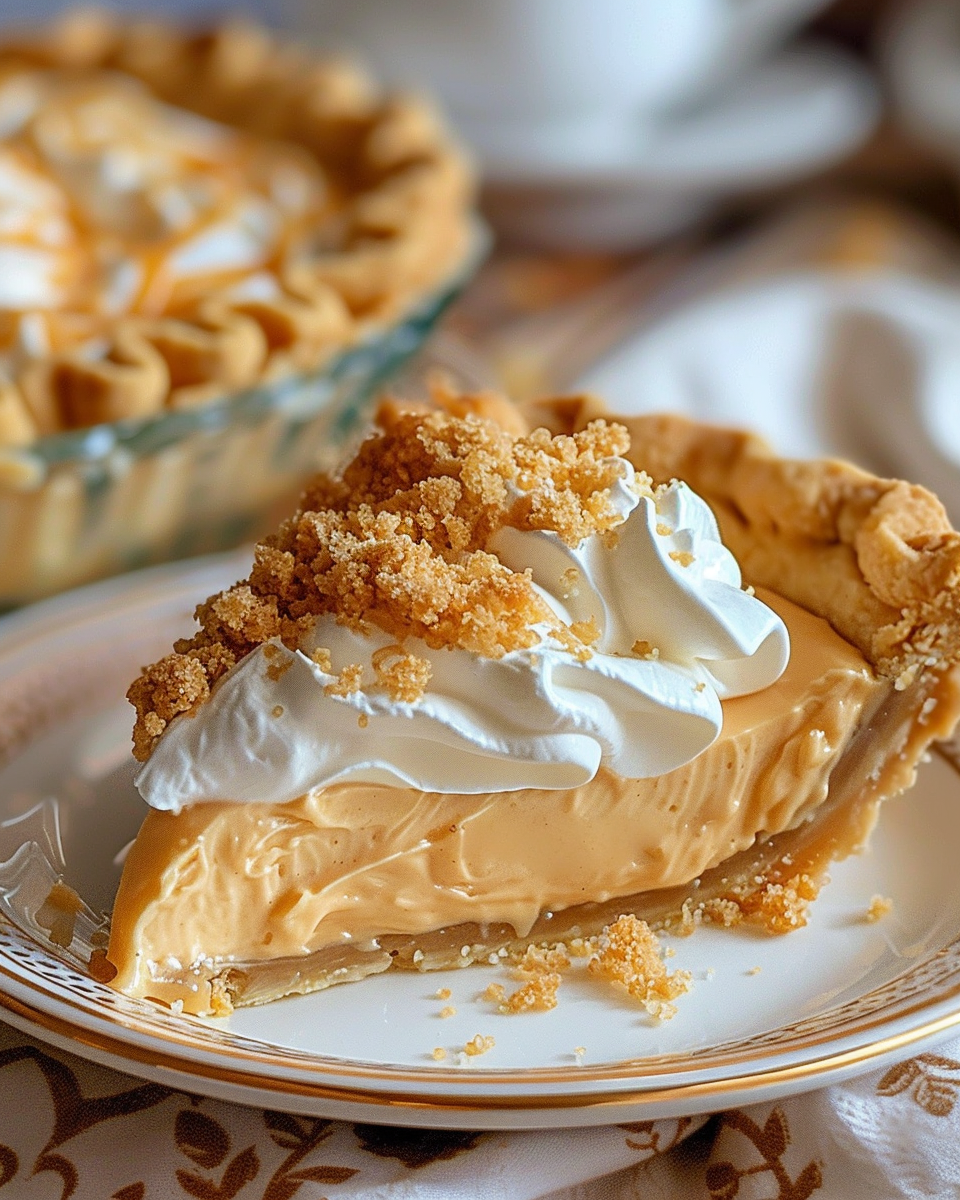
Amish Peanut Butter Cream Pie
A nostalgic, no-bake peanut butter cream pie inspired by Amish kitchens—silky peanut butter filling, crunchy crumbles, and pillowy whipped topping in a buttery 9-inch crust.
Did You Make This?
Leave a comment & rating below or tag @moodcooks on social media!
Rate This Recipe
Share This Recipe
Enjoyed this recipe? Share it with friends and family, and don't forget to leave a review!
Comments (1)
This recipe looks amazing! Can't wait to try it.
Comments are stored locally in your browser. Server comments are displayed alongside your local comments.

Hi, I'm Olivia!
What's Popular
30-Minute Meals!
Join to receive our email series which contains a round-up of some of our quick and easy family favorite recipes.