
Quick No-Bake Salted Caramel Pretzel Bars for Sweet Cravings

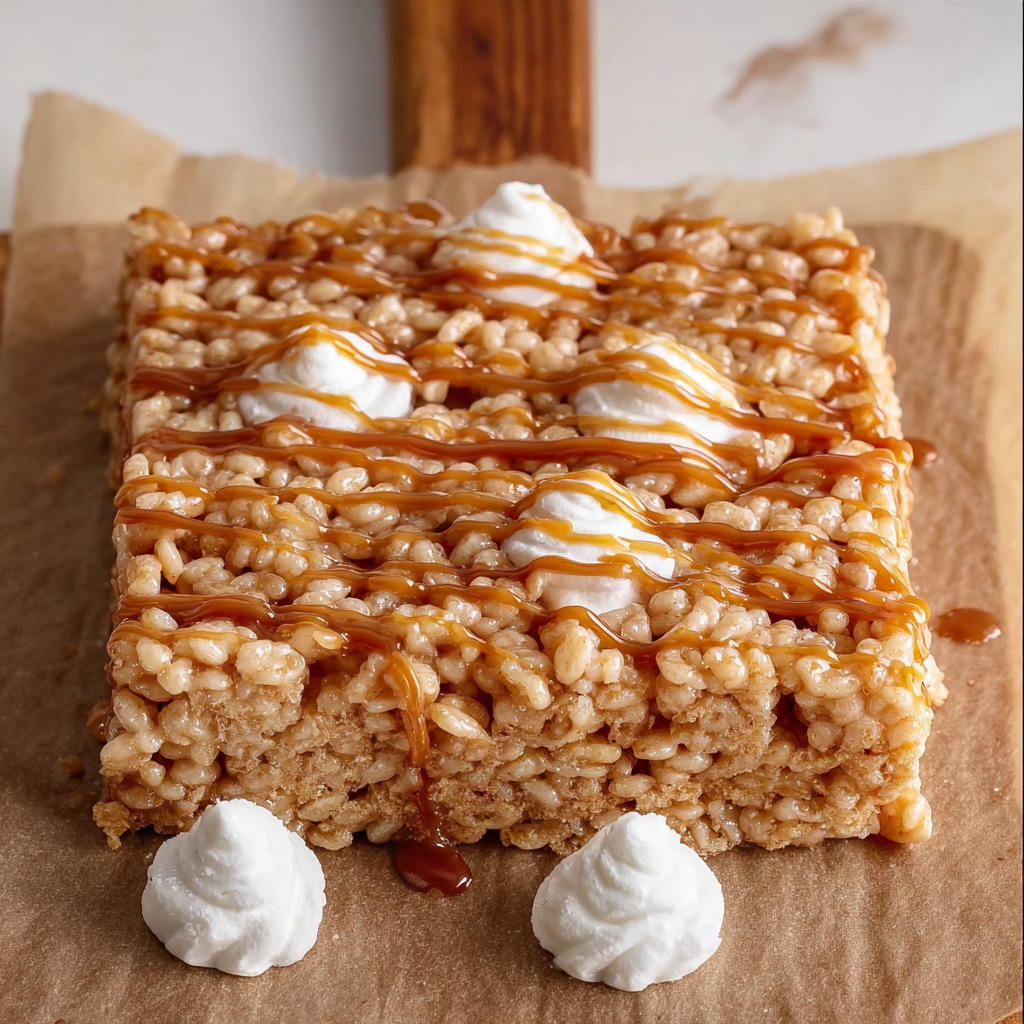
A crunchy pretzel base layered with silky salted caramel and a light whipped topping — no oven required. Ready in under two hours with minimal hands-on time.

This recipe was born out of a late-night craving and an overstocked pantry. I wanted something that satisfied the need for sweet and salty without turning on the oven, and these bars fit the brief perfectly. The combination of a crunchy, slightly buttery pretzel crust, a lusciously smooth salted caramel layer, and a cloud-like whipped topping creates a satisfying contrast of textures — crisp, chewy, and creamy — that keeps everyone coming back for another square. I first made these on a rainy weekend when friends popped by unexpectedly; they were gone in minutes and immediately requested the recipe.
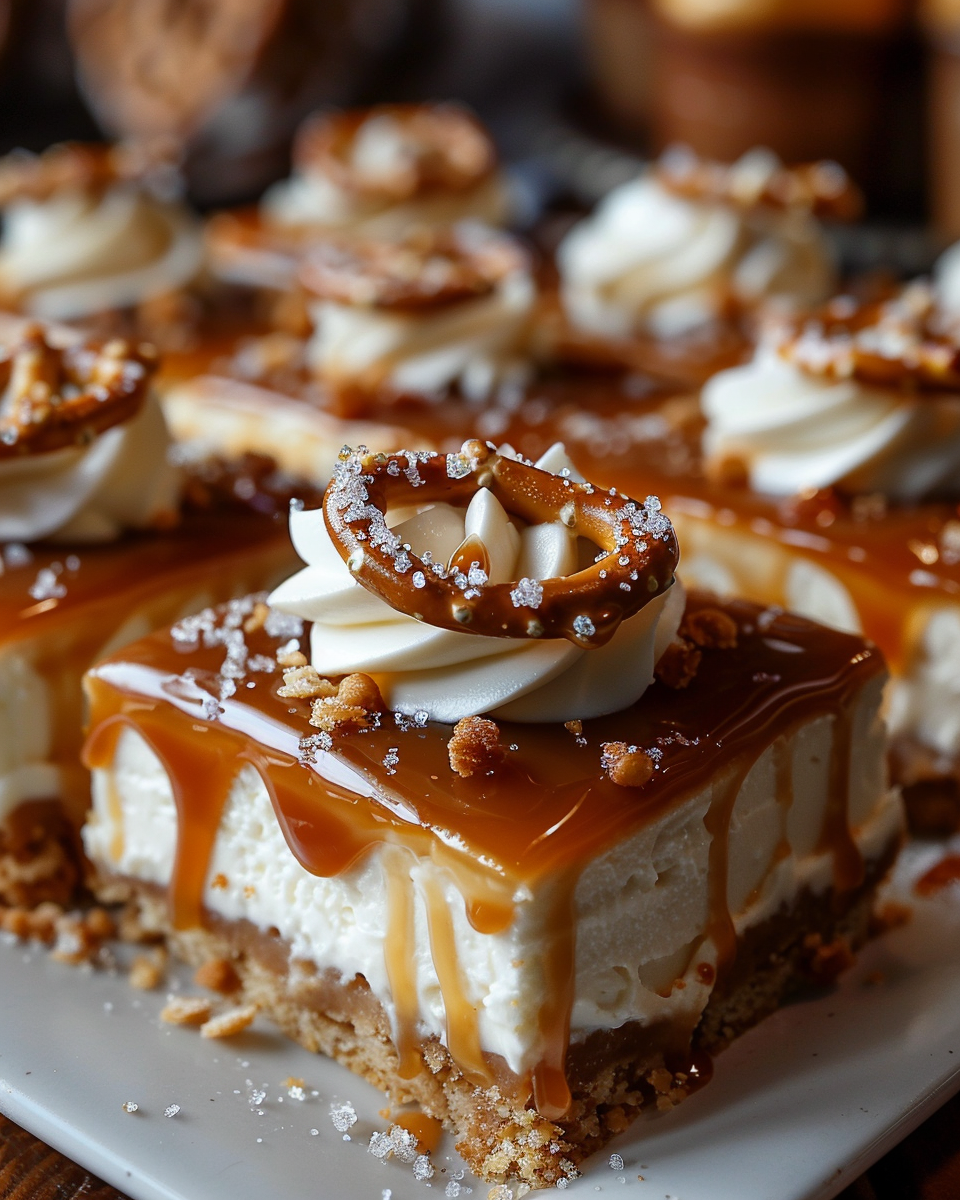
What I love most about these bars is how forgiving they are. You can use store-bought caramel for a fast finish or make a quick homemade caramel on the stovetop when you have an extra hour. The salty crunch of the pretzel base sets off the caramel beautifully, and the whipped topping keeps the overall sweetness balanced and light. I’ve served these at casual get-togethers, birthday parties, and as an indulgent weekday treat. They travel well and are a crowd-pleaser for both kids and adults.
Why You'll Love This Recipe
- Ready with about 20 minutes of active prep and a 2-hour chill time, these squares are a fast no-bake option when you want dessert without the oven heat.
- Uses pantry staples like pretzels, butter, and store-bought caramel for convenience; swap in a homemade caramel if you prefer from-scratch flavors.
- Sweet and salty contrast gives a sophisticated flavor punch without complicated techniques — perfect for beginner cooks.
- Make-ahead friendly: refrigerate overnight for gatherings or pack for potlucks and picnics; they hold up well for several days.
- Customizable layers: add chopped nuts, drizzle chocolate, or use flavored pretzels to change the profile quickly.
- Minimal equipment required — a mixing bowl, a pan, and an electric mixer or whisk for the topping — which keeps cleanup easy.
When I first introduced these at a Sunday brunch, even the self-proclaimed dessert snobs reached for seconds. My neighbor suggested adding a sprinkle of flaky sea salt on top, which I now consider indispensable. Watching the reaction around the table — the little exclamations and quick slices disappearing — reminded me why simple, balanced desserts often become family classics.
Ingredients
- Pretzel crumbs (2 cups): Use crunchy salted pretzels crushed to coarse crumbs; these provide texture and a built-in salty counterpoint. I like thin stick pretzels because they crush easily in a bag or food processor.
- Unsalted butter (1/2 cup, melted): Melted butter binds the crumbs and brings a light richness. Use high-quality unsalted butter and add salt separately if needed.
- Granulated sugar (1/4 cup): A small amount of sugar helps the crust set with a subtle caramelized note.
- Caramel sauce (1 cup): Store-bought caramel sauce works wonderfully for speed; choose a brand you like (I often use salted caramel varieties). Homemade caramel (made from sugar, butter, and cream) can be used for deeper flavor.
- Sea salt (1/2 teaspoon): Adds brightness and balances sweetness — flaky sea salt as a finishing touch is ideal.
- Heavy cream (1 cup): Whips into a stable, airy topping. Chill the bowl and whisk for best volume.
- Powdered sugar (1/2 cup): Sweetens and stabilizes the cream without graininess; sift if lumpy.
- Vanilla extract (1 teaspoon): Enhances the overall flavor and gives a warm, rounded finish to the topping.
Instructions
Prepare the Pretzel Crust: Line a 9x9-inch pan with parchment paper, leaving a small overhang for easy removal. Combine 2 cups crushed pretzels, 1/2 cup melted unsalted butter, and 1/4 cup granulated sugar in a bowl until the mixture resembles wet sand. Press the mixture firmly and evenly into the bottom of the pan using the back of a spoon or a flat-bottomed measuring cup; compacting well helps the crust hold together when sliced. Chill for 10 minutes to set if the butter feels too soft. Layer the Caramel: Warm 1 cup of caramel sauce briefly (10–15 seconds in the microwave) so it becomes pourable but not hot. Stir in 1/2 teaspoon sea salt, taste, and adjust if you prefer a more pronounced salty edge. Pour the caramel over the chilled crust and spread to an even layer using an offset spatula or the back of a spoon. Return to the refrigerator while you prepare the topping to ensure a clear separation of layers. Make the Creamy Topping: Chill a mixing bowl and whisk attachment for 10 minutes. Pour 1 cup cold heavy cream into the bowl, add 1/2 cup powdered sugar and 1 teaspoon vanilla extract, then whip on medium-high until soft peaks form — about 2–3 minutes by electric mixer. Avoid overbeating; stop when peaks gently hold shape. Fold gently with a spatula to preserve airiness. Assemble the Bars: Spread the whipped cream evenly over the caramel layer, smoothing the top. For a decorative touch, run a fork or offset spatula back and forth to create light swirls. If desired, sprinkle a few additional crushed pretzels or a light dusting of flaky sea salt on top for texture and visual appeal. Chill: Cover the pan loosely with plastic wrap and chill in the refrigerator for at least 2 hours to firm up thoroughly; overnight chilling yields the cleanest slices. Proper chilling helps the caramel set and prevents oozing when cutting. Slice and Serve: Lift the bars from the pan using the parchment overhang. Use a sharp knife dipped in hot water and wiped dry between cuts to create clean edges. Slice into 12 even bars and serve chilled. Store any leftovers in an airtight container in the fridge for up to 4 days.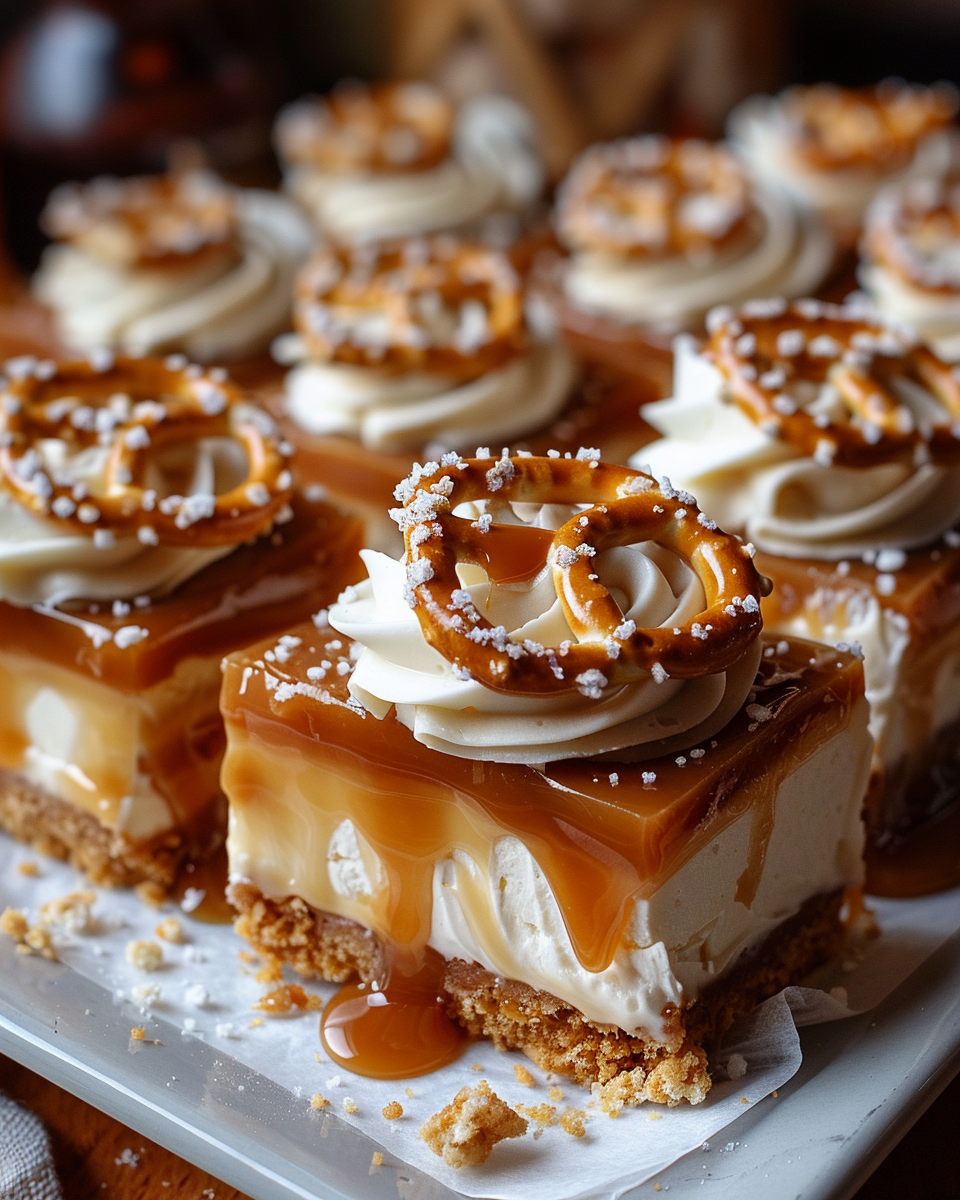
You Must Know
- These bars are best kept refrigerated and will keep for up to 4 days in an airtight container; they also freeze well for up to 3 months if wrapped tightly and thawed overnight in the fridge.
- Because the dessert relies on a set caramel layer, chilling time is essential — don’t rush the refrigeration step if you want neat slices.
- High-quality caramel and a chilled bowl for whipping make a noticeable difference in texture and flavor; choose brands you trust for store-bought components.
- This is an energy-dense treat: serve small portions and complement with fresh fruit or coffee to balance richness.
What I enjoy most is the look on guests’ faces when they taste the first bite: surprise at the crunchy-salty base followed by the soft caramel and light cream. I’ve tweaked the ratio over time — a thinner crust and a slightly thicker caramel layer now feel perfectly balanced. The flaky salt finish became a family favorite after my cousin suggested it, and now I consider it essential for that glossy, professional touch.
Storage Tips
Store leftovers in a shallow airtight container layered with parchment to avoid smudging the topping. Refrigeration is required because of the cream; bars will keep fresh for up to 4 days. For longer storage, freeze tightly wrapped individual bars on a baking sheet for 1–2 hours, then transfer to a freezer bag for up to 3 months. Thaw overnight in the fridge to maintain texture. When reheating a frozen bar slightly, let it sit at room temperature for 15–20 minutes rather than microwaving — this preserves the creamy topping better.
Ingredient Substitutions
If you need a gluten-free version, use certified gluten-free pretzels and verify the caramel is gluten-free. For a dairy-free option, replace butter with a plant-based spread and use a coconut cream whipped topping in place of heavy cream; note this changes the flavor profile and may reduce stability slightly. Swap powdered sugar for a fine granulated sugar blended to a powder if necessary, but expect a slightly grainier texture. For a nutty note, fold 1/4 cup chopped toasted pecans into the caramel layer before chilling.
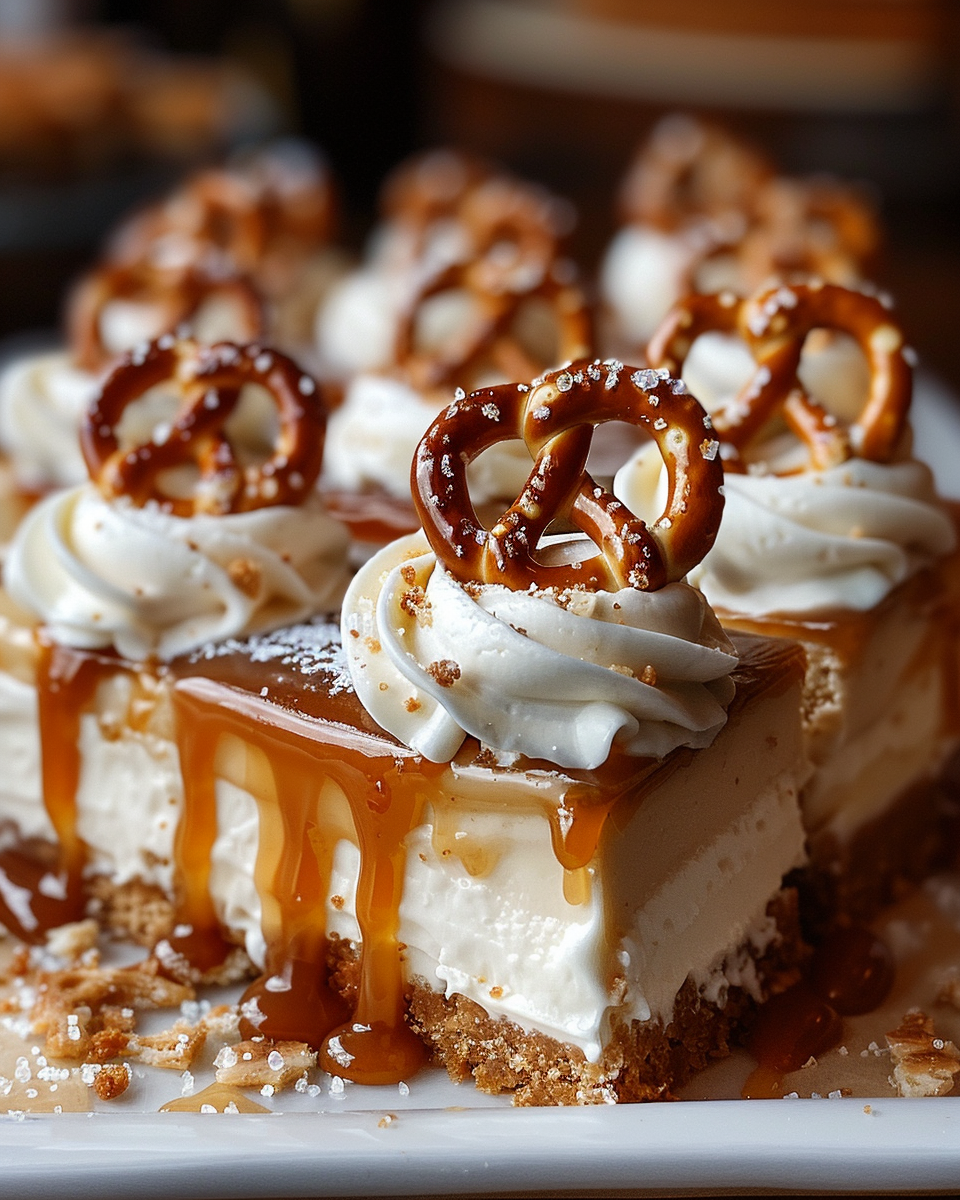
Serving Suggestions
Present the bars on a serving platter with a light dusting of powdered sugar and a few scattered pretzel pieces for contrast. Pair with espresso, black coffee, or a glass of cold milk to balance the richness. For a party, serve small squares alongside sliced apples or pear wedges to add a refreshing counterpoint. Garnish with a tiny pinch of flaky sea salt on each square for a gourmet finish and dramatic flavor lift.
Seasonal Adaptations
In autumn, fold a teaspoon of pumpkin spice into the whipped cream for a cozy twist or add a drizzle of warm spiced caramel on top. For summer gatherings, use a lighter caramel and add a scattering of fresh berries to cut the richness. During the holidays, replace the pretzels with crushed ginger snaps for a spicier base or press a layer of chopped roasted hazelnuts into the caramel for extra crunch and festive flavor.
Meal Prep Tips
Make the crust and caramel up to two days ahead and keep them chilled separately; assemble and whip the topping just before guests arrive for the freshest look. If you’re taking these bars to an event, keep a chilled cooler on hand so they stay firm during transport. Use the parchment overhang when transferring and cutting — it makes cleanup and serving effortless. Label any frozen portions with the date to maintain freshness.
These bars are proof that the simplest techniques — crushing, pressing, chilling — can yield a dessert that feels celebratory. Whether you’re appeasing a last-minute sweet tooth or planning treats for a crowd, this no-bake option delivers reliable texture and flavor. I hope you enjoy making them as much as my family enjoys eating them.
Pro Tips
Chill the mixing bowl and whisk before whipping the cream for best volume.
Use a hot, clean knife wiped between cuts to achieve neat square edges.
Warm the caramel briefly to make it easier to spread but avoid overheating.
Press the crust firmly with a flat-bottomed measuring cup to ensure it holds together when sliced.
This nourishing quick no-bake salted caramel pretzel bars for sweet cravings recipe is sure to be a staple in your kitchen. Enjoy every moist, high protein slice — it is perfect for breakfast or as a wholesome snack any time.
FAQs about Recipes
Can I freeze these bars?
Yes — these bars can be frozen for up to 3 months if wrapped tightly. Thaw overnight in the refrigerator.
How long will they keep in the fridge?
Store in an airtight container in the refrigerator for up to 4 days. Keep layers chilled to preserve structure.
Tags
Quick No-Bake Salted Caramel Pretzel Bars for Sweet Cravings
This Quick No-Bake Salted Caramel Pretzel Bars for Sweet Cravings recipe makes perfectly juicy, tender, and flavorful steak every time! Serve with potatoes and a side salad for an unforgettable dinner in under 30 minutes.
Ingredients
Pretzel Crust
Caramel Layer
Creamy Topping
Instructions
Prepare the Pretzel Crust
Line a 9x9-inch pan with parchment. Mix 2 cups crushed pretzels, 1/2 cup melted butter, and 1/4 cup sugar until combined. Press firmly into the pan and chill for 10 minutes to set.
Layer the Caramel
Warm 1 cup caramel sauce until pourable, stir in 1/2 teaspoon sea salt, then spread evenly over the chilled crust. Return to the refrigerator briefly while preparing the topping.
Make the Creamy Topping
Chill the mixing bowl and whisk; whip 1 cup cold heavy cream with 1/2 cup powdered sugar and 1 teaspoon vanilla until soft peaks form. Do not overwhip.
Assemble the Bars
Spread the whipped topping over the caramel layer, smooth, and optionally sprinkle extra crushed pretzels and flaky sea salt on top.
Chill
Cover and refrigerate for at least 2 hours, or overnight for best results, to allow the layers to set.
Slice and Serve
Lift from pan using parchment overhang. Use a hot, dry knife to slice into 12 bars. Store in an airtight container in the fridge for up to 4 days.
Last Step: Please leave a rating and comment letting us know how you liked this recipe! This helps our business to thrive and continue providing free, high-quality recipes for you.
Nutrition
Did You Make This?
Leave a comment & rating below or tag
@moodcooks on social media!
Categories:
You might also like...

Air Fryer Bang Bang Cauliflower
Crispy air-fried cauliflower tossed in a creamy sweet-spicy bang bang sauce — a crunchy, vegetarian appetizer or weeknight favorite that's ready in about 30 minutes.

Air Fryer Buffalo Cauliflower
Crispy battered cauliflower florets tossed in tangy buffalo sauce — a spicy, vegetarian crowd-pleaser ready in under 40 minutes.
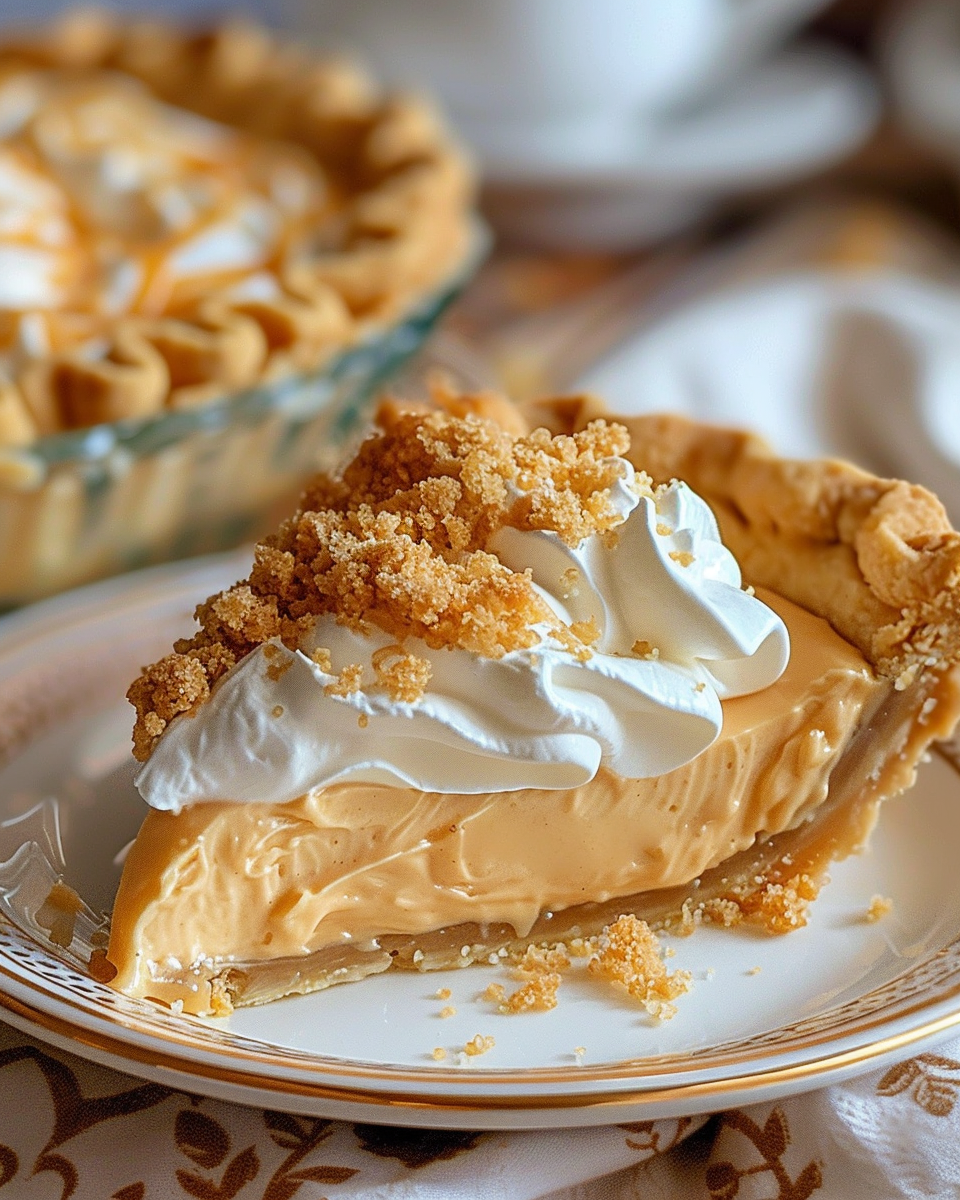
Amish Peanut Butter Cream Pie
A nostalgic, no-bake peanut butter cream pie inspired by Amish kitchens—silky peanut butter filling, crunchy crumbles, and pillowy whipped topping in a buttery 9-inch crust.
Did You Make This?
Leave a comment & rating below or tag @moodcooks on social media!
Rate This Recipe
Share This Recipe
Enjoyed this recipe? Share it with friends and family, and don't forget to leave a review!
Comments (1)
This recipe looks amazing! Can't wait to try it.
Comments are stored locally in your browser. Server comments are displayed alongside your local comments.

Hi, I'm Olivia!
What's Popular
30-Minute Meals!
Join to receive our email series which contains a round-up of some of our quick and easy family favorite recipes.