
Grinch Mini Cheesecakes

Bright neon green mini cheesecakes with an Oreo crust, perfect for holiday parties and playful dessert trays.
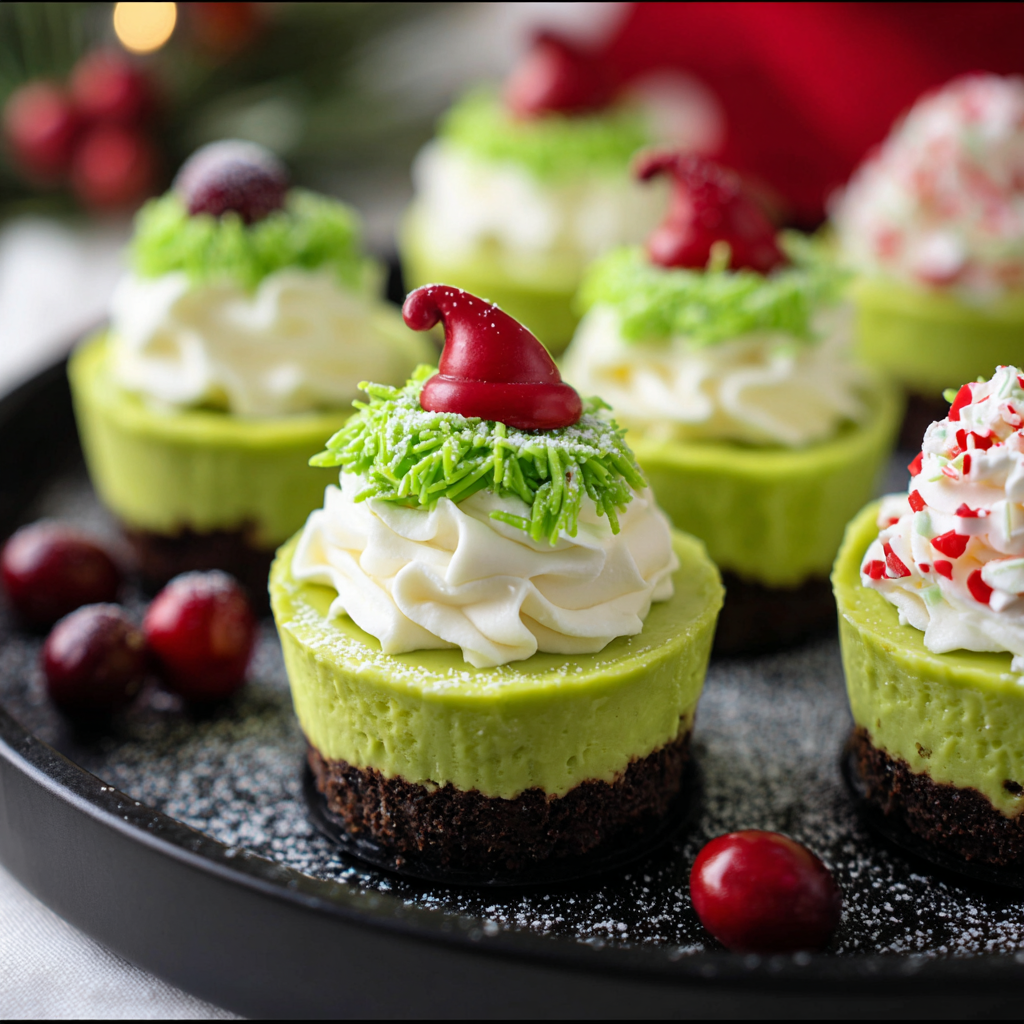
This festive Grinch mini cheesecakes recipe started as a playful experiment one December when I wanted a small, bold dessert that would steal the show at a cookie exchange. I loved the idea of classic creamy cheesecake in a perfectly portioned cupcake size, dressed up in a ridiculous neon green to wink at anyone who loves seasonal fun. The texture is rich and silky with a crisp chocolate cookie base, and the color makes conversation before the first bite. I discovered the exact balance of sweetness and tang after a few tries, and now they are a must for holiday brunches and school parties.
I still remember the first time I baked a batch, watching my niece take a bite and squeal with delight because they looked like a tiny green monster. These are so quick to make that they became my go to when I need a show stopping dessert without hours of effort. The bright color comes from a concentrated gel food coloring, which keeps the filling perfectly smooth and glossy. I use full fat cream cheese for the best mouthfeel, and a simple Oreo crumb base gives a familiar chocolate contrast that everyone recognizes. If you love playful desserts with reliable results, these little cheesecakes will become part of your seasonal rotation.
Why You'll Love This Recipe
- Mini portions are ready in about 40 minutes from start to finish including baking, with chilling time for best texture, making them ideal for last minute celebrations and easy transport.
- Uses pantry staples like Oreo cookies and cream cheese, so you can pull this together without a special shopping trip.
- Single bowl filling and a food processor for the crust mean minimal dishes, and each portion is perfectly portion controlled for parties and bake sales.
- Make ahead friendly, these chill well in the refrigerator for 48 hours and freeze for up to 3 months, so you can plan in advance for holiday entertaining.
- Customizable toppings include whipped cream, festive sprinkles, or a red candy heart to mimic the Grinch heart scene, so you can match any party theme.
- Kid friendly hands on assembly, children love pressing the crust into liners and watching the filling turn neon green.
Personally I found that a splash of quality vanilla and a very small amount of gel food coloring gives the most saturated color without thinning the filling. My family likes them best chilled the next day, because the centers firm up but keep a slight jiggle which is the sign of a perfectly baked cheesecake.
Ingredients
- Crust: 1 cup Oreo crumbs About 10 to 11 Oreos ground in a food processor. Choose original Oreos for the classic chocolate flavor. Nabisco brand works consistently for texture and taste.
- Crust: 2 1/2 tablespoons butter, melted Use unsalted, melted and slightly cooled. This binds the crumbs and crisps during bake. Avoid salted butter unless you adjust other flavors.
- Filling: 2 packages 8 ounce cream cheese, softened Total 16 ounces. I recommend full fat Philadelphia for the smoothest texture and best tang.
- Filling: 1/2 cup sugar Granulated sugar balances the cream cheese. If you prefer less sweet, reduce by 1 tablespoon but keep an eye on structure.
- Filling: 2 large eggs Room temperature eggs incorporate more easily into the batter and help set the filling without cracking the surface.
- Filling: 1 teaspoon vanilla extract Use pure vanilla for depth of flavor. I like Nielsen Massey if you want a brand recommendation.
- Filling: Neon green gel food coloring AmeriColor gel or other concentrated gel coloring is best. Add a little at a time until the desired Grinchy shade is reached.
- Topping: Whipped cream and sprinkles, optional Use stabilized whipped cream for longer display, or pipe dollops of fresh whipped cream just before serving.
Instructions
Step 1 Prepare the pan and oven Preheat the oven to 350 degrees Fahrenheit. Line a standard 12 cup cupcake pan with paper liners. Using liners helps release and makes them easy to serve. If you prefer sturdier edges, use foil liners. Make sure your oven rack is centered for even baking. Step 2 Make the crust Place about 10 to 11 Oreo cookies in a food processor and pulse until you have fine crumbs. Add the melted butter and pulse a few more times until the mixture holds together when pressed between your fingers. Divide the crumbs evenly among 12 liners, about one level tablespoon per cup, and press firmly to form a compact base. The compacted crust helps support the filling and keeps the bottom from crumbling when you bite in. Step 3 Make the filling In a medium bowl beat the softened cream cheese with sugar until very smooth and free of lumps. Beat in the eggs one at a time, mixing until just combined after each. Add the vanilla extract and then incorporate the green gel coloring a small amount at a time until you reach the neon hue you want. Overmixing introduces air which can cause slight cracking, so mix gently at the end. Step 4 Assemble the cups Spoon about one quarter cup of filling into each crust lined cup, spreading evenly. Fill to just below the top of the liner so the cakes have room to set and do not overflow. Tap the pan lightly on the counter to release any trapped air bubbles and to level the filling. Step 5 Bake and cool Bake at 350 degrees Fahrenheit for 15 to 17 minutes. The centers should still be slightly jiggly when you gently shake the pan, that is the visual cue you want. Remove from the oven and let the pan cool completely on a wire rack. Transfer the cooled pan to the refrigerator and chill at least 2 hours, or until the centers are firm. Chilling improves texture and flavor. Step 6 Finish and serve Top each mini cheesecake with a dollop of whipped cream and festive sprinkles just before serving. For a playful touch add a small red candy to mimic the Grinch heart. Store refrigerated until ready to serve.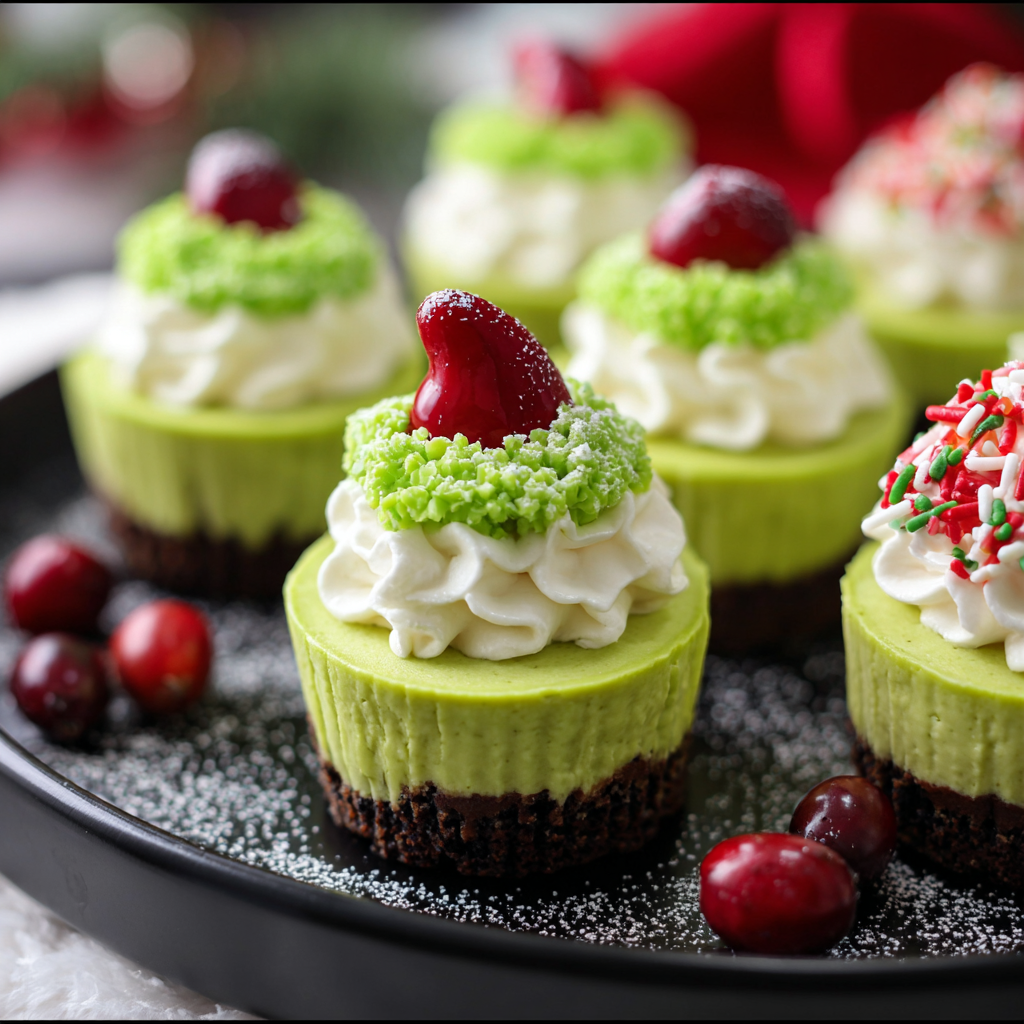
You Must Know
- These small cheesecakes are high in calories because of the cream cheese and butter, expect approximately 230 calories each, and they are a treat best enjoyed in moderation.
- They chill well for up to 48 hours in the refrigerator and freeze for up to 3 months in a sealed container. Thaw overnight in the fridge before serving.
- Do not overbake. Slight jiggle in the center is the perfect visual cue. Overbaked corners will feel dry and the texture will be less creamy.
- Use gel food coloring, not liquid. Liquid coloring can change the batter consistency and affect set time. Gel yields vivid color without altering structure.
My favorite aspect is how a tiny garnish transforms the playful green cake into something whimsical and inviting. At a recent holiday gathering my neighbor sent a photo the next morning with an empty tray and a message that simply said, I ate seven. That moment convinced me to always triple the batch when I bring them to parties.

Storage Tips
Store chilled mini cheesecakes in an airtight container in the refrigerator for up to 48 hours. If stacking is necessary, place parchment between layers to protect the toppings. For longer storage freeze individually on a baking sheet until firm, then transfer to a sealed freezer safe container. Thaw overnight in the refrigerator. For transport use a shallow cooler with ice packs to maintain chill and prevent the whipped cream topping from melting. If making ahead, hold off on piping whipped cream until just before serving for the freshest appearance.
Ingredient Substitutions
If you need a wheat free base use gluten free chocolate sandwich cookies in place of Oreos and check the label for cross contamination. For a lighter filling use reduced fat cream cheese but expect a slightly less rich mouthfeel. To avoid eggs, try a small amount of cream cheese and full fat Greek yogurt blended with a stabilizer like gelatin or agar, though texture will differ from classic custard set. For a natural green option try spinach powder for color, but start with very small amounts to avoid a vegetal taste, and note the color will be subtler than gel coloring.
Serving Suggestions
Serve these mini cheesecakes on a festive platter with a mix of decorations. Pipe a small swirl of stabilized whipped cream and add red nonpareils for contrast. Pair with hot cocoa for winter gatherings or with coffee for brunch. They work well on dessert boards alongside cookies and bars, and the size makes them perfect for buffet style events. For a dramatic display, place on a tiered stand and alternate with green and red garnishes to echo holiday colors.
Seasonal Adaptations
For other holidays swap the food coloring to match theme colors, for Valentine s Day a soft pink with heart sprinkles is charming. In summer try a lime version by adding a teaspoon of lime zest and using a lime green shade, which brightens the flavor and suits outdoor gatherings. For Halloween use purple or orange coloring and add edible eyes to create playful monster faces. These small changes keep the technique the same while refreshing the presentation for any season.
Meal Prep Tips
Make the crusts and filling the day before and assemble just before baking to cut hands on time. You can also bake a full tray, cool, and refrigerate overnight before topping and serving the next day. When preparing for a large party, scale up quantities and bake in multiple pans, then store in stacks with parchment between layers. Bring chilled cheesecakes to room temperature for about 10 minutes before serving for the best mouthfeel.
Cultural Background
Mini cheesecakes are an American adaptation of a classic European cheesecake concept, re imagined for portion control and party friendly serving. The use of sandwich cookie crumbs for crust became popular in the late 20th century as home bakers sought convenience and bold contrasts of flavor. The bright color trend is a modern playful element inspired by novelty holiday desserts. These tiny treats blend classic custard style technique with contemporary presentation and are popular across family friendly gatherings.
Success Stories
Readers tell me that the trickiest part is choosing a topping because everyone has a different favorite. One reader shared that using mini red M M s made the cheesecakes an instant hit at a school bake sale, selling out in under 20 minutes. Another made them for a work potluck and reported that coworkers kept asking for the recipe because the texture was exactly like a full size cheesecake in miniature. These anecdotes convinced me to keep a jar of gel coloring and extra Oreos on hand during holiday season.
I hope you enjoy these bright little cakes as much as my family does. They are playful, reliable, and easy to adapt, and they often become the dessert guests request year after year. Try them once, and you will find your own twist to make them uniquely yours.
Pro Tips
Use room temperature cream cheese and eggs for a smooth, lump free filling.
Do not overmix once the eggs are added to avoid incorporating too much air which can cause cracks.
Gel food coloring provides vivid color without thinning the batter, add in small increments to control the hue.
Chill at least two hours for the best texture, overnight is preferable if you have the time.
This nourishing grinch mini cheesecakes recipe is sure to be a staple in your kitchen. Enjoy every moist, high protein slice — it is perfect for breakfast or as a wholesome snack any time.
Tags
Grinch Mini Cheesecakes
This Grinch Mini Cheesecakes recipe makes perfectly juicy, tender, and flavorful steak every time! Serve with potatoes and a side salad for an unforgettable dinner in under 30 minutes.
Ingredients
Crust
Filling
Topping
Instructions
Preheat and line pan
Preheat the oven to 350 degrees Fahrenheit. Line a 12 cup cupcake pan with paper liners and place on a flat baking sheet for stability.
Make the crust
Pulse 10 to 11 Oreo cookies in a food processor until fine crumbs form. Add melted butter and pulse until the mixture holds together when pressed. Divide crumbs among liners and press firmly to form a compact base.
Prepare the filling
Beat softened cream cheese and sugar until smooth. Add eggs one at a time, mixing until just incorporated. Stir in vanilla. Add gel food coloring a little at a time until you reach the desired neon green shade, mixing gently to avoid air bubbles.
Assemble and bake
Spoon about one quarter cup of filling into each crust lined cup. Bake at 350 degrees Fahrenheit for 15 to 17 minutes, until centers are slightly jiggly when gently shaken. Remove and cool completely on a wire rack.
Chill and finish
Refrigerate at least two hours or until firm. Top with whipped cream and sprinkles just before serving. Store chilled in an airtight container up to 48 hours or freeze for longer storage.
Last Step: Please leave a rating and comment letting us know how you liked this recipe! This helps our business to thrive and continue providing free, high-quality recipes for you.
Nutrition
Did You Make This?
Leave a comment & rating below or tag
@moodcooks on social media!
Categories:
You might also like...
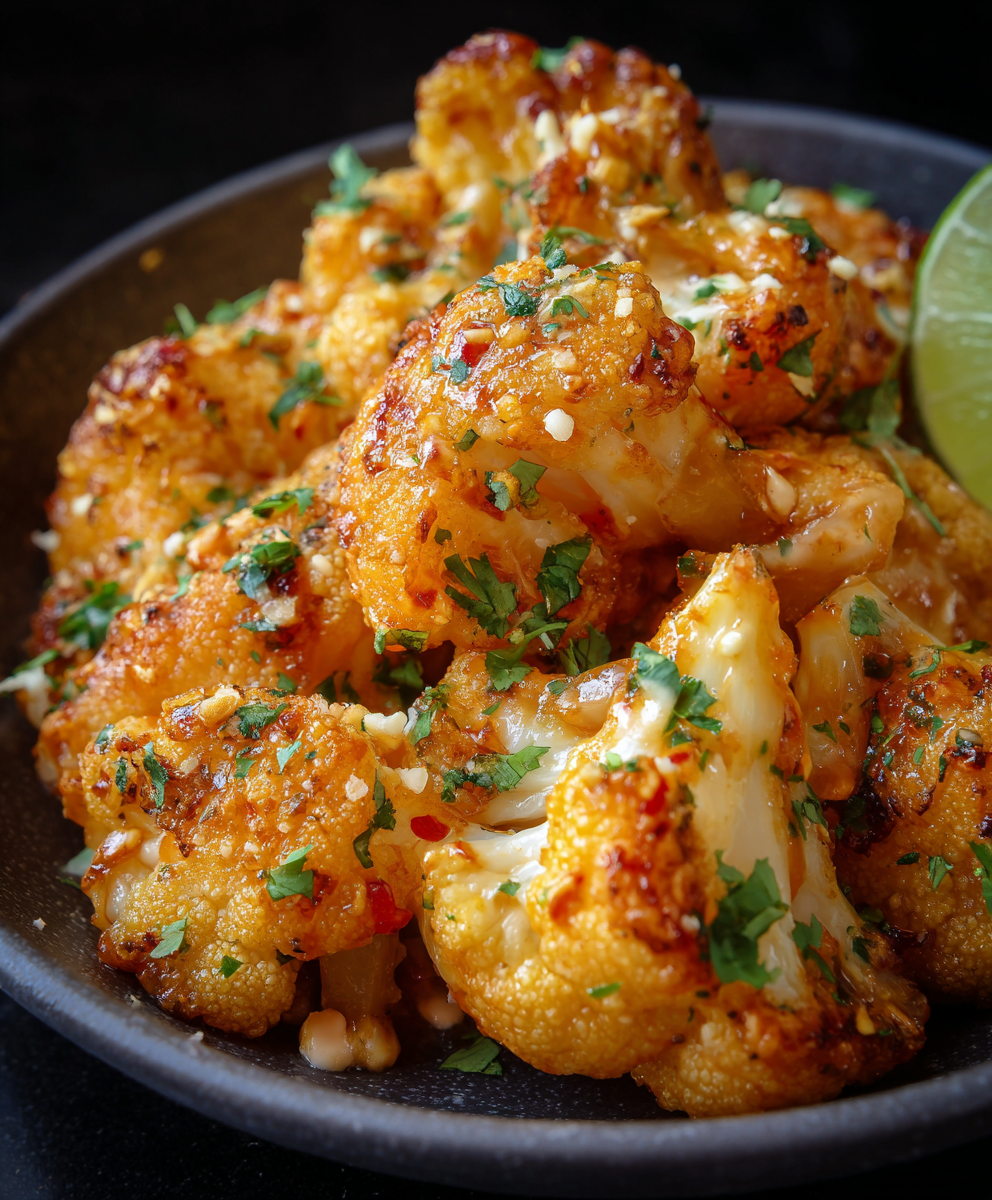
Air Fryer Bang Bang Cauliflower
Crispy air-fried cauliflower tossed in a creamy sweet-spicy bang bang sauce — a crunchy, vegetarian appetizer or weeknight favorite that's ready in about 30 minutes.
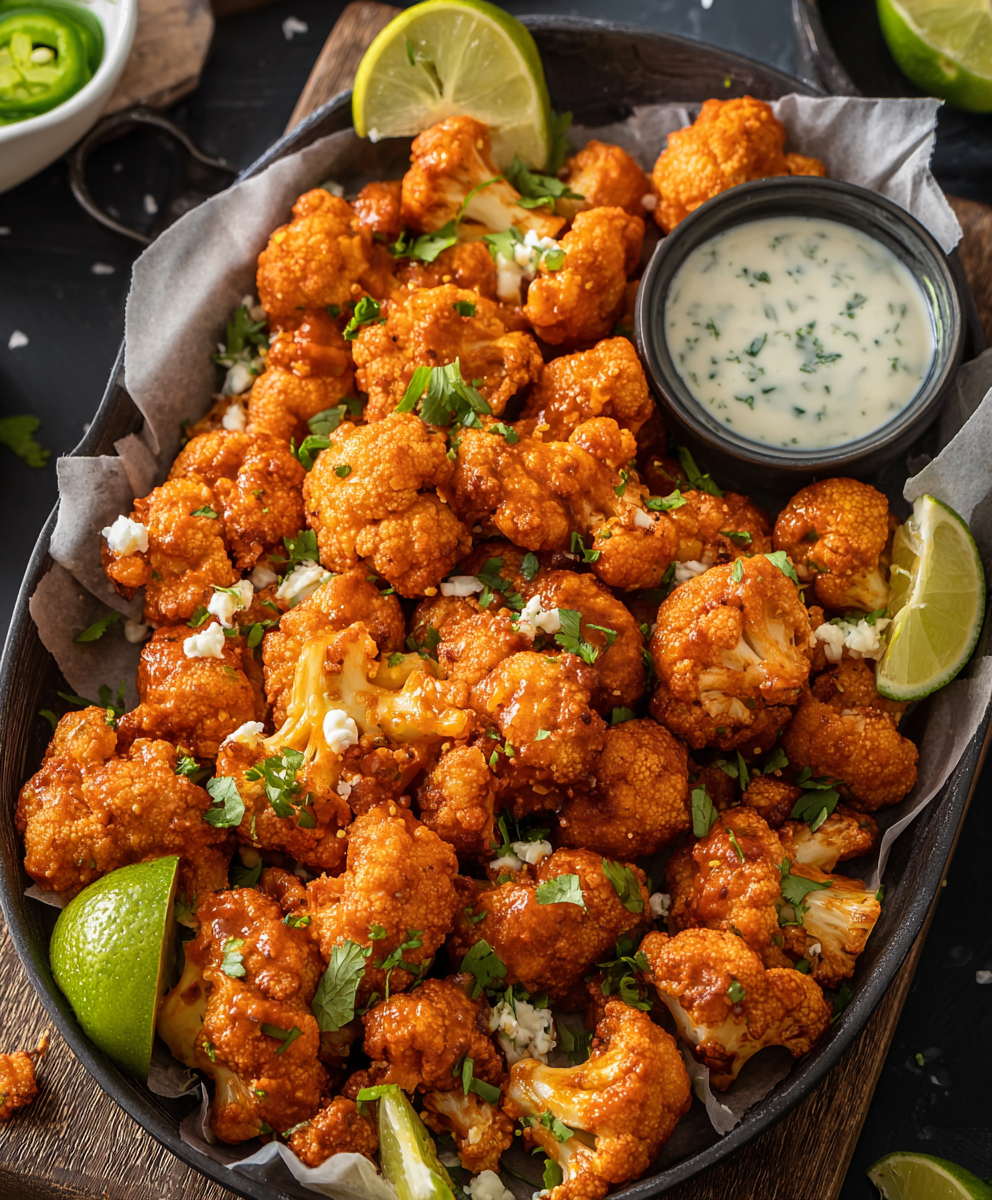
Air Fryer Buffalo Cauliflower
Crispy battered cauliflower florets tossed in tangy buffalo sauce — a spicy, vegetarian crowd-pleaser ready in under 40 minutes.
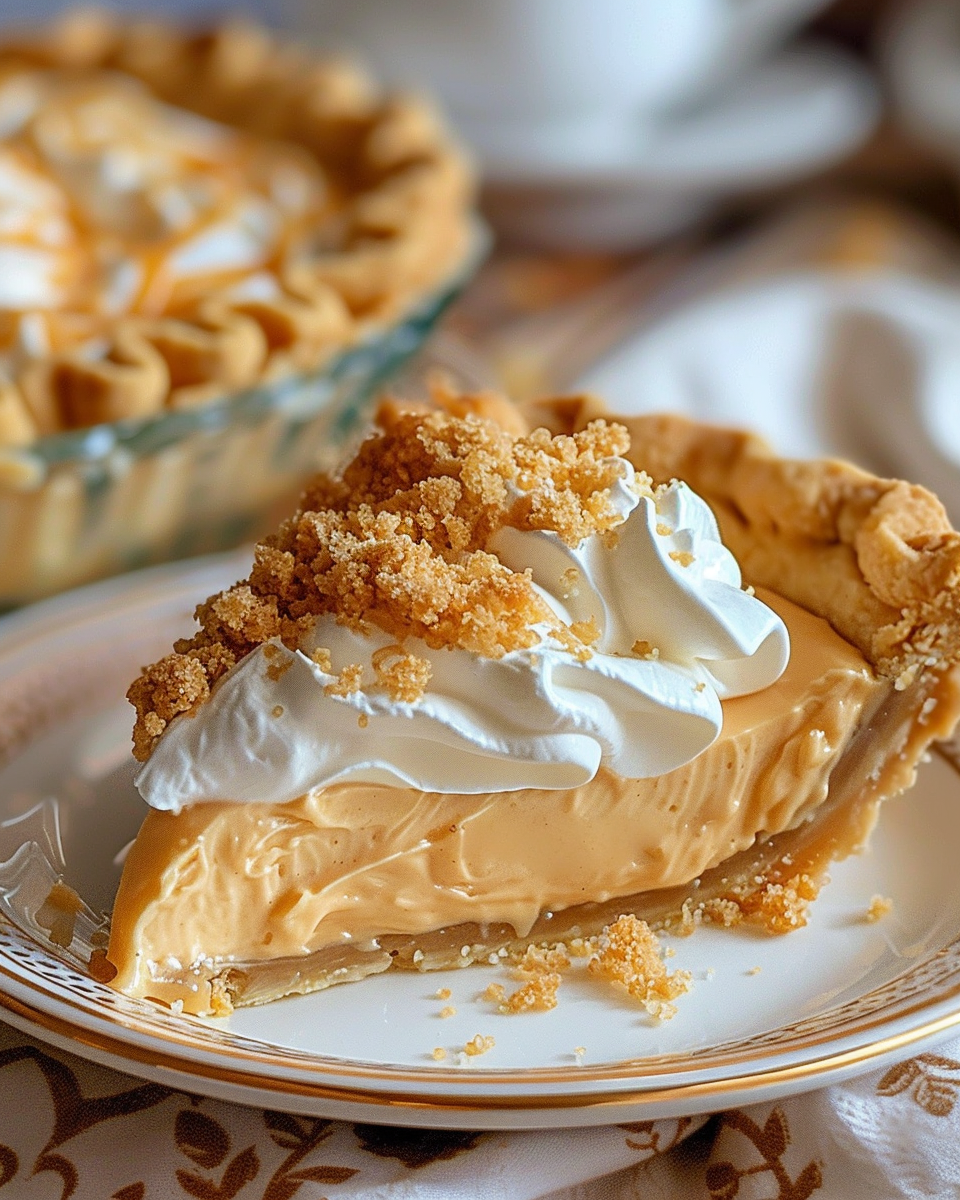
Amish Peanut Butter Cream Pie
A nostalgic, no-bake peanut butter cream pie inspired by Amish kitchens—silky peanut butter filling, crunchy crumbles, and pillowy whipped topping in a buttery 9-inch crust.
Did You Make This?
Leave a comment & rating below or tag @moodcooks on social media!
Rate This Recipe
Share This Recipe
Enjoyed this recipe? Share it with friends and family, and don't forget to leave a review!
Comments (1)
This recipe looks amazing! Can't wait to try it.
Comments are stored locally in your browser. Server comments are displayed alongside your local comments.

Hi, I'm Olivia!
What's Popular
30-Minute Meals!
Join to receive our email series which contains a round-up of some of our quick and easy family favorite recipes.