
Crunchy Oven-Baked Chicken Taquitos

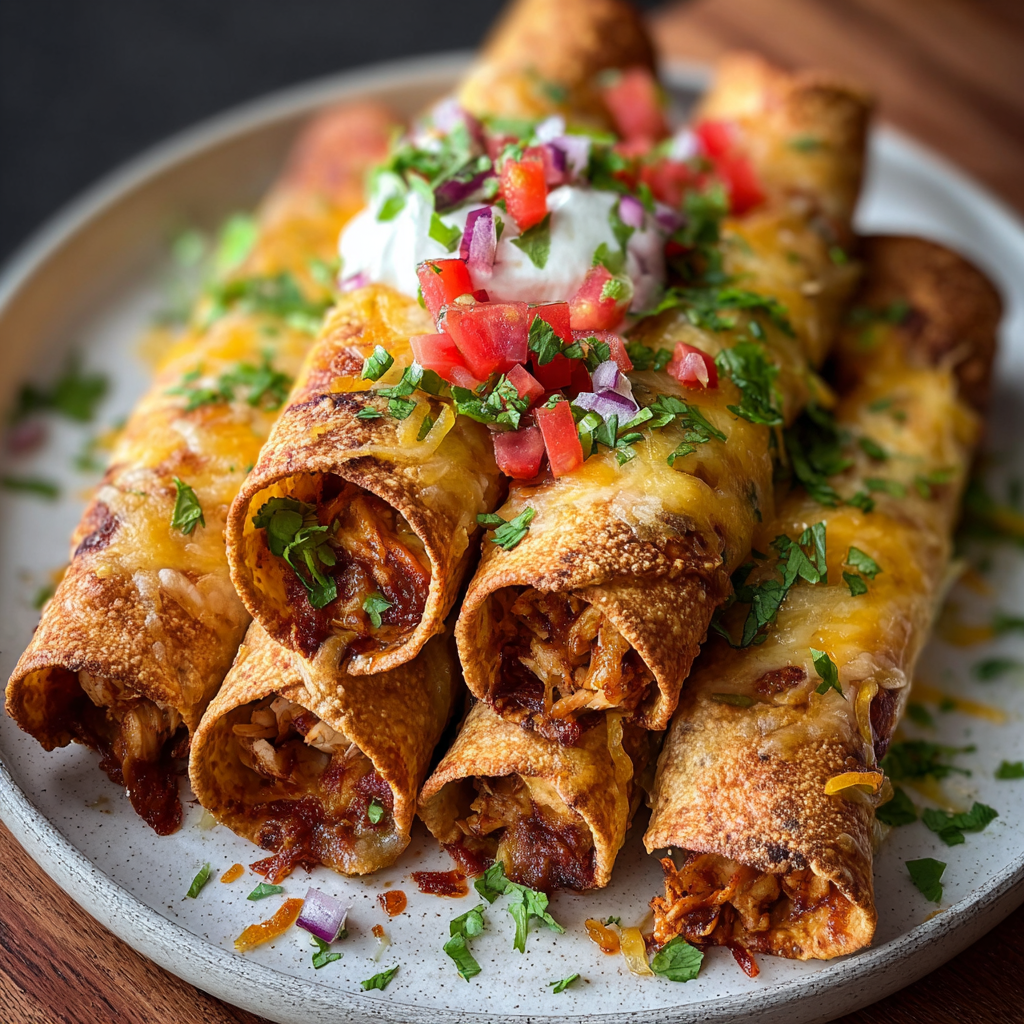
Golden, crunchy taquitos filled with savory shredded chicken and melty cheese — an easy, crowd-pleasing appetizer perfect for parties or weeknight dinners.

This recipe for crunchy oven-baked chicken taquitos has been my go-to when friends drop by unexpectedly or when I want something that feels celebratory without a lot of fuss. I discovered this combination one weekend when I had leftover roasted chicken and a bag of small tortillas; the oven did the heavy lifting and turned simple pantry ingredients into something everyone reached for. The exterior bakes up crisp and slightly blistered while the interior remains saucy and melty, with a gentle kick from chili powder and pepper jack cheese that keeps things lively.
I make these when I want to feed a small crowd, and they travel well to potlucks because they hold their crunch for a surprising amount of time if kept warm in a low oven. What makes them special is how the spices, cilantro, and the two-cheese combo balance richness and brightness: cheddar gives a classic tang and structure while pepper jack brings creaminess plus a little heat. Every time I serve them with a trio of dips — fresh salsa, cool sour cream, and chunky guacamole — the plates return empty and the conversation lingers on the flavors.
Why You'll Love This Recipe
- Ready in about 40 minutes from start to finish, making it a perfect quick appetizer or weeknight option when you need something fast and satisfying.
- Uses pantry and fridge staples like shredded chicken, tortillas, and shredded cheeses so you can assemble without a special grocery trip.
- Oven-baked method gives the same satisfying crunch as frying but with far less oil and far less mess to clean up afterwards.
- Make-ahead friendly: assemble and refrigerate, then bake when guests arrive to keep the filling fresh and melty.
- Flexible with tortillas — flour for pliability or corn for a slightly lighter, traditional feel; both turn golden and crisp in the oven.
- Crowd-pleasing and shareable: perfect for informal entertaining, sports nights, or a casual family dinner where everyone can dip and customize.
I often halve this when it’s just a family night, but I love scaling up for weekend get-togethers. One memorable evening I plated a batch with charred corn salsa and pickled red onions, and they disappeared within minutes; my neighbor asked for the recipe before dessert. That kind of instant approval is why these taquitos live in my regular rotation.
Ingredients
- Cooked shredded chicken (2 cups): Use a rotisserie chicken for ease or poach breasts and shred. Dark meat from thighs gives more moisture; white meat from breasts will be leaner. Pull the meat finely so the rolls stay compact.
- Shredded cheddar cheese (1 cup): Sharp cheddar adds tang and structure. I like Cabot or Tillamook for a reliable melt and flavor. Pack it lightly when measuring so you don’t over-cheese the filling.
- Shredded pepper jack cheese (1 cup): Adds creaminess and a mild spice. Monterey Jack blended with jalapeño is a great substitute if you cannot find pepper jack.
- Ground cumin (1 teaspoon) and chili powder (1 teaspoon): These warm spices build depth. Use pure cumin and an ancho-based chili powder for a rounded flavor rather than something overly smoky.
- Garlic powder (1/2 teaspoon) and onion powder (1/2 teaspoon): Provide a background savory note that keeps the filling consistent even without fresh aromatics.
- Salt and pepper: Season to taste; start with 1/2 teaspoon salt and a few cranks of black pepper and adjust after mixing the filling.
- Fresh cilantro (1/4 cup, chopped): Brightens the filling; add more if you enjoy an herbal punch. Pick flat-leaf cilantro for best flavor.
- Small flour or corn tortillas (12): Use 6-inch tortillas for perfect taquitos. Warm them briefly to prevent cracking when rolling.
- Olive oil spray or olive oil (2 tablespoons): Light coating helps the exterior crisp evenly. An oil spray is the quickest for even coverage.
- Salsas and dips: Serve alongside fresh salsa, sour cream, and guacamole for contrast and cooling creaminess.
Instructions
Mix the Filling: In a large bowl, combine the 2 cups of shredded chicken with 1 cup shredded cheddar and 1 cup shredded pepper jack. Stir in 1 teaspoon ground cumin, 1 teaspoon chili powder, 1/2 teaspoon garlic powder, 1/2 teaspoon onion powder, 1/4 cup chopped cilantro, and salt and pepper to taste. The mixture should be slightly tacky so it holds together when rolled; if it is too dry, add a tablespoon of sour cream or a teaspoon of olive oil. Warm the Tortillas: Warm tortillas in a dry skillet over medium heat for about 10 seconds per side or wrap in a damp towel and microwave for 20 seconds. Warming makes them pliable and prevents cracking when you roll them tightly. Assemble the Rolls: Place about 2 to 3 tablespoons of filling along the lower third of each warmed tortilla. Roll tightly, tucking the edges as you go to form a snug cylinder. Place seam-side down on a baking sheet lined with parchment or a silicone mat to keep them closed while baking. Brush or Spray with Oil: Lightly spray or brush each roll with olive oil; this promotes even browning and crisping. If you prefer, use an oil mister to get a thin, uniform layer without excess grease. Bake Until Golden: Preheat the oven to 425 degrees Fahrenheit and bake for 18 to 20 minutes, turning once halfway through so all sides brown evenly. Look for golden-brown edges and blistered spots on the tortillas; the cheese inside should be fully melted and the filling piping hot. Rest and Serve: Let the taquitos rest 3 to 5 minutes on the baking sheet so the filling firms up slightly for easier handling. Serve warm with bowls of salsa, sour cream, and guacamole for dipping.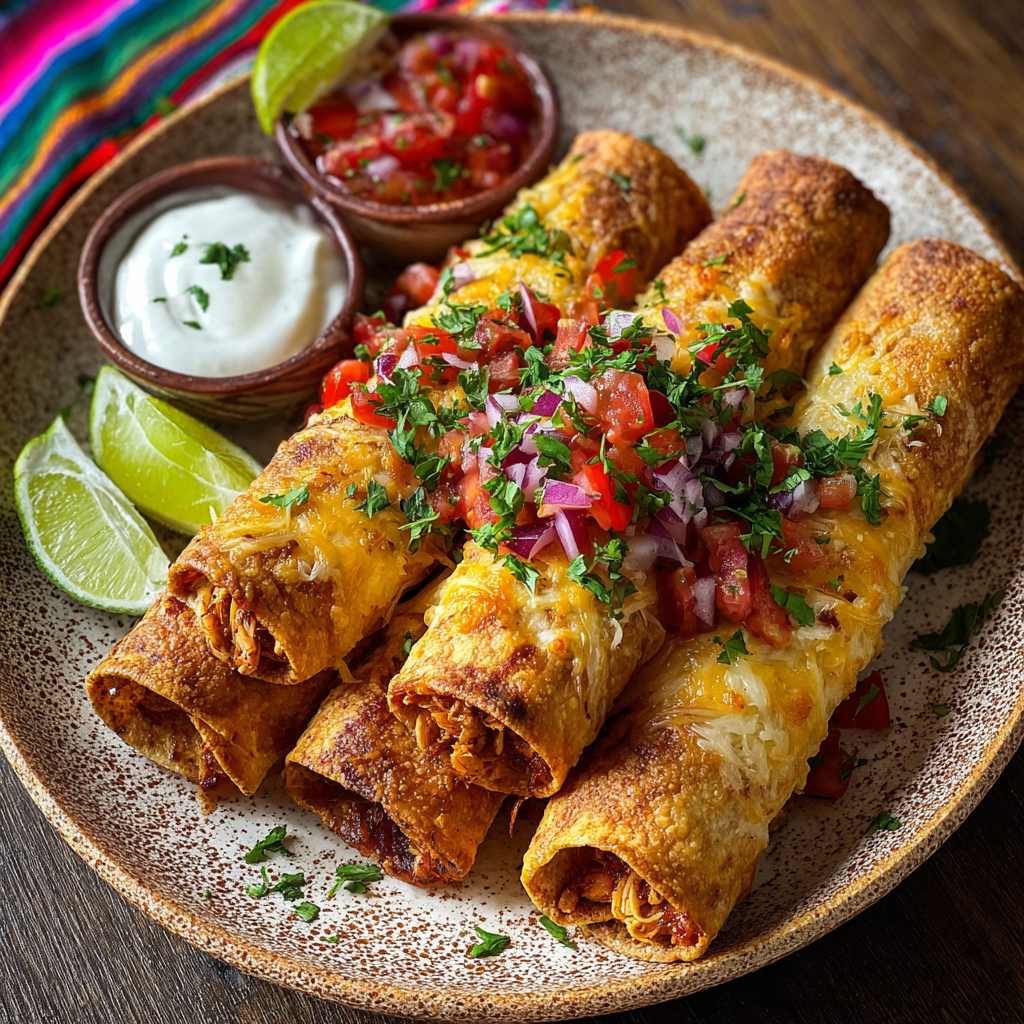
You Must Know
- These hold well in a warm oven at 200 degrees Fahrenheit for up to 30 minutes without significant sogginess; avoid keeping them longer to preserve crispness.
- They freeze well before baking: arrange on a sheet tray, freeze until solid, then transfer to a freezer bag and bake from frozen adding 4 to 6 minutes to the bake time.
- The filling is high in protein thanks to the chicken and cheese; estimate about 20 grams of protein per serving depending on portion size.
- Use corn tortillas for a gluten-free option; check labels if you need certified gluten-free products, and choose dairy-free cheese if avoiding lactose.
- Leftovers reheat best in a 375 degrees Fahrenheit oven for 8 to 10 minutes to revive the crisp exterior.
My favorite thing about these is how reliably they win over mixed audiences: kids love the crunch and melty cheese while adults appreciate the spice and dips. One college potluck I brought a tray of these and left instructions to reheat in a preheated oven; they returned warm and crisp and were the first to disappear. I always keep the spice ratio mild so the flavor is flexible for different palates.
Storage Tips
Store cooled taquitos in an airtight container in the refrigerator for up to 3 days. If you plan to refrigerate assembled but unbaked rolls, place them seam-side down on a parchment-lined tray, cover tightly, and bake within 24 hours to avoid soggy tortillas. For longer storage, freeze unbaked rolls on a sheet tray until solid, then transfer to a labeled freezer bag for up to 3 months. Reheat frozen baked taquitos in a 375 degrees Fahrenheit oven for 12 to 15 minutes or straight from frozen for 18 to 22 minutes. Avoid microwaving if you want to preserve crunch; use the microwave only for a quick warm-up followed by a 3-minute oven finish.
Ingredient Substitutions
If you want to lighten the filling, swap half of the cheese with 1/2 cup plain Greek yogurt; this keeps moisture and tang while lowering saturated fat. For a vegetarian version, substitute shredded chicken with seasoned and sautéed jackfruit or a mix of black beans and corn. If you prefer smokier flavor, add 1/2 teaspoon smoked paprika or use chipotle in adobo (1 teaspoon, minced) to intensify heat and depth. For gluten-free, use small corn tortillas that are pliable when warmed. To reduce sodium, use a low-sodium shredded cheese and taste before adding extra salt.
Serving Suggestions
Serve on a large platter with bowls of pico de gallo, guacamole, and a lime-infused sour cream for dipping. Garnish with extra chopped cilantro and thin slices of radish for color and crunch. These pair well with a crisp green salad, charred street corn, or a simple black bean and mango salad for summer gatherings. For a party, arrange them upright in a box or tin lined with parchment to keep them visually appealing and easy to grab.
Cultural Background
Taquitos have roots in Mexican street food traditions where small, tightly rolled tortillas are filled and fried. The oven-baked technique adapts that heritage to home kitchens, retaining the handheld convenience while offering a lighter finish. In different regions, fillings vary widely from shredded beef to potatoes and cheese; in the United States, chicken taquitos have become a popular and approachable variant, often appearing in casual dining and family-friendly menus. This recipe honors the compact, flavorful spirit of taquitos while making them accessible for busy cooks.
Seasonal Adaptations
In summer, fold in fresh grilled corn and chopped cherry tomatoes to the filling for brightness; add a squeeze of lime before rolling. During fall and winter, try warming spices like a 1/2 teaspoon of cinnamon with chili powder and swap cilantro for chopped flat-leaf parsley if cilantro is out of season. For holiday gatherings, make a platter with a variety of fillings — turkey with cranberry relish or roast beef with horseradish crema — to echo seasonal flavors and create an impressive spread.
Meal Prep Tips
Make a double batch of filling and portion it into 2-cup containers for quick assembly on busy nights. Assemble taquitos and store them seam-side down on sheet trays covered with plastic wrap in the fridge for up to 24 hours; bake from chilled adding a couple of minutes to the bake time. Use silicone muffin cups to hold assembled rolls upright if your baking sheet is crowded. Label and freeze extras for emergency dinners; baked frozen taquitos are a lifesaver for rushed evenings.
These taquitos are joyful to make and even more joyful to share. They are forgiving, adaptable, and consistently well-loved — a small recipe that delivers big satisfaction. Try your favorite dip combinations and make this version your own.
Pro Tips
Warm tortillas briefly before rolling to prevent cracking and ensure a tight roll.
Lightly spray or brush the rolls with oil to achieve an even, golden crisp without deep-frying.
Assemble ahead and refrigerate for up to 24 hours; bake when ready to serve for best texture.
Freeze unbaked rolls on a tray first to keep them from sticking together, then bag for long-term storage.
This nourishing crunchy oven-baked chicken taquitos recipe is sure to be a staple in your kitchen. Enjoy every moist, high protein slice — it is perfect for breakfast or as a wholesome snack any time.
Tags
Crunchy Oven-Baked Chicken Taquitos
This Crunchy Oven-Baked Chicken Taquitos recipe makes perfectly juicy, tender, and flavorful steak every time! Serve with potatoes and a side salad for an unforgettable dinner in under 30 minutes.
Ingredients
Filling
Tortillas & Finish
Instructions
Mix the Filling
Combine shredded chicken with both cheeses, spices, cilantro, and salt and pepper in a large bowl. Ensure mixture is slightly tacky so it holds together; add a tablespoon of sour cream if needed.
Warm the Tortillas
Warm tortillas in a dry skillet for 10 seconds per side or microwave wrapped in a damp towel for 20 seconds to make them pliable and prevent cracking when rolled.
Assemble the Rolls
Place 2 to 3 tablespoons of filling on the lower third of each tortilla, roll tightly and place seam-side down on a parchment-lined baking sheet to keep them closed during baking.
Brush with Oil and Bake
Lightly spray or brush rolls with olive oil. Bake in a preheated 425 degrees Fahrenheit oven for 18 to 20 minutes, turning once halfway through for even browning.
Rest and Serve
Allow taquitos to rest 3 to 5 minutes for the filling to set, then serve warm with salsa, sour cream, and guacamole for dipping.
Last Step: Please leave a rating and comment letting us know how you liked this recipe! This helps our business to thrive and continue providing free, high-quality recipes for you.
Nutrition
Did You Make This?
Leave a comment & rating below or tag
@moodcooks on social media!
Categories:
You might also like...
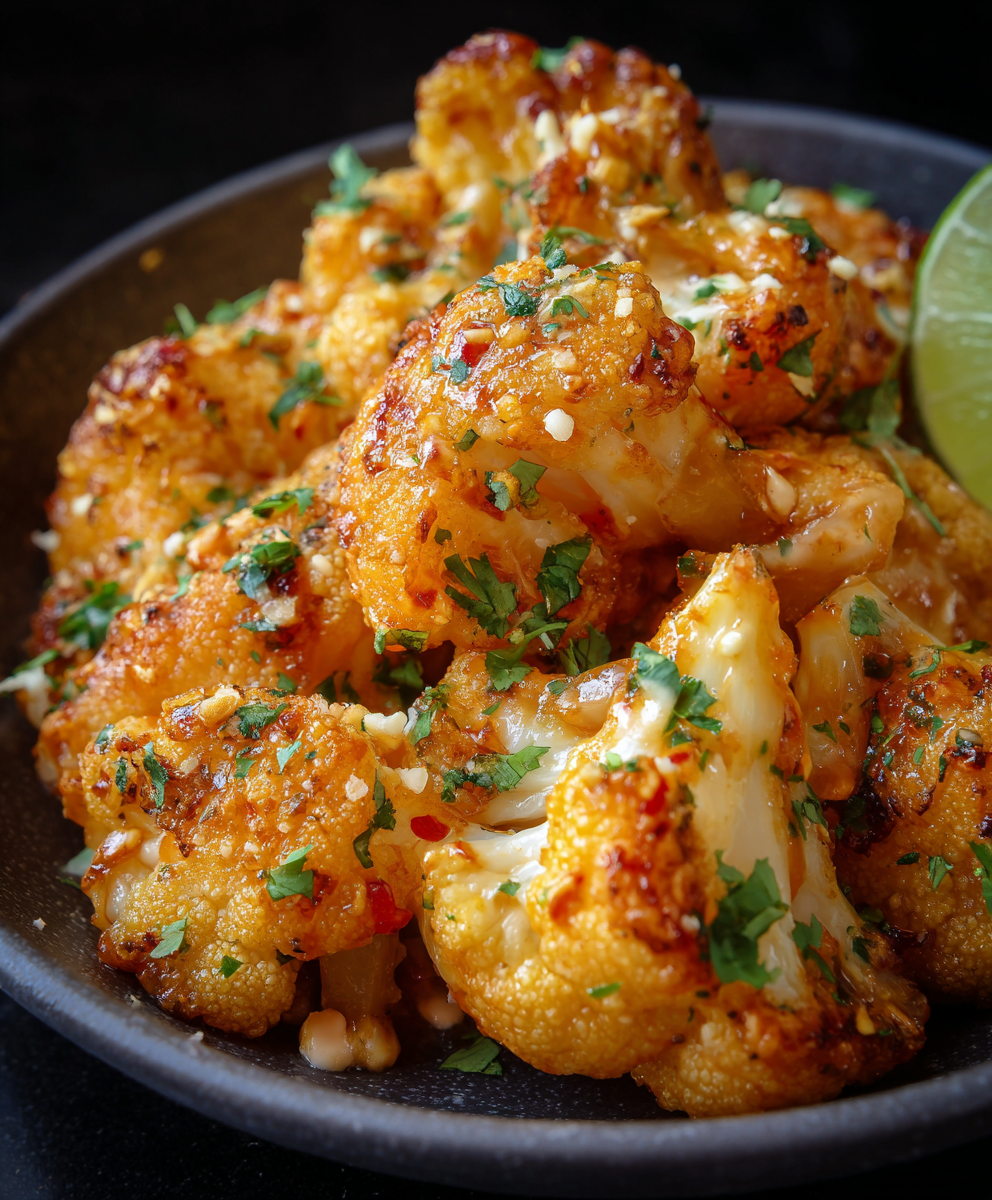
Air Fryer Bang Bang Cauliflower
Crispy air-fried cauliflower tossed in a creamy sweet-spicy bang bang sauce — a crunchy, vegetarian appetizer or weeknight favorite that's ready in about 30 minutes.
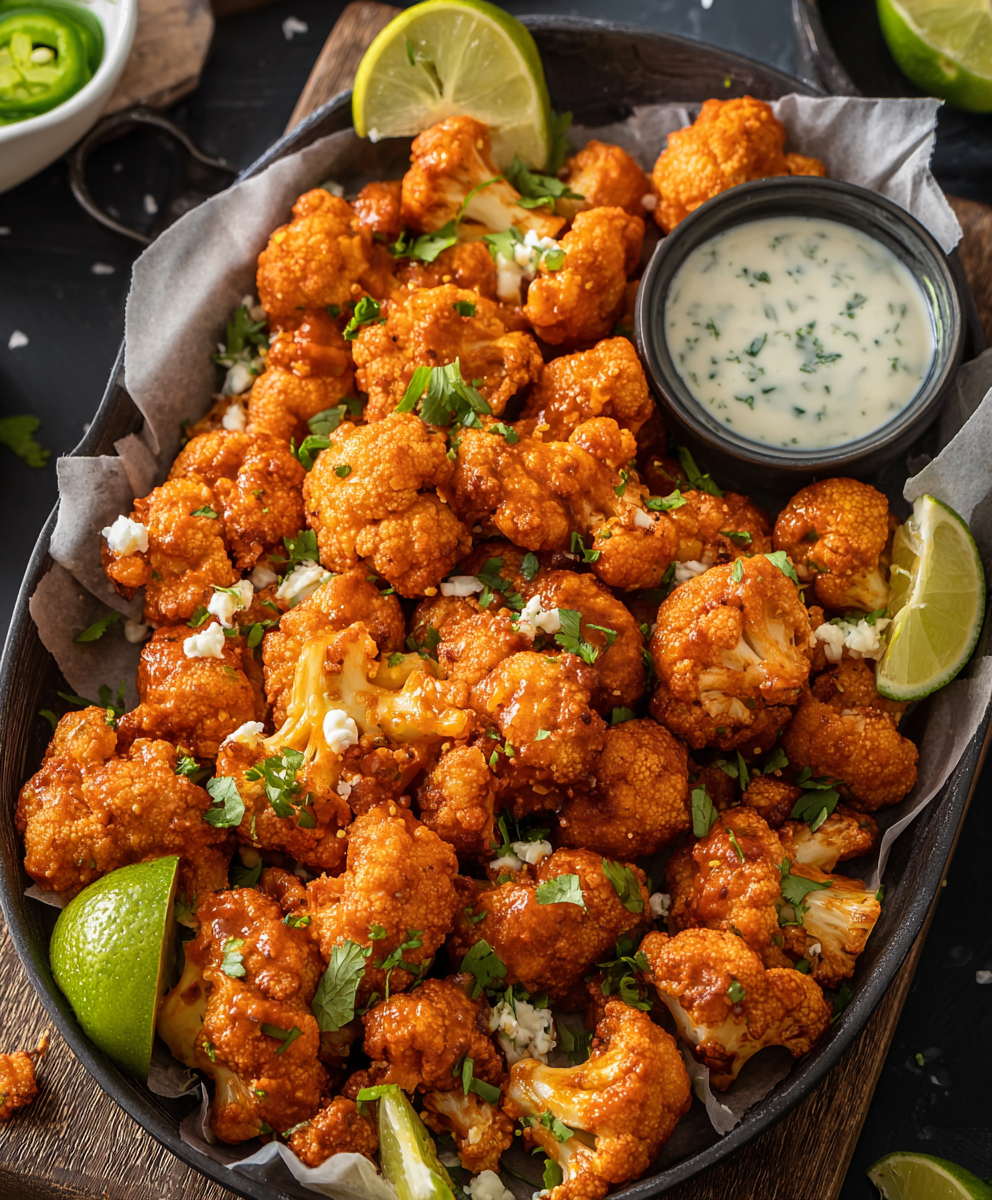
Air Fryer Buffalo Cauliflower
Crispy battered cauliflower florets tossed in tangy buffalo sauce — a spicy, vegetarian crowd-pleaser ready in under 40 minutes.
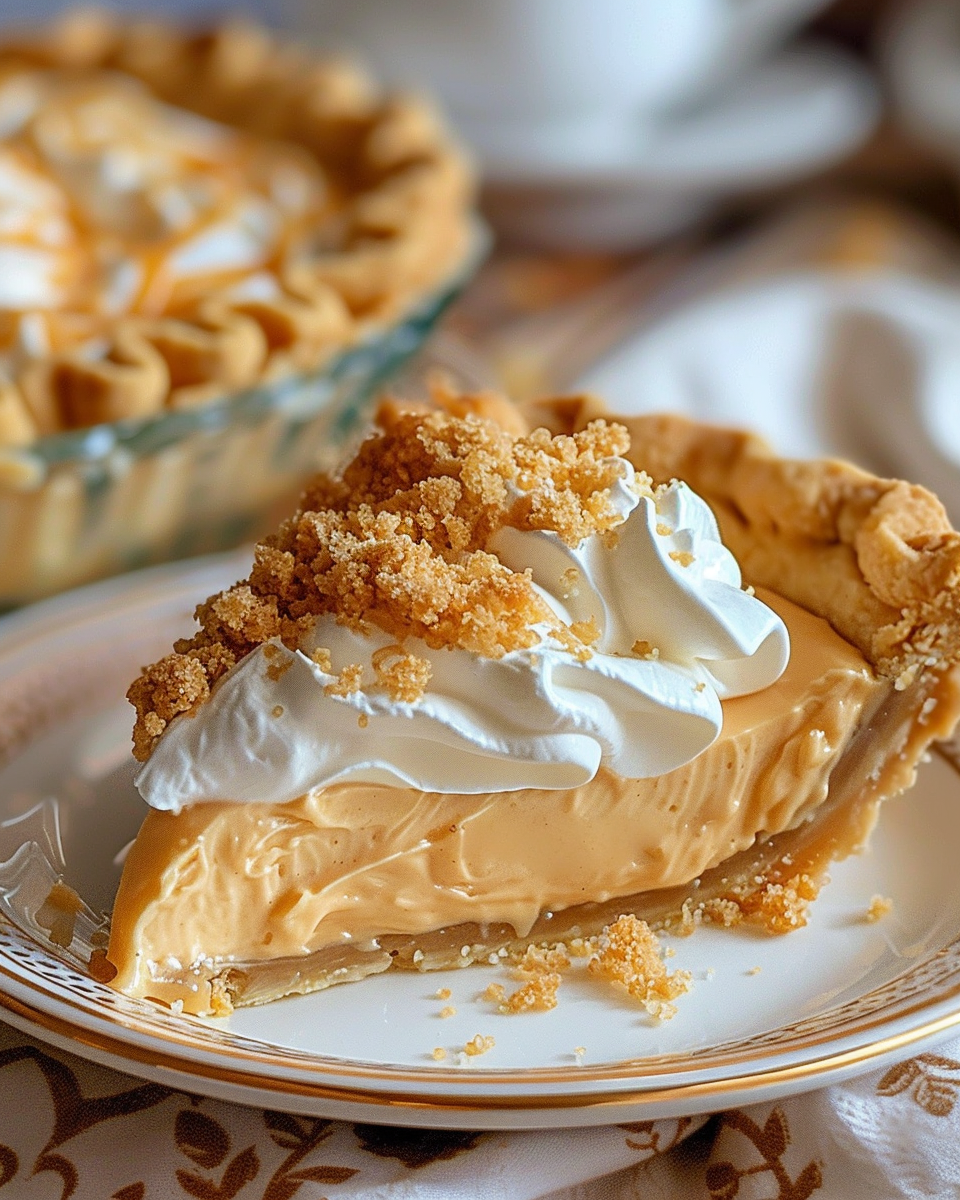
Amish Peanut Butter Cream Pie
A nostalgic, no-bake peanut butter cream pie inspired by Amish kitchens—silky peanut butter filling, crunchy crumbles, and pillowy whipped topping in a buttery 9-inch crust.
Did You Make This?
Leave a comment & rating below or tag @moodcooks on social media!
Rate This Recipe
Share This Recipe
Enjoyed this recipe? Share it with friends and family, and don't forget to leave a review!
Comments (1)
This recipe looks amazing! Can't wait to try it.
Comments are stored locally in your browser. Server comments are displayed alongside your local comments.

Hi, I'm Olivia!
What's Popular
30-Minute Meals!
Join to receive our email series which contains a round-up of some of our quick and easy family favorite recipes.