
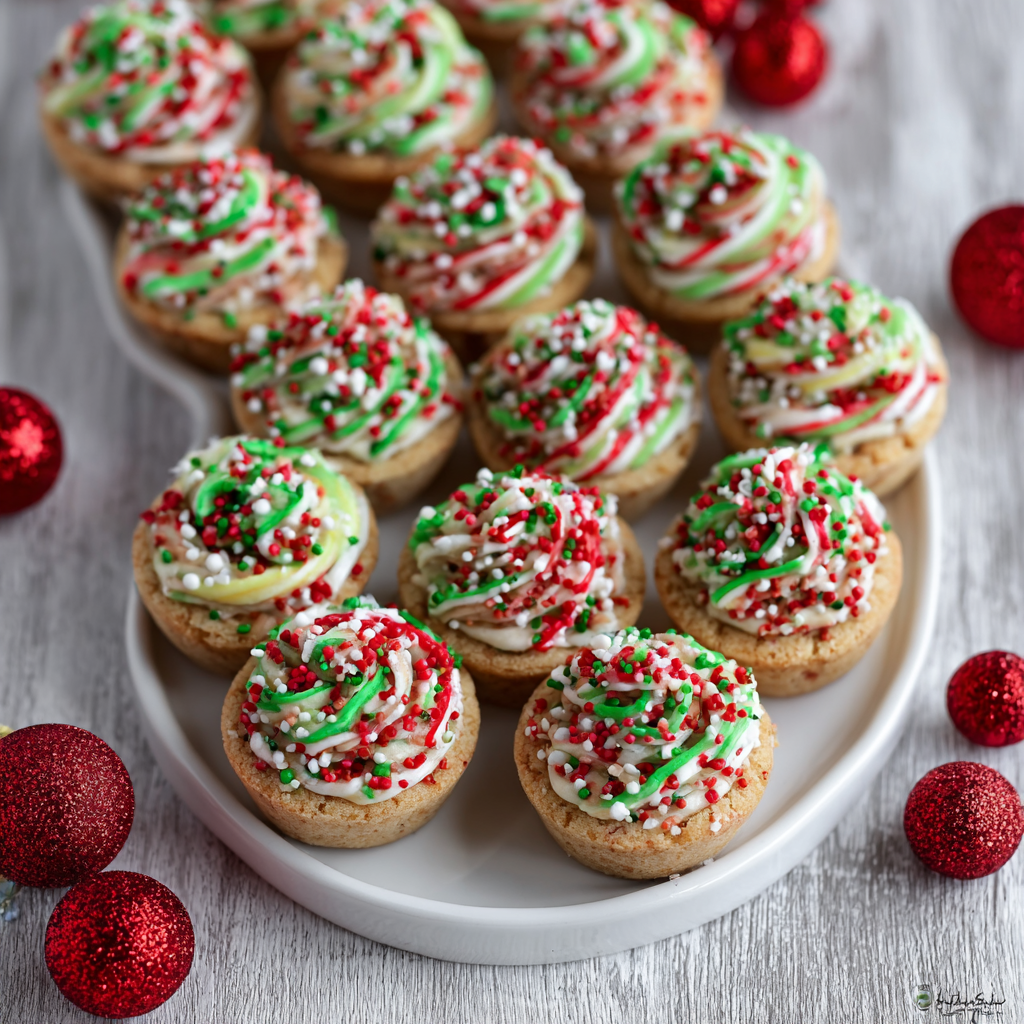
Christmas Sprinkle Cookie Cups

Buttery cookie cups filled with creamy vanilla frosting and bright red and green sprinkles — a festive, bite-sized treat perfect for holiday gatherings.
This recipe began as a playful experiment one December afternoon when I wanted to turn classic sugar cookie dough into something more festive for our holiday cookie swap. I discovered that a slightly richer dough pressed into mini muffin tins becomes delightfully tender and holds a small dollop of frosting perfectly. The red and green sprinkles embedded into the dough and scattered on top give every bite a cheerful crunch that children and adults both love.
I first made these cups for a family brunch and watched them disappear faster than I could plate them. They are buttery, slightly crisp at the edges, and soft in the center, with a silky vanilla filling that balances the sweet dough. What makes them special is the handheld size and the way the frosting nestles into the little well, creating a festive mini dessert that looks as good as it tastes. I often keep extra dough in the freezer for last-minute holiday guests.
Why You'll Love This Recipe
- Easy to shape and bake: ready in about 40 minutes from start to finish, including quick chilling time for the dough.
- Uses pantry staples: most ingredients are common in any home pantry — butter, sugar, flour, egg, and a splash of vanilla.
- Kid-friendly assembly: kids can help press dough into tins and sprinkle the festive red and green bits.
- Make-ahead friendly: dough freezes well and frosting keeps for several days refrigerated, so you can prepare components ahead.
- Crowd-pleasing presentation: bite-sized portions are perfect for parties, cookie exchanges, or packing into gift boxes.
My family calls these the little happy cups because they always brighten holiday tables. One year I brought a tin to my mother-in-law’s knitting group and someone insisted I hand over the printed recipe before the last cup was gone. The texture contrast between the tender cup and the smooth frosting keeps people coming back for another.
Ingredients
- Unsalted butter: 1 1/4 cups softened. Use a high-quality European-style butter if you want a deeper flavor; room temperature butter creams more easily and helps with a tender crumb.
- Powdered sugar: 1 1/2 cups for the dough and an additional 2 1/2 cups for the frosting. Sift before measuring to avoid lumps and to ensure a smooth frosting texture.
- Baking powder & salt: 1 teaspoon baking powder and 1/2 teaspoon salt. The baking powder gives a gentle lift so the cups keep their shape without spreading too thin.
- Egg & vanilla: 1 egg and 1 teaspoon vanilla extract. The egg binds the dough and the vanilla enriches both dough and frosting.
- Flour: 2 1/2 cups all-purpose flour. Measure by spooning into the cup and leveling for accuracy to avoid a dense result.
- Sprinkles: 1/4 cup red sprinkles and 1/4 cup green sprinkles folded into the dough, plus additional sprinkles for garnish. Choose sturdy sugar sprinkles that hold color during mixing and baking.
- Frosting: 1/2 cup unsalted butter softened, 2 1/2 cups powdered sugar, 1 teaspoon vanilla, 1/2 teaspoon salt, and 2 to 3 tablespoons milk for spreading consistency.
Instructions
Prepare the Dough: Cream 1 1/4 cups softened unsalted butter with 1 1/2 cups powdered sugar until light and fluffy, about 3 to 4 minutes with an electric mixer. Add 1 egg and 1 teaspoon vanilla and mix until incorporated. Whisk together 2 1/2 cups all-purpose flour, 1 teaspoon baking powder, and 1/2 teaspoon salt in a separate bowl, then add to the butter mixture on low speed until a soft dough forms. Fold in 1/4 cup red sprinkles and 1/4 cup green sprinkles by hand to keep the colors distinct. Chill and Shape: Chill the dough for 20 to 30 minutes; colder dough is easier to press into tins and keeps the cups from spreading. Preheat oven to 350 degrees F. Grease a standard 24-cup mini muffin tin or line with mini paper cups. Scoop roughly 1 tablespoon of dough and press into the mini cup, forming a slight well in the center. Work quickly so the butter does not soften excessively. Bake the Cups: Bake at 350 degrees F for 10 to 12 minutes until edges are just golden and centers look set but not dry. Rotate the tin halfway through baking for even color. Remove from oven and immediately press down the centers again with the end of a wooden spoon or a round measuring spoon to re-form the well while the cups are still warm. Let cool in the tin for 5 minutes before transferring to a wire rack to cool completely. Make the Frosting: Beat 1/2 cup softened unsalted butter with 2 1/2 cups powdered sugar, 1 teaspoon vanilla, and 1/2 teaspoon salt. Add 2 tablespoons milk and mix until smooth; add the third tablespoon only if needed to reach a spreadable consistency. For a silkier finish, use a paddle attachment and scrape the bowl frequently. Transfer to a piping bag fitted with a medium round or star tip, or use a small spatula. Fill and Decorate: Pipe or spoon about 1 teaspoon of frosting into each cooled cup, filling the wells without overflowing. Immediately garnish with additional sprinkles so they adhere to the frosting. For a polished look, use contrasting sprinkle sizes: fine nonpareils and a few larger sugar pearls if you like a bit more texture. Cooling and Serving: Allow frosting to set 30 minutes at room temperature, or refrigerate for 15 minutes to speed firming. Store finished cups in an airtight container layered with parchment to protect the frosting. Bring to room temperature before serving for best flavor and texture.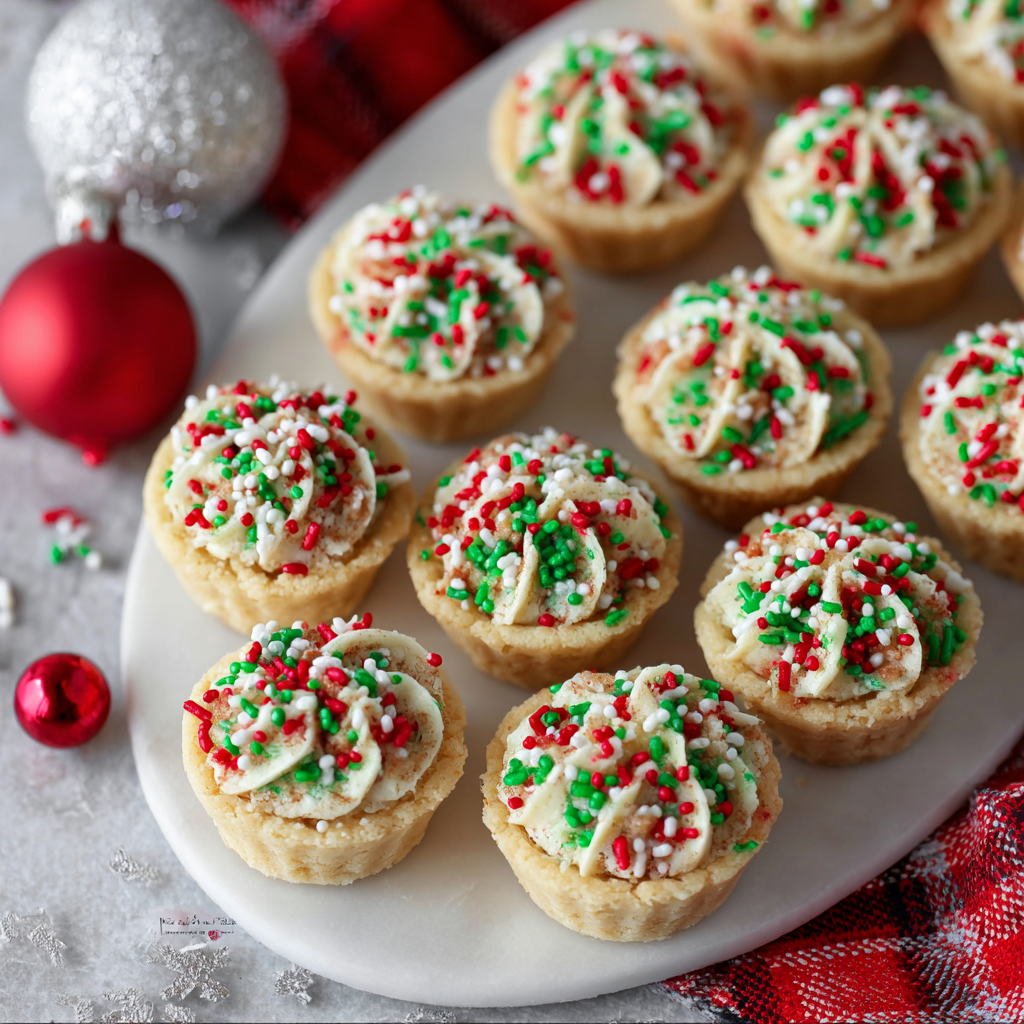
You Must Know
- These cups freeze well for up to 3 months if you flash freeze on a tray and then store in a freezer-safe container. Thaw in the refrigerator overnight before bringing to room temperature.
- Made with butter and egg, the cups are high in fat and contain gluten; keep this in mind for guests with allergies.
- The frosting is stabilizable by adding 1 teaspoon of clear gel stabilizer if you need the topping to hold up at room temperature for display longer than three hours.
- Store finished cups refrigerated for up to 5 days in an airtight container; return to room temperature before serving for the best mouthfeel.
My favorite thing about these little treats is how customizable they are: swap frosting colors, add extracts like almond or citrus, or press a small candy into each center for variety. At one holiday market I sold dozens and customers loved that they were a tidy, non-messy sweet to eat while mingling.
Storage Tips
To maintain texture, store unfrosted baked cups at room temperature in a single layer inside an airtight container for up to two days. For longer storage, freeze unfrosted cups on a baking sheet until solid, then transfer to a freezer-safe bag for up to three months. Frosting should be stored refrigerated in a sealed container for up to five days; bring it to room temperature and re-whip briefly before piping. Once filled, refrigerate finished cups and allow them to sit at room temperature 20 to 30 minutes before serving to soften the buttercream slightly.
Ingredient Substitutions
For a dairy-free version, replace butter in the dough and frosting with a firm dairy-free spread measured cup for cup and use a plant-based milk for the frosting. If you need egg-free dough, replace the egg with 3 tablespoons applesauce plus 1/4 teaspoon baking powder — expect a slightly denser texture. Use gluten-free 1:1 flour blend in place of all-purpose flour to make them gluten-free; let the dough rest 10 minutes before shaping to hydrate the flours and avoid crumbling.
Serving Suggestions
Serve these with a hot beverage station — spiced tea, dark roast coffee, or hot chocolate work beautifully. For a holiday platter, alternate cups with small piles of sugared cranberries and rosemary sprigs for color and a fragrant touch. They also pair well with light citrus-flavored desserts; a small spoonful of lemon curd on the side brightens the palate after a sweet bite.

Cultural Background
Miniature filled cookies have long been part of European holiday traditions, from Italian ricciarelli to Scandinavian butter cookies. These cups take that idea and adapt it to a modern American holiday aesthetic: a sugar cookie base studded with colorful sprinkles and topped with a smooth buttercream. The concept of embedding sprinkles in the dough has roots in celebratory baking practices where color and texture celebrate seasonal joy.
Seasonal Adaptations
Winter: Add 1/2 teaspoon ground cinnamon to the dough for a warm note. Spring: swap sprinkles for pastel colors and add a few drops of lemon extract to the frosting. For Thanksgiving, use orange and brown sprinkles and a touch of maple extract in the frosting. For Christmas, consider a pinch of ginger in the dough to echo traditional gingerbread spices while keeping the buttery base.
Meal Prep Tips
Make the dough up to 48 hours ahead and keep it covered in the refrigerator; shape and bake on the day you plan to serve. Alternatively, bake the cups a day ahead, cool completely, and freeze in single layers separated by parchment. Prepare the frosting the morning of serving and pipe before guests arrive. For parties, arrange them on tiered trays to save space and create a festive focal point.
These cookie cups have become a holiday staple in my kitchen because they are adaptable, forgiving, and consistently a crowd favorite. Whether you make a sheet of them for a family evening or scale up for a cookie swap, they bring a bit of joy to every gathering. Try them once and you will likely find them on your holiday rotation for years to come.
Pro Tips
Use room-temperature butter to ensure even creaming and a tender texture.
Sift powdered sugar before measuring for the smoothest frosting and to prevent lumps.
Chill the dough briefly; colder dough is easier to press and prevents spreading in the oven.
Press the centers while the cups are warm to re-form wells for frosting.
This nourishing christmas sprinkle cookie cups recipe is sure to be a staple in your kitchen. Enjoy every moist, high protein slice — it is perfect for breakfast or as a wholesome snack any time.
FAQs about Recipes
Can I freeze the cookie cups?
Yes. Unfrosted baked cups freeze well for up to 3 months. Freeze them on a tray first and then transfer to a freezer-safe container. Thaw overnight in the refrigerator.
How do I keep the center well intact?
Use a spatula to level the dough in the tin and press a well into warm cups right after baking so the centers remain defined.
Tags
Christmas Sprinkle Cookie Cups
This Christmas Sprinkle Cookie Cups recipe makes perfectly juicy, tender, and flavorful steak every time! Serve with potatoes and a side salad for an unforgettable dinner in under 30 minutes.
Ingredients
Cookie Dough
Frosting
Instructions
Prepare the dough
Cream 1 1/4 cups softened unsalted butter with 1 1/2 cups powdered sugar until light and fluffy. Add 1 egg and 1 teaspoon vanilla, mixing until combined. Whisk together 2 1/2 cups all-purpose flour, 1 teaspoon baking powder, and 1/2 teaspoon salt, then add to butter mixture until a soft dough forms. Fold in 1/4 cup red sprinkles and 1/4 cup green sprinkles gently by hand.
Chill and shape
Chill the dough for 20 to 30 minutes. Preheat oven to 350 degrees F. Grease a 24-cup mini muffin tin. Scoop about 1 tablespoon of dough and press into each cup forming a well in the center. Work quickly so the butter does not soften.
Bake the cups
Bake at 350 degrees F for 10 to 12 minutes until edges are lightly golden and centers set. Rotate halfway through baking for even coloring. Immediately press the centers again with the back of a spoon while still warm to re-form wells. Cool in the tin 5 minutes then transfer to a rack to cool completely.
Make the frosting
Beat 1/2 cup softened unsalted butter with 2 1/2 cups powdered sugar, 1 teaspoon vanilla, and 1/2 teaspoon salt. Add 2 tablespoons milk and mix until smooth. Add a third tablespoon of milk only if needed to reach a spreadable consistency. Transfer to a piping bag or use a small spatula for filling.
Fill and garnish
Pipe or spoon about 1 teaspoon of frosting into each cooled cup and immediately top with additional sprinkles. For a neat finish, use a round tip and control pressure while piping so the frosting sits within the well.
Store and serve
Allow frosting to set at room temperature for 30 minutes or refrigerate 15 minutes. Store finished cups in an airtight container in the refrigerator for up to 5 days. Bring to room temperature before serving for best texture.
Last Step: Please leave a rating and comment letting us know how you liked this recipe! This helps our business to thrive and continue providing free, high-quality recipes for you.
Nutrition
Did You Make This?
Leave a comment & rating below or tag
@moodcooks on social media!
Categories:
You might also like...
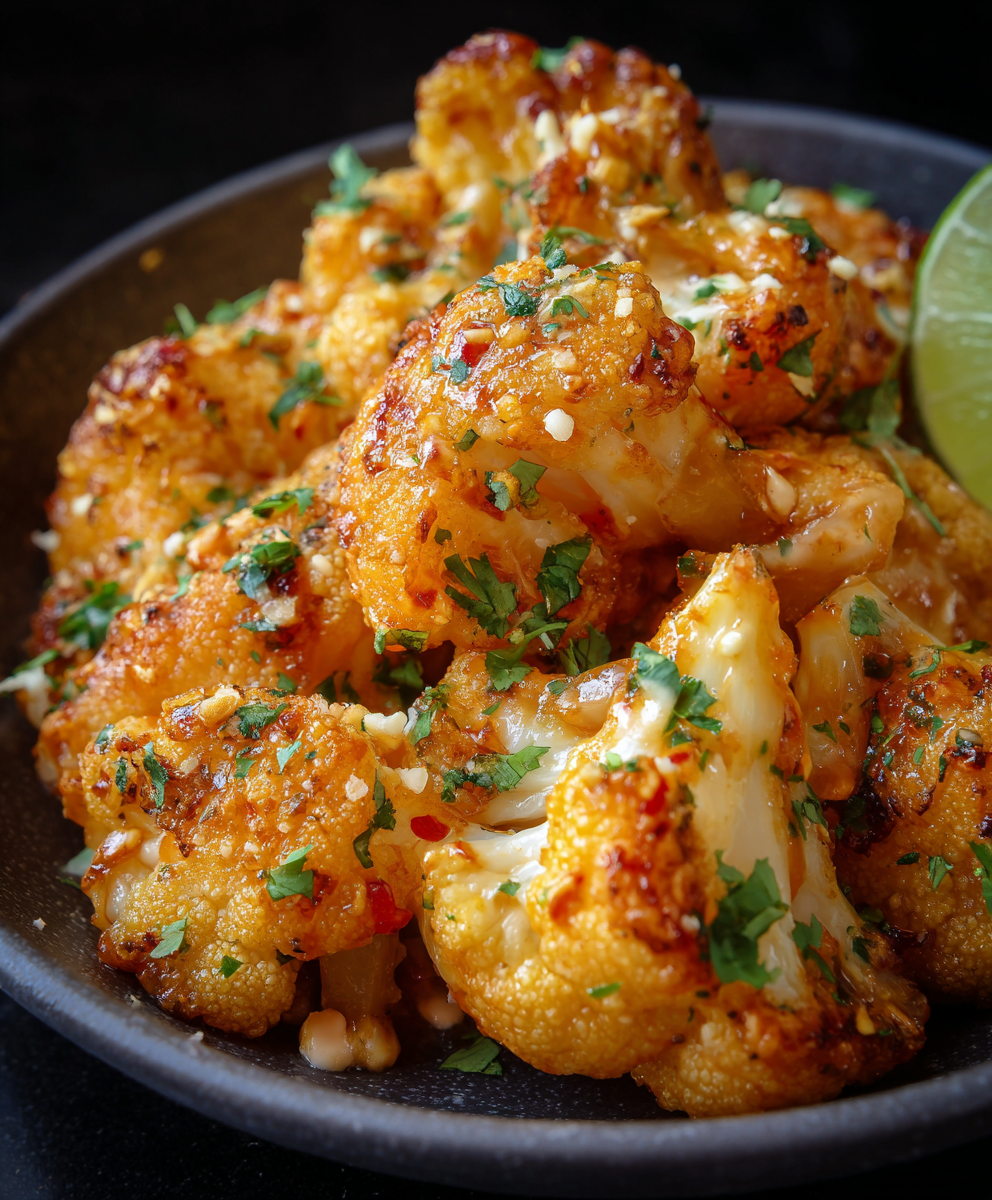
Air Fryer Bang Bang Cauliflower
Crispy air-fried cauliflower tossed in a creamy sweet-spicy bang bang sauce — a crunchy, vegetarian appetizer or weeknight favorite that's ready in about 30 minutes.
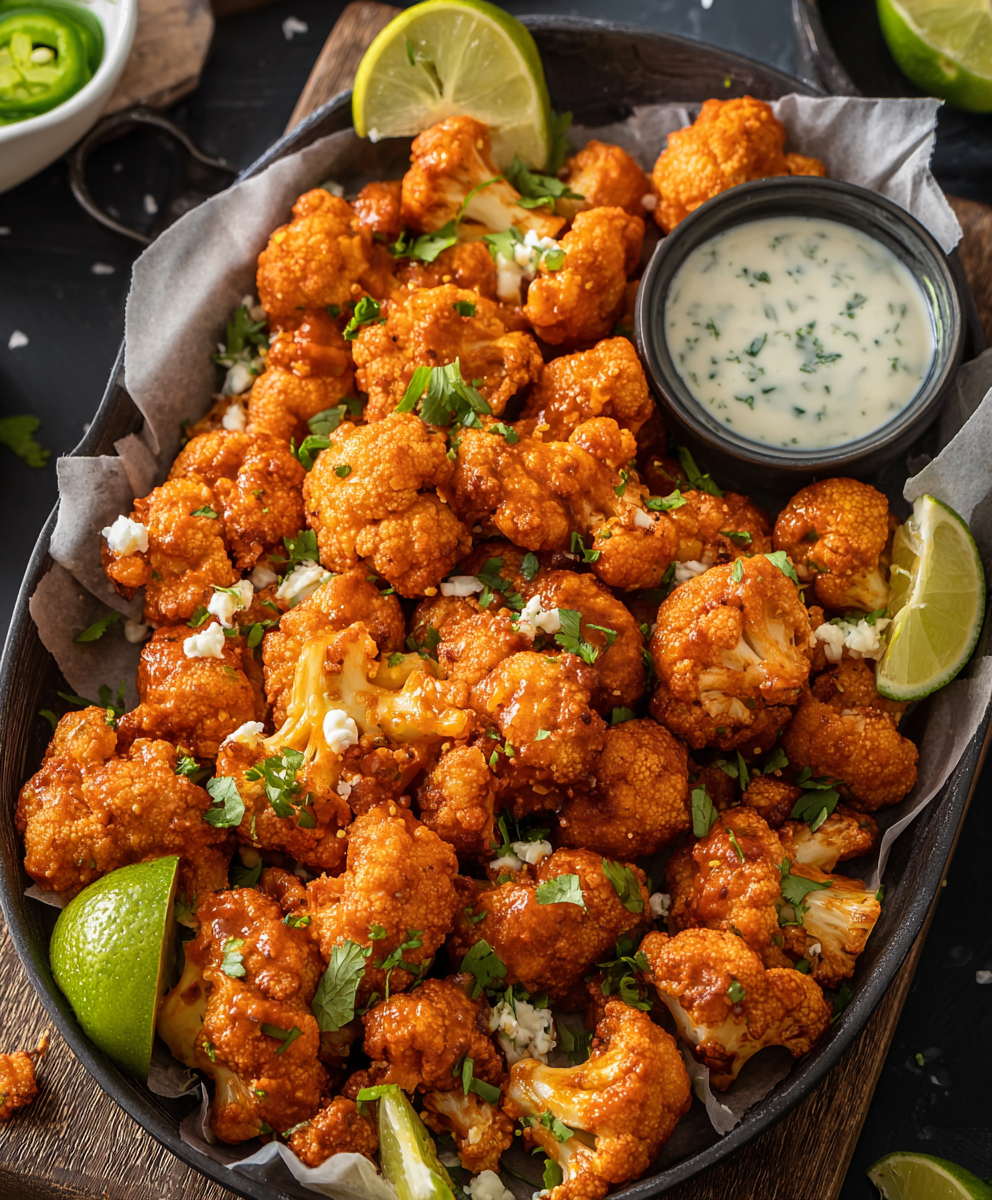
Air Fryer Buffalo Cauliflower
Crispy battered cauliflower florets tossed in tangy buffalo sauce — a spicy, vegetarian crowd-pleaser ready in under 40 minutes.
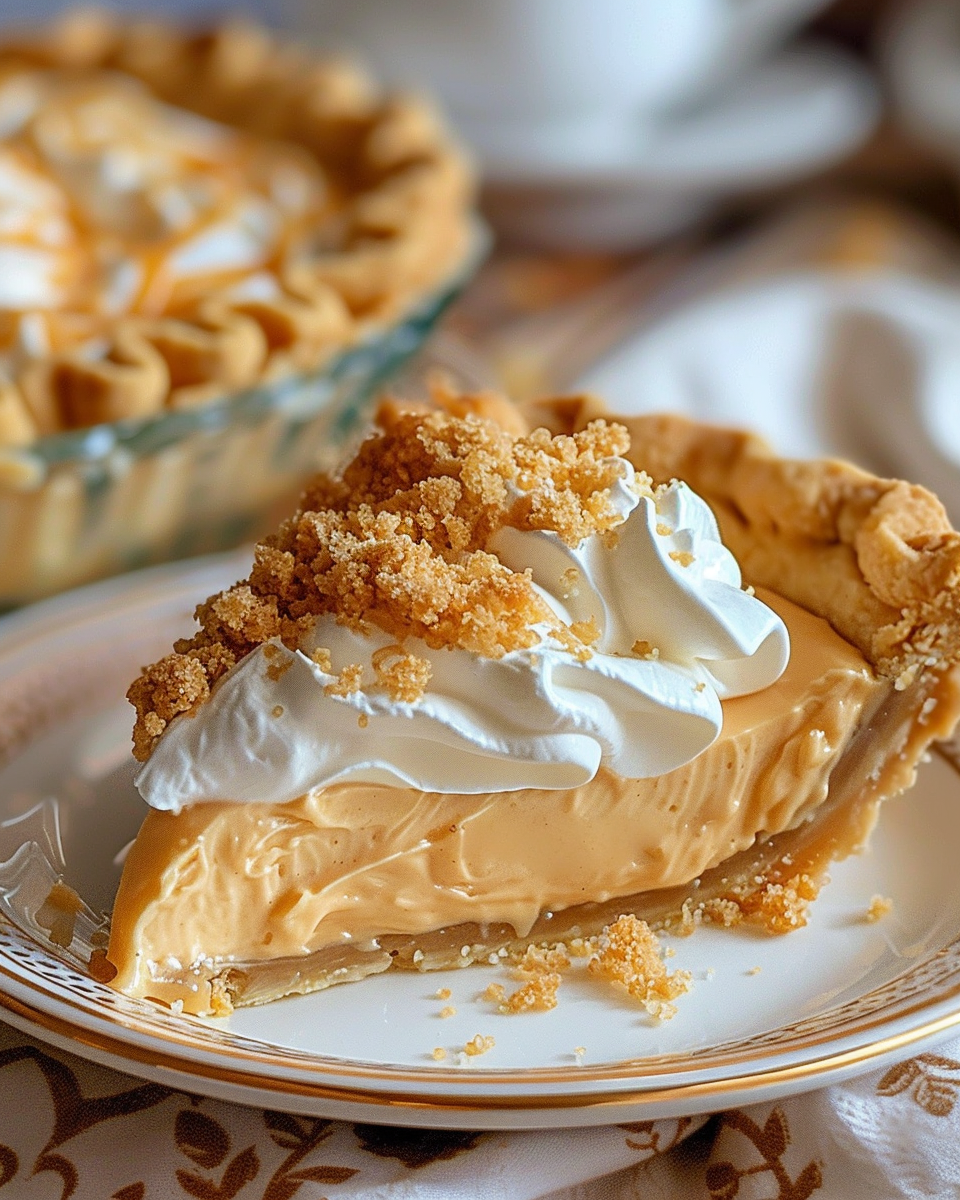
Amish Peanut Butter Cream Pie
A nostalgic, no-bake peanut butter cream pie inspired by Amish kitchens—silky peanut butter filling, crunchy crumbles, and pillowy whipped topping in a buttery 9-inch crust.
Did You Make This?
Leave a comment & rating below or tag @moodcooks on social media!
Rate This Recipe
Share This Recipe
Enjoyed this recipe? Share it with friends and family, and don't forget to leave a review!
Comments (1)
This recipe looks amazing! Can't wait to try it.
Comments are stored locally in your browser. Server comments are displayed alongside your local comments.

Hi, I'm Olivia!
What's Popular
30-Minute Meals!
Join to receive our email series which contains a round-up of some of our quick and easy family favorite recipes.