
Christmas Pinwheel Cookies

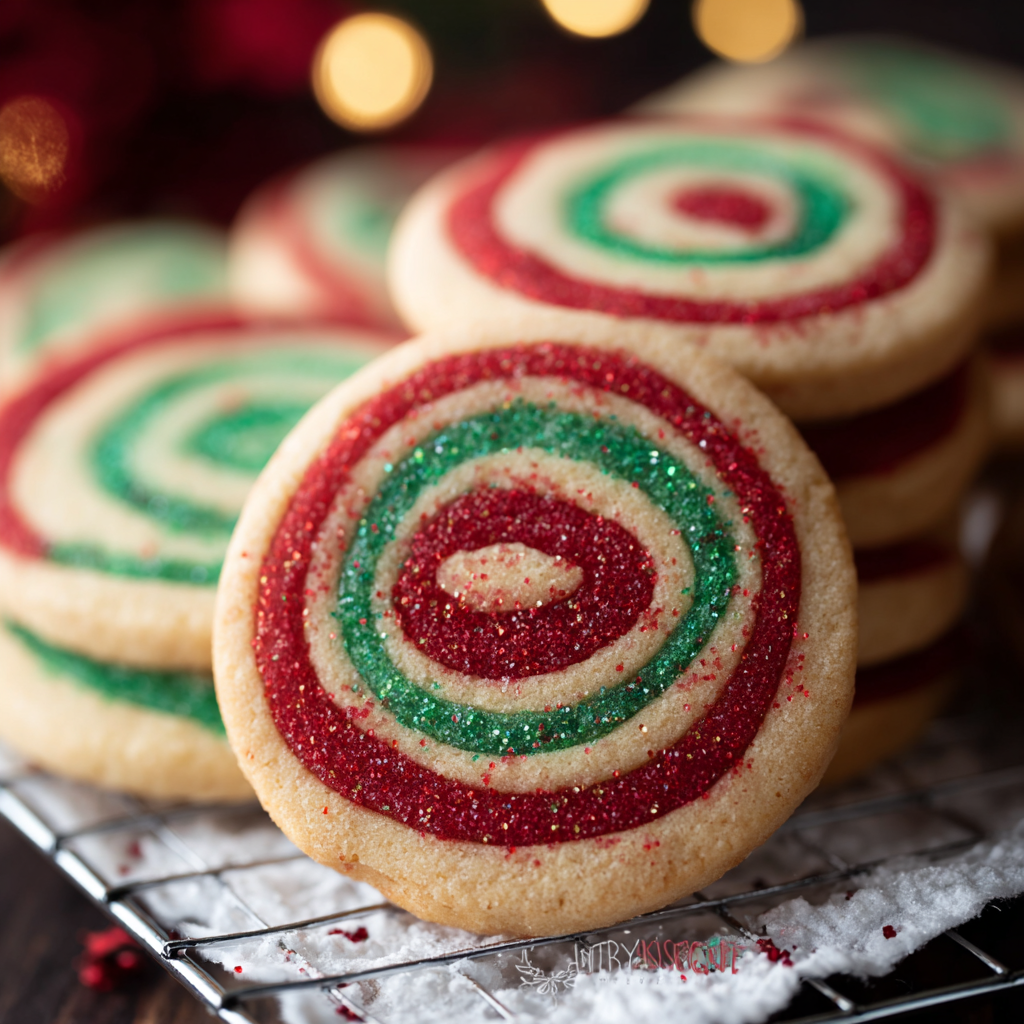
Festive red-green pinwheel cookies with a tender buttery crumb and a crunchy sanding sugar rim — perfect for holiday cookie swaps and tray presentations.
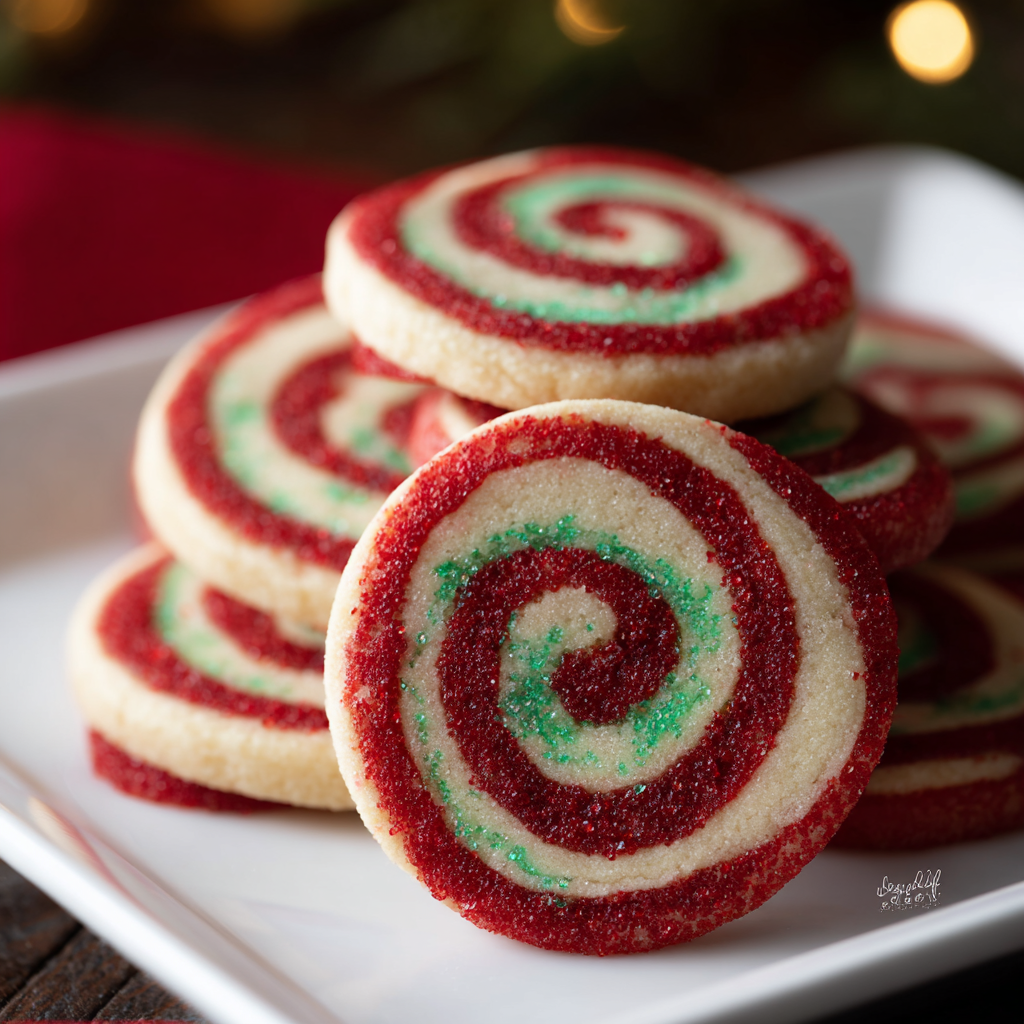
This recipe for Christmas pinwheel cookies has been a holiday ritual in my kitchen for almost a decade. I first developed the dough on a cold December evening when I wanted a simple cookie that looked special without requiring piping or delicate shaping. The contrast of red and green swirls against a pale buttery background always makes a plate of these feel like a celebration. They are crisp at the edges, tender in the center, and the sanding sugar adds a festive sparkle that kids and adults both love.
I discovered this combination by adapting a classic shortbread-style dough into layered sheets that can be rolled together. The dough is forgiving: it handles a bit of extra flour or a touch more chilling without losing its texture. Over the years I’ve learned that the key moments are chilling and rolling — a lightly chilled surface gives clean edges when slicing, and a quick chill between the parchment sheets helps keep the layers neat. These cookies have shown up at every holiday gathering: potlucks, cookie swaps, and late-night cocoa sessions alike.
Why You'll Love This Recipe
- Easy-to-source ingredients: unsalted butter, sugar, an egg, and basic pantry staples make these approachable even at short notice.
- Visual impact with minimal effort: the layered dough creates a classic candy-cane effect without piping or special cutters.
- Make-ahead friendly: dough can be chilled overnight or frozen for up to one month, saving time on busy holiday days.
- Kid-friendly technique: children can help color, press, and decorate — great for holiday baking days together.
- Quick bake time: cookies take only about 10 to 12 minutes to bake, so multiple trays come together fast.
- Customizable finish: swap sanding sugar for colored sprinkles or a light dusting of powdered sugar to suit your theme.
I remember bringing these to a neighborhood cookie swap where people asked for the recipe immediately. The first time I made them, my daughter helped press the colored layers and proudly told everyone they were her creation. Over the years the recipe has become shorthand for holiday warmth in my home — the smell of butter and vanilla always makes the house feel cozy and ready for guests.
Ingredients
- Unsalted butter (2/3 cup): Use good-quality European-style butter if you can for a richer flavor and slightly higher fat content. Bring to room temperature so it creams smoothly; do not melt.
- Granulated sugar (2/3 cup): Provides structure and crisp edges. Use regular granulated sugar rather than superfine for the classic texture.
- Egg (1 large): Adds richness and helps bind the dough. Use a large egg at room temperature to ensure even incorporation.
- Vanilla extract (1 teaspoon): Pure vanilla adds depth; Madagascar or Mexican vanilla varieties work nicely for a warm, rounded flavor.
- All-purpose flour (1 3/4 cups): Spoon and level the flour for accuracy. This amount gives a tender crumb without being overly crumbly.
- Kosher salt (1/2 teaspoon): Balances sweetness and enhances butter flavor; reduce slightly if using fine table salt.
- Baking soda (1/4 teaspoon): Just a touch keeps the dough from being too dense and encourages a gentle lift.
- Red and green gel food coloring: Gel colors give vivid hues without adding liquid. A little goes a long way.
- Red sanding sugar: For garnish and a festive sparkle; use coarse sanding sugar so it stays crunchy after baking.
Instructions
Cream the butter and sugar: Place the softened unsalted butter and granulated sugar in the bowl of a stand mixer fitted with the paddle attachment. Beat on medium speed for about 3 to 4 minutes until pale, light, and creamy. This step aerates the butter and creates a finer texture. Scrape the bowl once or twice to ensure even mixing. Incorporate egg and vanilla: Add the large egg and vanilla extract and beat until completely combined, about 30 to 45 seconds. The mixture should look glossy and homogenous. If the mixture appears to split, pause and scrape the bowl; continued beating will bring it back together. Combine dry ingredients: Whisk the all-purpose flour, kosher salt, and baking soda in a medium bowl until evenly distributed. This ensures the leavening and salt are dispersed throughout the dough for consistent flavor and texture. Form the dough: With the mixer on low speed, gradually add the flour mixture until it just comes together. Avoid overmixing; stop when you no longer see streaks of flour. Turn the dough out, divide it into three equal portions, and shape each into a rough ball. Color the dough: Return one portion to the mixer bowl and add a few drops of red gel food coloring; beat until evenly colored. Transfer to a sheet, wipe the bowl clean, then color a second portion with green gel food coloring. Leave the final portion uncolored. Shape each into a smooth ball, wrap in plastic wrap, and refrigerate for 1 hour to firm up and develop flavor. Roll into sheets: Remove chilled dough and roll each ball between two sheets of parchment paper into a 7-inch square. Keep the uncolored layer in the middle or arrange as you prefer for the pinwheel contrast. Refrigerate the flattened sheets for 15 minutes—this brief chill helps the layers hold shape during the rolling process. Assemble the pinwheels: Stack the three 7-inch squares (for example, green on the bottom, plain in the middle, red on top). Starting from one edge, roll the stack tightly into a log, pressing gently to keep the layers even. Wrap the log in plastic and chill for at least 30 minutes, or until firm enough to slice cleanly. Slice and decorate: Preheat the oven to 350°F. Line baking sheets with parchment. Unwrap the chilled log and slice into 1/4- to 1/3-inch rounds using a sharp knife or bench scraper for the cleanest edges. Press the cut tops gently into red sanding sugar, if desired, to add sparkle and a subtle crunch. Bake: Arrange the rounds about 1 inch apart on prepared sheets. Bake in the preheated oven for 10 to 12 minutes, rotating pans halfway through for even color. The cookies are done when the edges are barely golden and centers set. Transfer to a wire rack to cool completely.
You Must Know
- Chill time is essential: plan at least 2 hours total (including short chills) for the cleanest slices and firm dough.
- Dough can be made ahead and frozen for up to one month; thaw overnight in the refrigerator before slicing.
- Gel color yields bright shades without thinning the dough; add coloring sparingly and build to desired hue.
- Use a sharp, non-serrated knife or bench scraper for precise rounds; a dull blade will compress the layers.
- These have a tender, shortbread-like texture and keep well at room temperature for 4 days in an airtight container.
My favorite part of these cookies is their versatility: I’ve made them with peppermint extract in the dough for a holiday twist and with citrus zest for a brighter version. One year I doubled the batch for a community bake sale and wrapped stacks with ribbon; people were delighted by the presentation. The sanding sugar gives a professional finish without extra effort, and I often let my children choose the colors to match party themes.
Storage Tips
Store baked cookies in an airtight container at room temperature for up to four days; separate layers with parchment to prevent sticking. For longer storage, freeze cooled slices or baked cookies in a single layer on a tray, then transfer to a freezer bag for up to three months. To re-crisp, thaw at room temperature and warm in a 300°F oven for 3 to 5 minutes. If you freeze an unbaked log, thaw overnight in the refrigerator before slicing and baking to maintain clean pinwheels.
Ingredient Substitutions
If you need to adapt the recipe, use a dairy-free stick butter substitute measured 1:1 and add 1 tablespoon of neutral oil if the dough seems dry. For an egg replacement, try a commercially formulated egg replacer or 3 tablespoons aquafaba mixed with 1 tablespoon oil, though texture will be slightly different. Use gluten-free 1:1 flour blends with xanthan gum for structure; the dough may need an extra 1 to 2 tablespoons of flour to achieve the same firmness for slicing.
Serving Suggestions
Serve on a festive platter with other small cookies and chocolates. These pair beautifully with hot cocoa, mulled cider, or a robust black tea. For a party display, stack cookies in alternating colors and tie with baker’s twine, or gift in clear bags with a pinch of extra sanding sugar on top. Garnish with a sprig of fresh rosemary on the platter for a seasonal scented touch that looks elegantly simple.
Cultural Background
Swirled cookies like these have roots in European holiday baking where layered shapes and colored doughs were used to create festive motifs. The pinwheel form echoes visual traditions such as candy canes and marbled pastries. Over time, home bakers in North America adapted the style to create easy-to-assemble cookies that still carry a handcrafted aesthetic — perfect for holiday exchanges where looks matter as much as taste.
Seasonal Adaptations
For winter, flavor the dough with a teaspoon of finely ground peppermint extract or 1 teaspoon of orange zest to complement the bright colors. In summer, swap red and green for pastel colors and add lemon or almond extract for a lighter profile. For Thanksgiving, use autumnal tones of amber and caramel with a pinch of cinnamon and nutmeg added to the dough.
Meal Prep Tips
Make multiple logs and freeze them unbaked for quick holiday prep: slice and bake the night you need them. Keep a small rolling kit in your pantry with parchment, a small rolling pin, and a sharp knife so assembly goes smoothly. Label frozen logs with the date and color scheme. When planning a cookie tray, stagger bake times so all varieties finish baking and cooling at similar intervals.
These pinwheel cookies are the kind of simple-but-impressive treat that become a seasonal favorite fast. They reward a little patience with a gorgeous final product and a buttery, tender bite. I hope they become part of your holiday baking tradition as they have in mine.
Pro Tips
Chill the rolled sheets before assembling to keep layers from sliding when you roll the log.
Use gel food coloring to avoid adding extra liquid to the dough; add color gradually to reach desired intensity.
Slice the log with a sharp, chilled knife for the cleanest edges and least compression.
Freeze unbaked logs on a tray first, then transfer to a labeled freezer bag to save space and maintain shape.
This nourishing christmas pinwheel cookies recipe is sure to be a staple in your kitchen. Enjoy every moist, high protein slice — it is perfect for breakfast or as a wholesome snack any time.
FAQs about Recipes
Can I make the dough ahead and freeze it?
Yes — you can freeze the unbaked dough log for up to one month. Thaw overnight in the refrigerator before slicing and baking.
What oven temperature and time should I use?
Bake at 350°F for 10 to 12 minutes, rotating halfway. Cookies are done when edges are just turning golden.
Tags
Christmas Pinwheel Cookies
This Christmas Pinwheel Cookies recipe makes perfectly juicy, tender, and flavorful steak every time! Serve with potatoes and a side salad for an unforgettable dinner in under 30 minutes.
Instructions
Cream butter and sugar
In a stand mixer fitted with the paddle attachment, beat softened butter and granulated sugar on medium speed for 3 to 4 minutes until pale and creamy. Scrape the bowl as needed for even texture.
Add egg and vanilla
Add the large egg and vanilla extract, then beat until the mixture is glossy and combined, about 30 to 45 seconds. Scrape down sides to unify the dough.
Combine dry ingredients
Whisk together all-purpose flour, kosher salt, and baking soda in a separate bowl to distribute the leavening and salt evenly.
Mix and divide dough
With the mixer on low, add the dry mixture gradually and mix until just combined. Turn out the dough, divide into three equal portions, and shape each into a ball.
Color portions and chill
Color one portion red and one portion green in the cleaned mixing bowl using gel food coloring; leave one portion uncolored. Shape each into a ball, wrap, and refrigerate for 1 hour.
Roll into sheets and assemble
Roll each chilled portion between parchment into a 7-inch square. Chill for 15 minutes, stack the layers, roll tightly into a log, wrap, and chill at least 30 minutes for slicing.
Slice, garnish, and bake
Preheat oven to 350°F. Slice the chilled log into 1/4- to 1/3-inch rounds, press tops into red sanding sugar if desired, and bake 10 to 12 minutes until edges are lightly golden. Cool on a rack.
Last Step: Please leave a rating and comment letting us know how you liked this recipe! This helps our business to thrive and continue providing free, high-quality recipes for you.
Nutrition
Did You Make This?
Leave a comment & rating below or tag
@moodcooks on social media!
Categories:
You might also like...
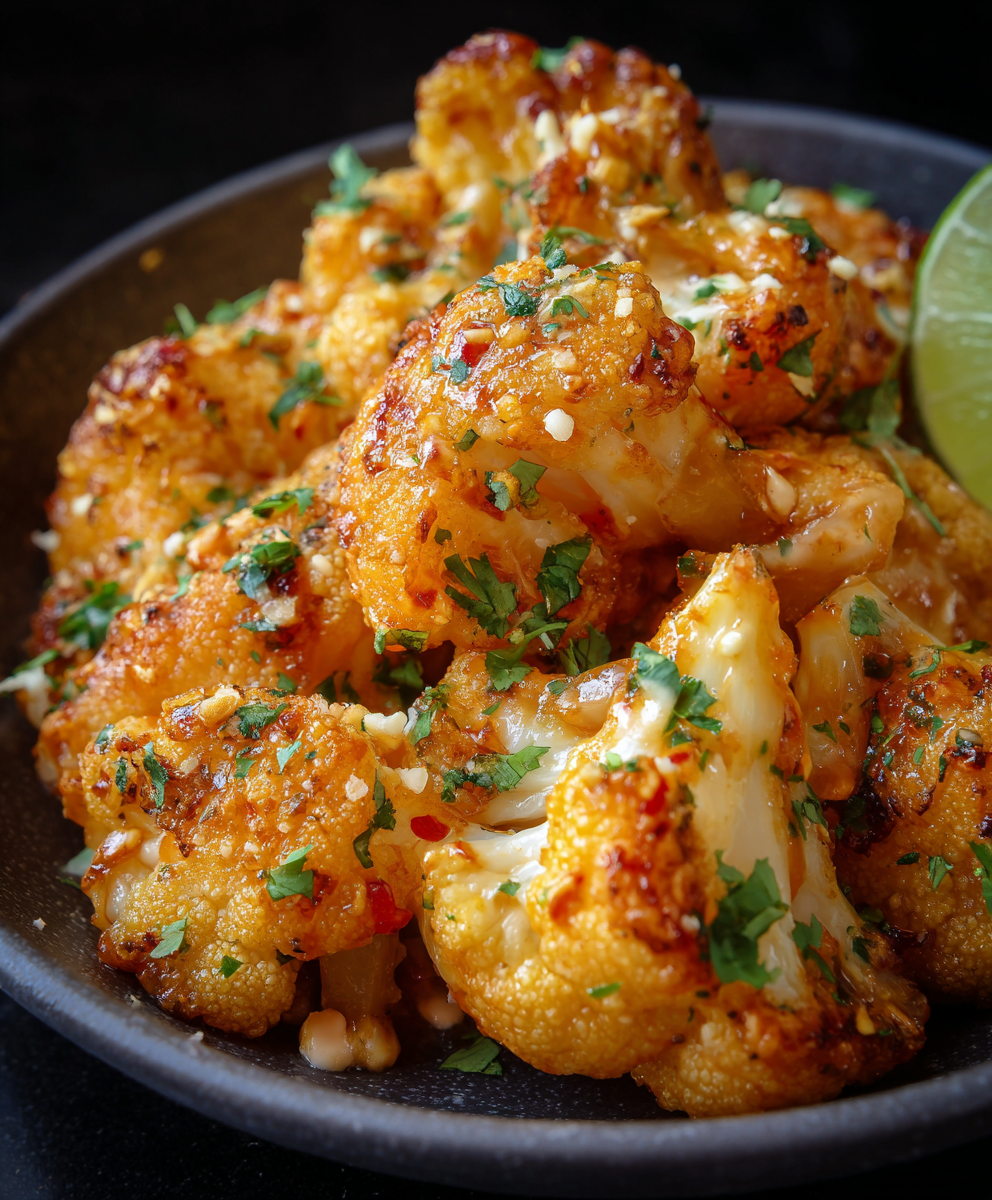
Air Fryer Bang Bang Cauliflower
Crispy air-fried cauliflower tossed in a creamy sweet-spicy bang bang sauce — a crunchy, vegetarian appetizer or weeknight favorite that's ready in about 30 minutes.
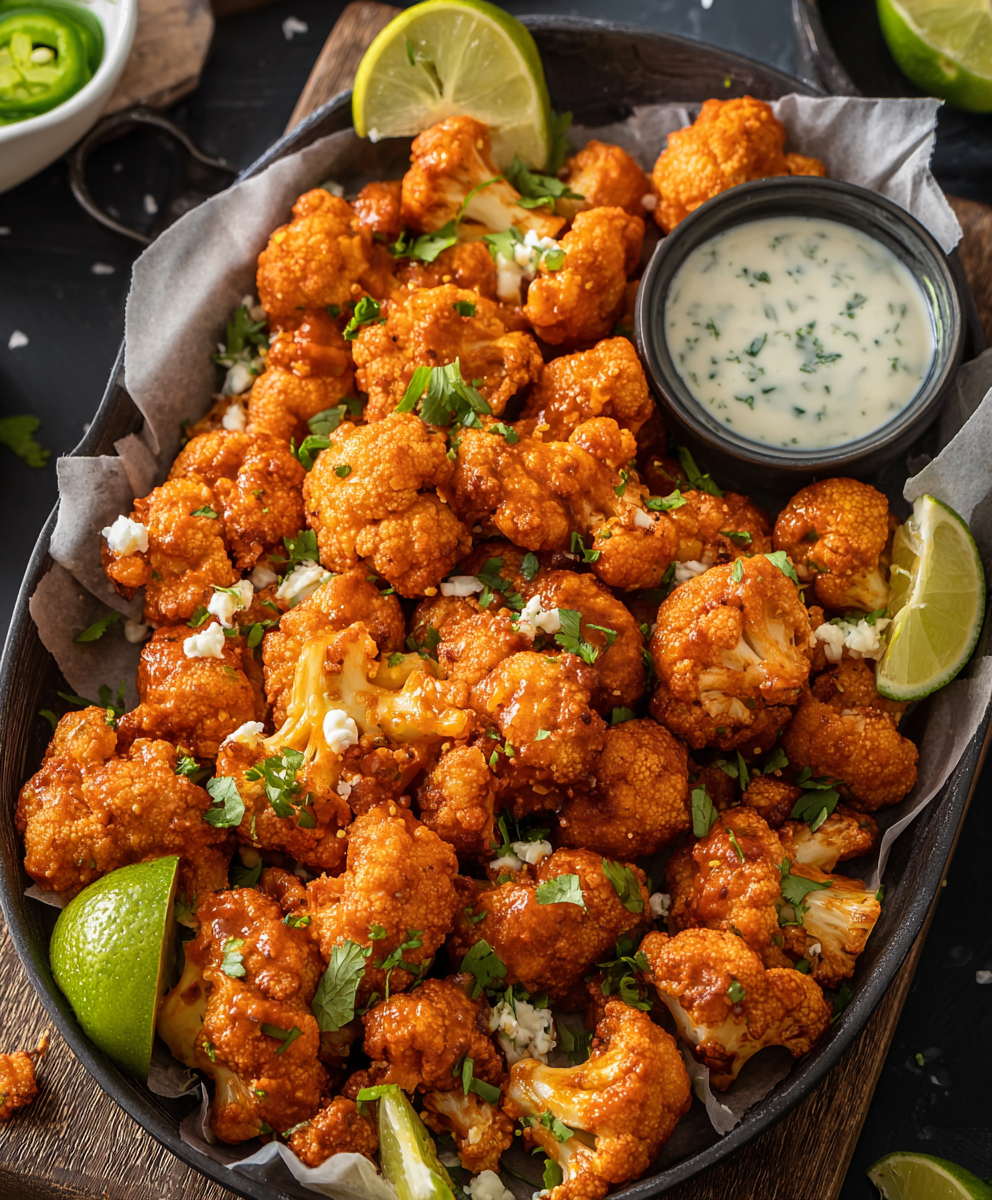
Air Fryer Buffalo Cauliflower
Crispy battered cauliflower florets tossed in tangy buffalo sauce — a spicy, vegetarian crowd-pleaser ready in under 40 minutes.
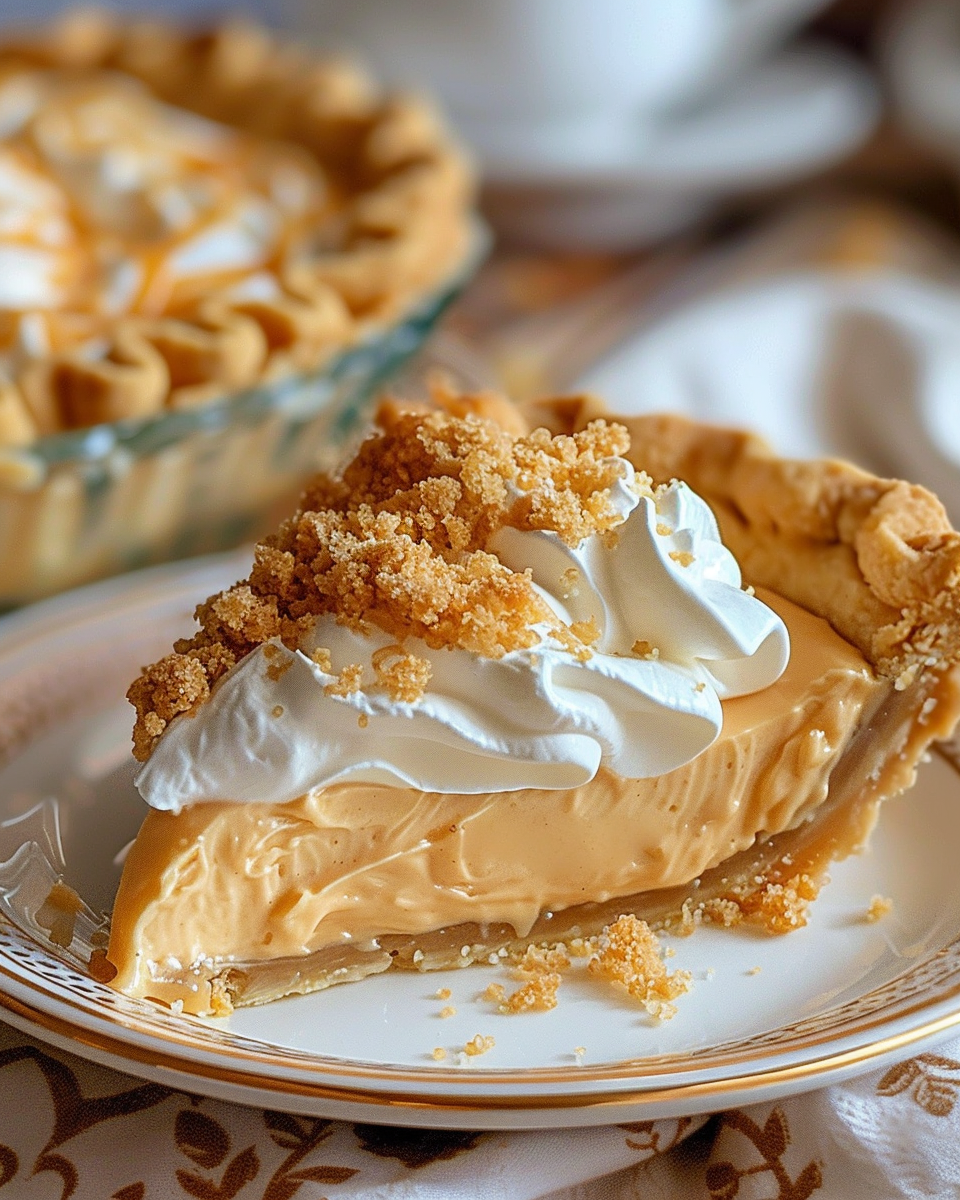
Amish Peanut Butter Cream Pie
A nostalgic, no-bake peanut butter cream pie inspired by Amish kitchens—silky peanut butter filling, crunchy crumbles, and pillowy whipped topping in a buttery 9-inch crust.
Did You Make This?
Leave a comment & rating below or tag @moodcooks on social media!
Rate This Recipe
Share This Recipe
Enjoyed this recipe? Share it with friends and family, and don't forget to leave a review!
Comments (1)
This recipe looks amazing! Can't wait to try it.
Comments are stored locally in your browser. Server comments are displayed alongside your local comments.

Hi, I'm Olivia!
What's Popular
30-Minute Meals!
Join to receive our email series which contains a round-up of some of our quick and easy family favorite recipes.