
Chocolate Peppermint Cookie Cups

Decadent chocolate cookie cups filled with a bright peppermint cheesecake; a festive, crowd-pleasing treat that’s perfect for holiday parties and cozy nights.
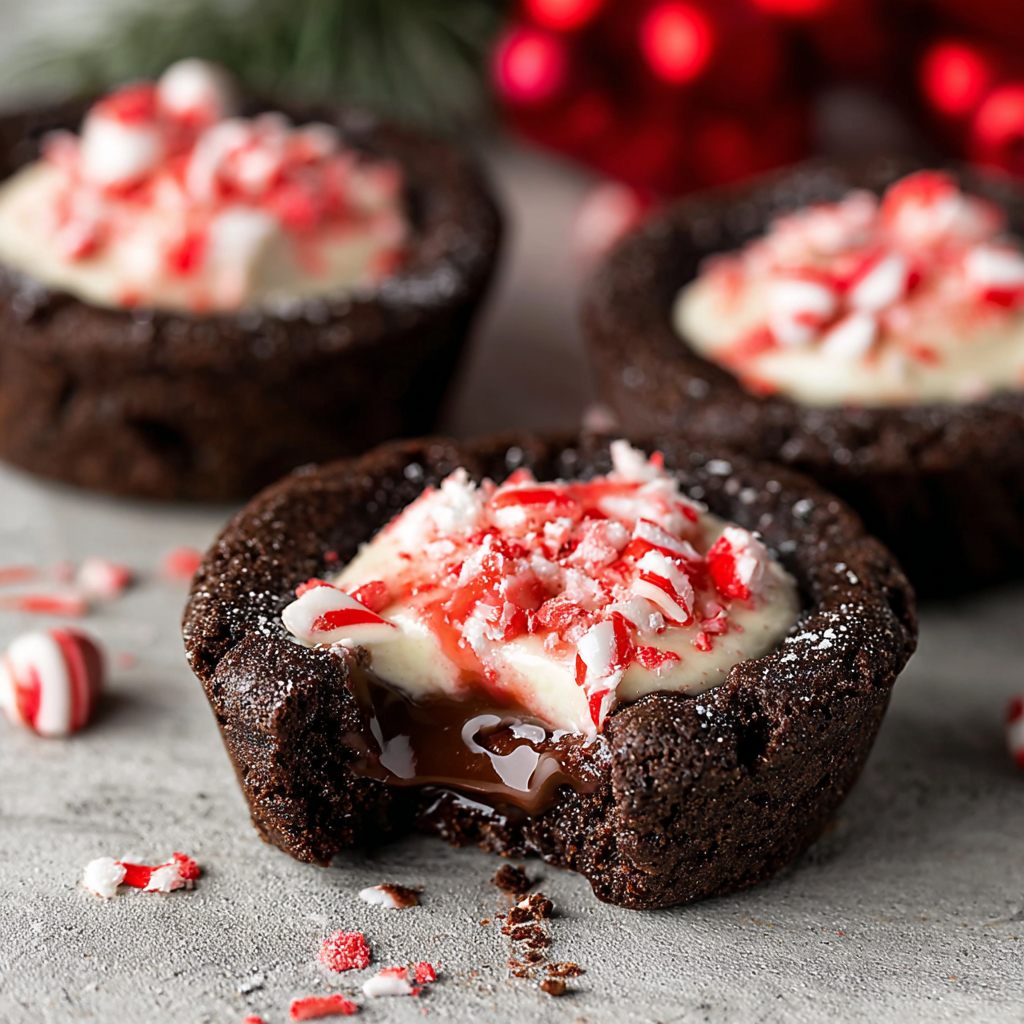
This recipe for Chocolate Peppermint Cookie Cups has been a holiday staple in my kitchen for years. I first developed the cookie cup base during a winter baking marathon when I wanted something sturdier than a regular cookie to cradle a silky filling. When I introduced a light peppermint cheesecake into the center, the combination of intense cocoa, tender crumb and cool peppermint took the whole thing to the next level. The contrast of textures—the slightly crisp edge of the cookie cup and the creamy, airy filling—makes every bite a tiny celebration.
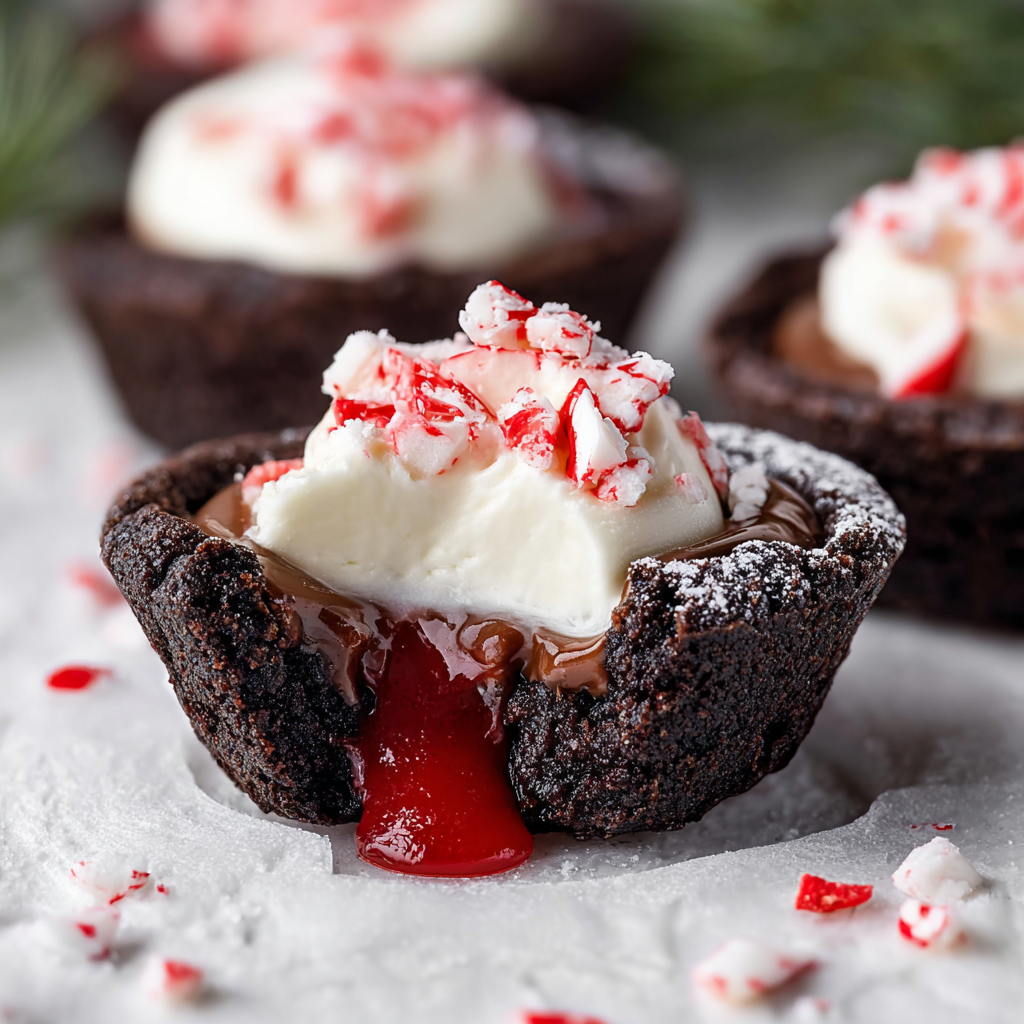
I discovered that using both Dutch-processed and black cocoa gives the cookie an almost black, bakery-style color and deeper chocolate notes without adding bitterness. These cookie cups are excellent for gifting because they hold their shape and travel well; I remember packing a dozen into a tin for a neighbor and coming home to find an empty container and rave texts. Whether you make them for a holiday cookie swap or a cozy night by the fire, they deliver show-stopping flavor and simple assembly.
Why You'll Love This Recipe
- Rich chocolate base: the combination of Dutch-processed and black cocoa gives bakery-quality color and depth without additional sugar.
- Textural contrast: crisp outer rim with a soft, slightly under-baked center that becomes a perfect cup for creamy filling.
- Fast assembly: ready to bake in about 25 minutes, and each batch yields approximately 24 cups for easy entertaining.
- Make-ahead friendly: cookie cups and filling can be prepared separately and assembled on the day of serving for time savings.
- Accessible ingredients: pantry staples plus a few seasonal touches like peppermint extract and crushed candy canes.
- Great for gifting: they travel well and look festive when topped with crushed candy canes and a swirl of colored filling.
These cups became a family favorite the first year I made them for a holiday brunch. My partner immediately reached for a second one before anyone else had even tried one, and our niece declared them the best cookie she’d ever had. Over the years I’ve adjusted the bake time and filling sweetness until the balance felt just right for both adults and kids.
Ingredients
- All-purpose flour: Use 2 cups of good-quality all-purpose flour. Spoon into the measuring cup and level with a knife for accurate measurement. This gives structure to the cups while keeping them tender.
- Dutch-processed cocoa powder: 1/4 cup, sifted. Dutch cocoa provides smooth, rounded chocolate flavor and deep color without excessive acidity—CocoaTrader or Hershey's Special Dark work well.
- Black cocoa powder: 1/4 cup. Black cocoa deepens color to a near-black finish and adds subtle roasted notes; use a fine sifted powder to avoid clumps.
- Baking soda and salt: 1 teaspoon baking soda and 1/2 teaspoon salt balance rise and flavor, ensuring the cups have a gentle lift and proper seasoning.
- Unsalted butter: 1 cup (2 sticks) at room temperature. Butter provides flavor and crisp edges—make sure it’s soft enough to cream but not greasy.
- Granulated sugar and light brown sugar: 1/2 cup granulated sugar and 1 cup packed light brown sugar. The brown sugar adds moisture and caramel notes that keep the cups tender.
- Eggs: 2 large eggs at room temperature. They emulsify the dough and help with structure; bring them to room temp for even mixing.
- Vanilla extract: 1 teaspoon for flavor layering and to complement the chocolate.
- Heavy whipping cream: 1 cup chilled for the peppermint cheesecake filling to whip to soft peaks and provide lightness.
- Cream cheese: 8 ounces full-fat, softened but cool to avoid a grainy filling. Brands like Philadelphia yield a smooth, tangy base.
- Granulated sugar for filling: 1/2 cup to sweeten the filling without overpowering the peppermint.
- Peppermint extract and red color gel: 1 teaspoon peppermint extract and a tiny amount of red gel to tint the filling or add festive streaks; use gel sparingly for vibrant color.
- Chopped candy canes: About 1/2 cup crushed or chopped to garnish—choose plain peppermint canes for the classic crunch and color contrast.
Instructions
Prepare the pans and oven: Preheat the oven to 350°F. Lightly spray two standard 12-cup muffin tins with cooking spray or brush with melted butter to ensure the cookie cups release easily. If you have nonstick tins, a quick spray is often enough—otherwise line with a thin coat of baking spray containing flour. Mix dry ingredients: In a medium bowl whisk together 2 cups all-purpose flour, 1/4 cup Dutch-processed cocoa, 1/4 cup black cocoa, 1 teaspoon baking soda and 1/2 teaspoon salt until uniform. Sifting the cocoa helps remove lumps and gives a smoother dough when combined with wet ingredients. Cream butter and sugars: Using a stand mixer fitted with the paddle or a hand mixer, beat 1 cup unsalted butter, 1/2 cup granulated sugar and 1 cup packed light brown sugar on medium-high for about 2–3 minutes until light and fluffy. Scrape the bowl to prevent pockets of unmixed butter and sugar. Add eggs and vanilla: Reduce speed, add 2 large eggs one at a time, beating until just incorporated after each. Add 1 teaspoon vanilla extract. Overbeating after the flour is added can develop gluten and make the cups tough, so mix gently going forward. Combine wet and dry: Add the dry mixture to the butter mixture in two additions, mixing just until no streaks of flour remain. The dough should be soft but scoopable—if it feels greasy refrigerate for 10 minutes to firm up slightly. Scoop and bake: Using a large cookie scoop approximately 3 tablespoons, portion dough into the prepared muffin tins, filling each cup roughly three-quarters full. Bake at 350°F for about 10–13 minutes; look for mostly set tops with a slight softness in the center. Ovens vary—check at 10 minutes to avoid overbaking. Form the cups: Remove pans from oven and immediately press down the centers with the base of a small jar or a round measuring spoon to create a well. Press firmly but not so hard that you break the cup walls. Cooling in the pan for 10 minutes helps the shape set before loosening each cup by twisting the tin gently and cooling another 5 minutes on a wire rack. Make the peppermint cheesecake filling: Chill a mixing bowl and beaters for best results. Whip 1 cup chilled heavy whipping cream to soft peaks and refrigerate. In another bowl, beat 8 ounces softened cream cheese with 1/2 cup granulated sugar and 1 teaspoon peppermint extract until smooth. Fold the whipped cream into the cream cheese mixture gently to retain air. If desired, add a tiny dot of red color gel and streak it through with a spoon for a swirled effect. Assemble and garnish: Pipe or spoon the filling into cooled cookie cups and top with 1/2 cup chopped candy canes. Chill assembled cups for at least 30 minutes to firm the filling before serving. Store leftovers refrigerated in an airtight container for up to 4 days.
You Must Know
- Storage: assembled cups keep well refrigerated for up to 4 days and freeze for 2–3 months unassembled; freeze cookie cups and filling separately for best texture.
- Nutrition: each cup is an indulgent treat high in fat and sugars—enjoy in moderation or serve small portions for gatherings.
- Make-ahead: cookie cups can be baked two days ahead and refrigerated, or frozen for long-term storage; thaw in the refrigerator before filling.
- Texture tip: slightly under-baking the centers gives a tender cup that holds filling better; avoid fully hardening the middle.
- Allergen note: contains gluten, dairy and eggs—see substitution ideas below for dietary adjustments.
My favorite part of this treat is watching people’s reactions when they bite into the first cup—the rich cocoa aroma followed by a cool peppermint finish always elicits smiles. I once brought these to a potluck and a child declared them ‘chocolate snow cups,’ which is exactly the kind of whimsical praise every baker hopes for. The balance of deep chocolate and bright peppermint is what makes these feel special year after year.
Storage Tips
Store the cookie cups and filling separately when possible. Place baked cups in a single layer in an airtight container with parchment between layers to prevent sticking; they will keep at room temperature for a day, refrigerated for up to 4 days, or frozen for 2–3 months. For the filling, store in a covered bowl in the refrigerator for up to 3 days. If freezing cups, thaw in the fridge overnight before filling. To reheat the cups slightly and revive a bit of crispness, warm individual cups for 8–10 seconds in the microwave or 3–4 minutes in a 300°F oven, then cool before filling.
Ingredient Substitutions
For a dairy-free version, substitute vegan butter and use a dairy-free cream cheese and coconut cream whipped to peaks in place of heavy cream; expect a subtle change in flavor and slightly different texture. To make them gluten-free, use a 1-to-1 gluten-free flour blend and add 1/8 teaspoon xanthan gum if your blend lacks it. If you prefer a less intense peppermint flavor, reduce the extract to 1/2 teaspoon and top with white chocolate shavings instead of candy canes. Brown sugar may be swapped with coconut sugar for a deeper caramel note, but the dough color will be lighter.
Serving Suggestions
Serve chilled for clean, creamy bites that contrast with the crisp cookie edge. Plate them on a festive platter with a dusting of sifted powdered sugar for presentation. Pair with espresso or hot chocolate for an indulgent dessert course, or place a few on a dessert board alongside chocolate truffles and fruit. Garnish options include toasted white chocolate curls, extra crushed candy cane, or a small mint leaf for color. For parties, arrange on cupcake liners to make them easy to pick up and enjoy.
Cultural Background
Chocolate and peppermint is a classic winter pairing rooted in European holiday traditions where mint and chocolate have long been combined in confections. The idea of cookie cups has become popular in modern bakeries and online communities as a way to combine the portability of a cookie with the elegance of a filled dessert. These cups are a contemporary twist on filling miniature shells—think of tart shells or cannoli—and translate well across festive traditions in North America where peppermint-flavored treats signal the holiday season.
Seasonal Adaptations
In colder months, emphasize peppermint and cocoa for a classic holiday vibe; add a pinch of cinnamon or orange zest for a warming twist. For spring or summer, swap peppermint for vanilla and garnish with fresh berries or lemon curd for a bright contrast. For Valentine’s Day, swirl in a light raspberry puree into the filling for pink marbling. The base cup adapts easily to flavor swaps—use hazelnut extract and Nutella swirls for a chocolate-hazelnut version.
Meal Prep Tips
Batch the steps: bake all the cups ahead of time and freeze them on a sheet tray without touching, then transfer to a freezer bag. Prepare the filling up to 24 hours in advance and keep chilled. On the day you plan to serve, thaw cups in the refrigerator and pipe the filling just before guests arrive. Use a piping bag with a medium tip for neat presentation and portion control; this also speeds up assembly if you’re making a large quantity for events.
These Chocolate Peppermint Cookie Cups are a festive, flexible treat that’s as fun to assemble as they are to eat. They’re simple enough for an afternoon bake session but elegant enough for entertaining—make a batch, experiment with the filling colors, and enjoy sharing them with friends and family.
Pro Tips
Slightly underbake the centers so the cups remain tender and hold the filling without cracking.
Chill the mixing bowl and beaters before whipping the cream for a more stable, airy filling.
Press the indentation immediately after removing from the oven while the cookie is still warm to ensure a clean cup shape.
If cookie dough is too soft to scoop, chill for 10 minutes to firm up and achieve neater cups.
This nourishing chocolate peppermint cookie cups recipe is sure to be a staple in your kitchen. Enjoy every moist, high protein slice — it is perfect for breakfast or as a wholesome snack any time.
Tags
Chocolate Peppermint Cookie Cups
This Chocolate Peppermint Cookie Cups recipe makes perfectly juicy, tender, and flavorful steak every time! Serve with potatoes and a side salad for an unforgettable dinner in under 30 minutes.
Ingredients
Chocolate Cookie Cups
Peppermint Cheesecake Filling
Instructions
Preheat and prep pans
Preheat oven to 350°F. Lightly spray two 12-cup muffin tins with cooking spray or brush with melted butter to ensure easy release.
Whisk dry ingredients
In a medium bowl whisk together flour, Dutch-processed cocoa, black cocoa, baking soda and salt until evenly combined and free of lumps.
Cream butter and sugars
Beat room-temperature butter with granulated and brown sugar on medium-high for 2–3 minutes until light and fluffy, scraping the bowl as needed.
Add eggs and vanilla
Reduce mixer speed and add eggs one at a time, incorporating fully. Add vanilla extract and mix until combined.
Combine wet and dry
Add the dry mixture in two additions, mixing only until just combined to avoid overworking the dough. Chill briefly if too soft to handle.
Scoop and bake
Using a 3-tablespoon scoop, portion dough into prepared tins and bake for 10–13 minutes until mostly set with slightly soft centers.
Form wells and cool
Immediately press the center of each warm cup with a small jar to create a cavity. Cool in pans for 10 minutes, then loosen and cool on a wire rack for another 5 minutes before removing.
Prepare peppermint filling
Whip chilled heavy cream to soft peaks. Beat softened cream cheese with sugar and peppermint extract until smooth, then fold in whipped cream. Add red gel if desired for swirls.
Assemble and garnish
Fill cooled cookie cups with the cheesecake filling, garnish with chopped candy canes and chill 30 minutes before serving.
Last Step: Please leave a rating and comment letting us know how you liked this recipe! This helps our business to thrive and continue providing free, high-quality recipes for you.
Nutrition
Did You Make This?
Leave a comment & rating below or tag
@moodcooks on social media!
Categories:
You might also like...
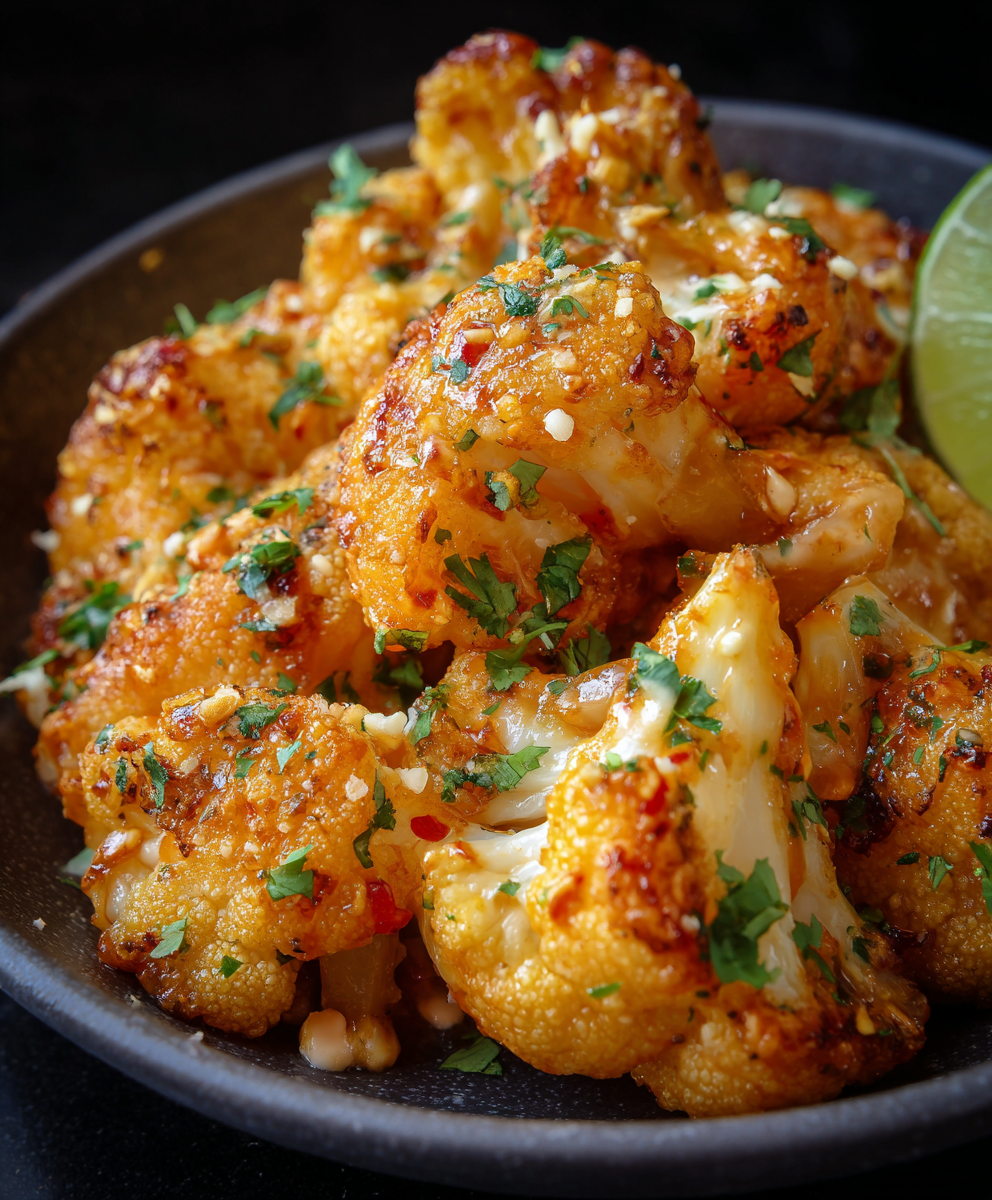
Air Fryer Bang Bang Cauliflower
Crispy air-fried cauliflower tossed in a creamy sweet-spicy bang bang sauce — a crunchy, vegetarian appetizer or weeknight favorite that's ready in about 30 minutes.
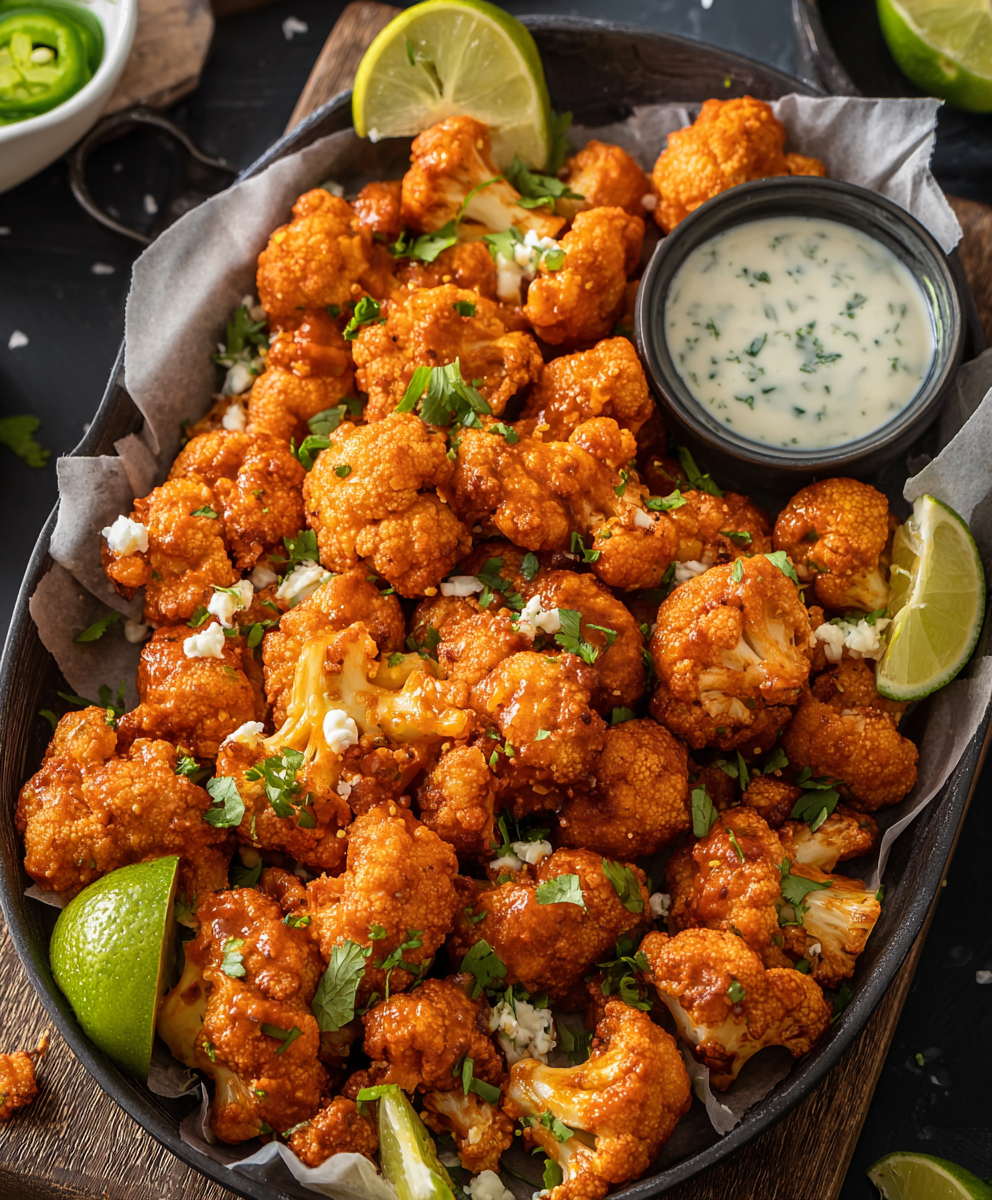
Air Fryer Buffalo Cauliflower
Crispy battered cauliflower florets tossed in tangy buffalo sauce — a spicy, vegetarian crowd-pleaser ready in under 40 minutes.
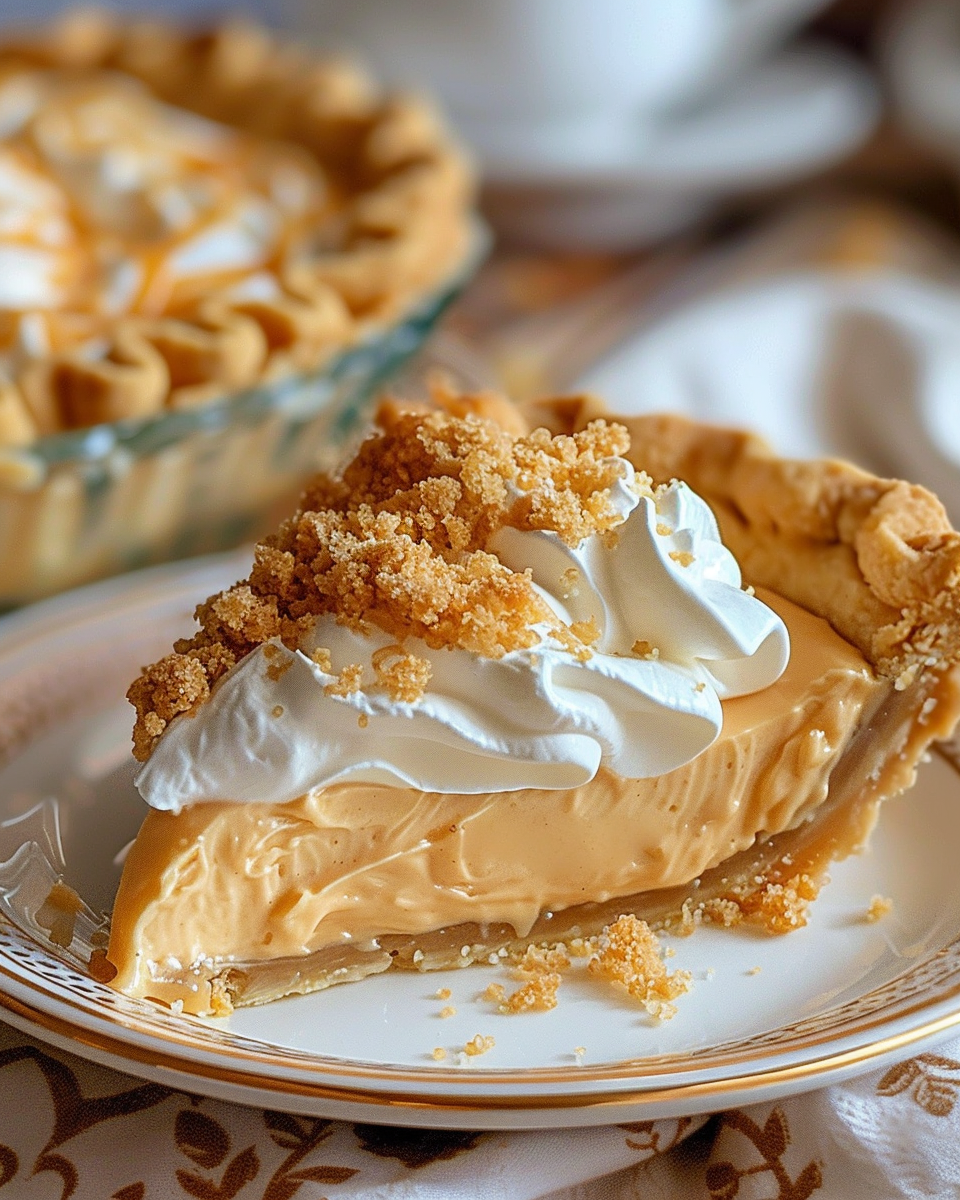
Amish Peanut Butter Cream Pie
A nostalgic, no-bake peanut butter cream pie inspired by Amish kitchens—silky peanut butter filling, crunchy crumbles, and pillowy whipped topping in a buttery 9-inch crust.
Did You Make This?
Leave a comment & rating below or tag @moodcooks on social media!
Rate This Recipe
Share This Recipe
Enjoyed this recipe? Share it with friends and family, and don't forget to leave a review!
Comments (1)
This recipe looks amazing! Can't wait to try it.
Comments are stored locally in your browser. Server comments are displayed alongside your local comments.

Hi, I'm Olivia!
What's Popular
30-Minute Meals!
Join to receive our email series which contains a round-up of some of our quick and easy family favorite recipes.