
Candy Cane Cookies

Buttery, tender cookies kissed with peppermint and festive red swirls, finished with crushed candy cane for a crunchy holiday bite.
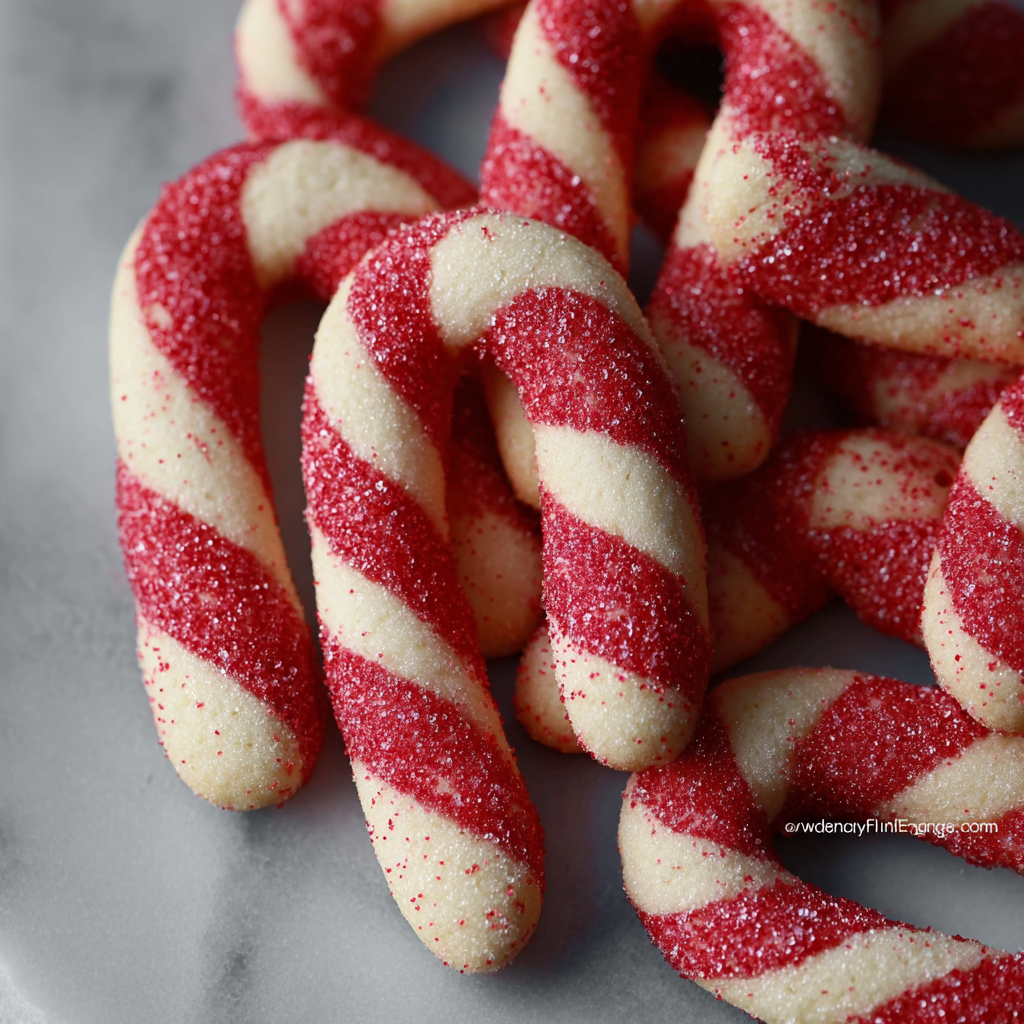
This batch of Candy Cane Cookies has been my holiday must-bake for years. I first mixed these up during a frantic December afternoon, when I wanted something that tasted like a classic sugar cookie but felt seasonal. The peppermint extract gives a bright lift while a few drops of red gel create those familiar candy cane swirls. The texture is tender and slightly crisp at the edges, with a soft center that keeps well for days. Baking these became part of our family ritual: we sip cocoa, play holiday records, and decorate as the dough chills.
I love how forgiving this cookie is. It holds shape well but still yields a delicate crumb. Even novice bakers can succeed because the method focuses on simple steps: cream butter and sugar, add the egg and extracts, fold in flour, then divide and color a portion of the dough. Decorating is playful and quick. When trays come out of the oven, the kitchen fills with a warm, minty aroma that always brings people to the counter. These cookies travel well, make cheerful gifts, and are a hit at parties and cookie swaps.
Why You'll Love This Recipe
- Ready with about 20 minutes active time and roughly 10 minutes baking time per batch, so you can turn out a tray in less than an hour from start to finish.
- Uses pantry-friendly ingredients you likely already have: flour, sugar, butter, an egg, and a splash of extracts.
- Easy to scale for a crowd; doubling the ingredients fills multiple baking sheets and freezes beautifully for later.
- Make-ahead friendly: dough chills for a more flavorful bite and can be shaped a day ahead or frozen for up to three months.
- Customizable decoration: swap crushed candy canes for colored sanding sugar, sprinkles, or a cocoa drizzle for a different holiday look.
- Kid friendly: shaping and sprinkling are fun tasks that children can help with, making these a family activity as well as a treat.
I still remember the first year I made these for a cookie exchange and someone said they tasted like a memory of holiday mornings. That feedback made me refine the peppermint amount so it is unmistakable but not overpowering. Over time I learned that a cool dough, a gentle hand when mixing, and a tiny amount of gel color create the most attractive swirls without affecting texture.
Ingredients
- All-purpose flour: 2 1/2 cups. Use a spoon-and-level method when measuring to avoid dense cookies. I like King Arthur or Gold Medal for consistent results; flour provides structure and a tender crumb when not overworked.
- Baking powder: 1/2 teaspoon. A small amount of leavening keeps the cookies slightly puffy instead of paper thin, creating a delicate interior.
- Salt: 1/4 teaspoon. Balances sweetness and brightens the peppermint note; kosher or fine table salt both work—just measure accordingly.
- Unsalted butter: 3/4 cup, softened. Butter gives rich flavor and crisp edges. Use real butter rather than margarine; room temperature butter creams with sugar for even aeration.
- Granulated sugar: 3/4 cup. Provides sweetness and helps with spread; for a slightly snappier edge you can substitute up to 1/4 cup with superfine sugar.
- Egg: 1 large. Adds moisture and helps bind the dough while contributing to tender structure.
- Vanilla extract: 1 teaspoon. A foundation flavor that rounds out the peppermint and keeps the cookie from tasting one-note.
- Peppermint extract: 1/2 teaspoon. Potent and essential for the candy cane profile; measure carefully since it can overwhelm.
- Red gel food coloring: A few drops. Gel gives vibrant color without thinning the dough. Use sparingly for swirls.
- Crushed candy canes or granulated sugar: For topping. Adds festive crunch and a mirrored peppermint finish; grind candy canes in a small bag with a rolling pin for varied texture.
Instructions
Prepare the dry mix: Whisk together 2 1/2 cups all-purpose flour, 1/2 teaspoon baking powder, and 1/4 teaspoon salt in a medium bowl. This ensures even distribution of leavening. Set aside while you cream the butter so the dry ingredients are ready to fold in without overmixing. Cream butter and sugar: In a large bowl, beat 3/4 cup softened unsalted butter with 3/4 cup granulated sugar until pale and fluffy, about 2 to 3 minutes with an electric mixer on medium speed. Proper creaming traps air that helps the cookies rise slightly and gives a tender bite. Scrape the bowl down once for uniform texture. Add egg and extracts: Beat in 1 large egg, 1 teaspoon vanilla extract, and 1/2 teaspoon peppermint extract until just combined. Avoid overbeating once the egg is added to prevent a tough crumb. The peppermint should be noticeable but balanced; adjust by a pinch if you prefer more intensity. Fold in the flour: Gently fold the dry mix into the wet ingredients in two additions using a spatula. Mix until no streaks of flour remain. Overmixing develops gluten and makes the cookies chewier; stop as soon as dough comes together. Color and shape: Remove about one quarter of the dough to a small bowl and stir in a few drops of red gel food coloring until evenly swirled. For candy cane stripes, gently roll the plain and colored doughs into ropes and twist them together, or flatten and swirl the colored portion into the plain dough with a spatula. Chill the shaped dough for 20 to 30 minutes to firm up. Bake: Preheat the oven to 350°F (175°C). Line a baking sheet with parchment. Scoop or slice dough into rounds about 1 inch thick and place 2 inches apart on the sheet. Optionally sprinkle crushed candy cane or sugar on top. Bake 8 to 10 minutes until the edges are set but centers remain soft; they will finish while cooling. Cool and finish: Allow cookies to cool on the baking sheet for 5 minutes, then transfer to a cooling rack. If you used crushed candy canes, allow them to set so they adhere. Store cooled cookies in an airtight container at room temperature for up to 5 days.
You Must Know
- These cookies freeze well: shaped dough can be frozen for up to three months. Thaw in the refrigerator before slicing and baking to preserve shape.
- High in simple carbohydrates and moderate in fat due to butter and sugar; enjoy as an occasional holiday treat.
- To keep the peppermint bright, add crushed candy canes just after baking rather than mixing into the dough before baking.
- Store in an airtight container at room temperature for up to five days or refrigerated for up to ten days to maintain freshness.
- For a crisper cookie, bake an extra minute and cool completely on a wire rack.
What I love most is how these combine nostalgia and ease. Every holiday that I bring a tin of these to a party someone invariably asks for the recipe. They are forgiving with timing, forgiving with shaping, and forgiving with substitutions. Family members who normally avoid peppermint will still nibble these because the balance of butter, vanilla, and a hint of peppermint is gentle and appealing.

Storage Tips
Place cooled cookies in an airtight tin with parchment between layers to prevent sticking. At room temperature they stay fresh about five days. For longer storage, flash-freeze a single layer on a sheet tray, then transfer to a freezer bag for up to three months. Thaw at room temperature for 30 minutes. If you want a just-baked texture from frozen dough, bake from cold but add one to two minutes to the bake time so centers cook through.
Ingredient Substitutions
To make these dairy free use a stick-equivalent of dairy-free butter and be aware the texture may be slightly softer. For gluten-free, replace all-purpose flour with a cup-for-cup gluten-free blend that contains xanthan gum. If you do not have peppermint extract, use 1 teaspoon peppermint candy syrup or a mix of 3/4 teaspoon vanilla and 1/4 teaspoon mint leaves steeped in warmed milk then cooled for a subtle flavor.
Serving Suggestions
Serve on a festive platter with hot chocolate or mulled cider for a classic holiday pairing. These cookies are also excellent with a simple white chocolate drizzle or alongside shortbread and ginger snaps on a dessert board. For gifting, stack in cellophane sleeves with a ribbon and a few crushed candy canes for a seasonal touch that looks professional with minimal effort.
Cultural Background
Mint and sugar cookies have long been associated with winter celebrations across many Western traditions. The candy cane motif became popular in the early 20th century in America as candy makers began producing iconic striped mints. These cookies borrow that visual and flavor language, translating a historic confection into a soft baked good that is easy to share at modern gatherings and cookie exchanges.
Seasonal Adaptations
In summer, skip the peppermint and add lemon zest plus a tiny splash of lemon extract for a bright summer variation. For winter holidays, swap white sanding sugar for edible pearl dust to create a frosted appearance. For Valentine’s Day, use a raspberry jam center and a pale pink tint instead of peppermint for a romantic twist.
Meal Prep Tips
Prepare the dough a day ahead and keep it chilled. Shape into a log for easy slicing before baking to save time on the day of your event. Portion dough into cookie scoops, freeze on a tray, then bag; when you need fresh cookies, bake from frozen and add one to two minutes to the bake time. Use labeled freezer bags with date and bake instructions for future convenience.
These cookies are as much about the people you share them with as they are about flavor. The ritual of mixing, swirling, and sprinkling is a small, joyful project that yields delicious results. I encourage you to make them your own and enjoy the smiles they bring.
Pro Tips
Chill the shaped dough for 20 to 30 minutes to prevent excessive spread and to deepen the flavor.
Measure flour by spooning it into the cup and leveling with a knife to avoid compacting and dense cookies.
Use gel food coloring for vivid red swirls without adding liquid that would change dough consistency.
If peppermint flavor is too strong, reduce extract to 1/4 teaspoon and add an extra 1/4 teaspoon vanilla.
This nourishing candy cane cookies recipe is sure to be a staple in your kitchen. Enjoy every moist, high protein slice — it is perfect for breakfast or as a wholesome snack any time.
FAQs about Recipes
Can I freeze the dough?
Yes. Freeze shaped dough on a tray, then transfer to a bag for up to three months. Thaw in the refrigerator before baking.
What is the baking time and temperature?
Bake at 350°F for 8 to 10 minutes until edges are set and centers are slightly soft. They firm as they cool.
Tags
Candy Cane Cookies
This Candy Cane Cookies recipe makes perfectly juicy, tender, and flavorful steak every time! Serve with potatoes and a side salad for an unforgettable dinner in under 30 minutes.
Ingredients
Dry Ingredients
Wet Ingredients
Topping (optional)
Instructions
Combine dry ingredients
Whisk together the flour, baking powder, and salt in a bowl so the leavening is evenly distributed and ready to fold in.
Cream butter and sugar
Beat softened butter and sugar until pale and fluffy, about 2 to 3 minutes. This aeration contributes to a tender crumb and slight rise.
Add egg and extracts
Beat in the egg, vanilla, and peppermint until combined. Avoid overmixing to keep the texture tender.
Fold in flour
Gently fold the dry ingredients into the wet mixture in two additions. Mix only until no streaks of flour remain to prevent gluten development.
Color and chill
Remove about one quarter of the dough and color with red gel. Twist or swirl colored and plain doughs together for stripes, then chill 20 to 30 minutes.
Bake
Preheat oven to 350°F. Portion dough into rounds and place on a parchment-lined sheet. Bake 8 to 10 minutes until edges are set and centers are soft.
Cool and store
Cool on the sheet for 5 minutes then transfer to a rack. Store in an airtight container up to five days or freeze for longer storage.
Last Step: Please leave a rating and comment letting us know how you liked this recipe! This helps our business to thrive and continue providing free, high-quality recipes for you.
Nutrition
Did You Make This?
Leave a comment & rating below or tag
@moodcooks on social media!
Categories:
You might also like...
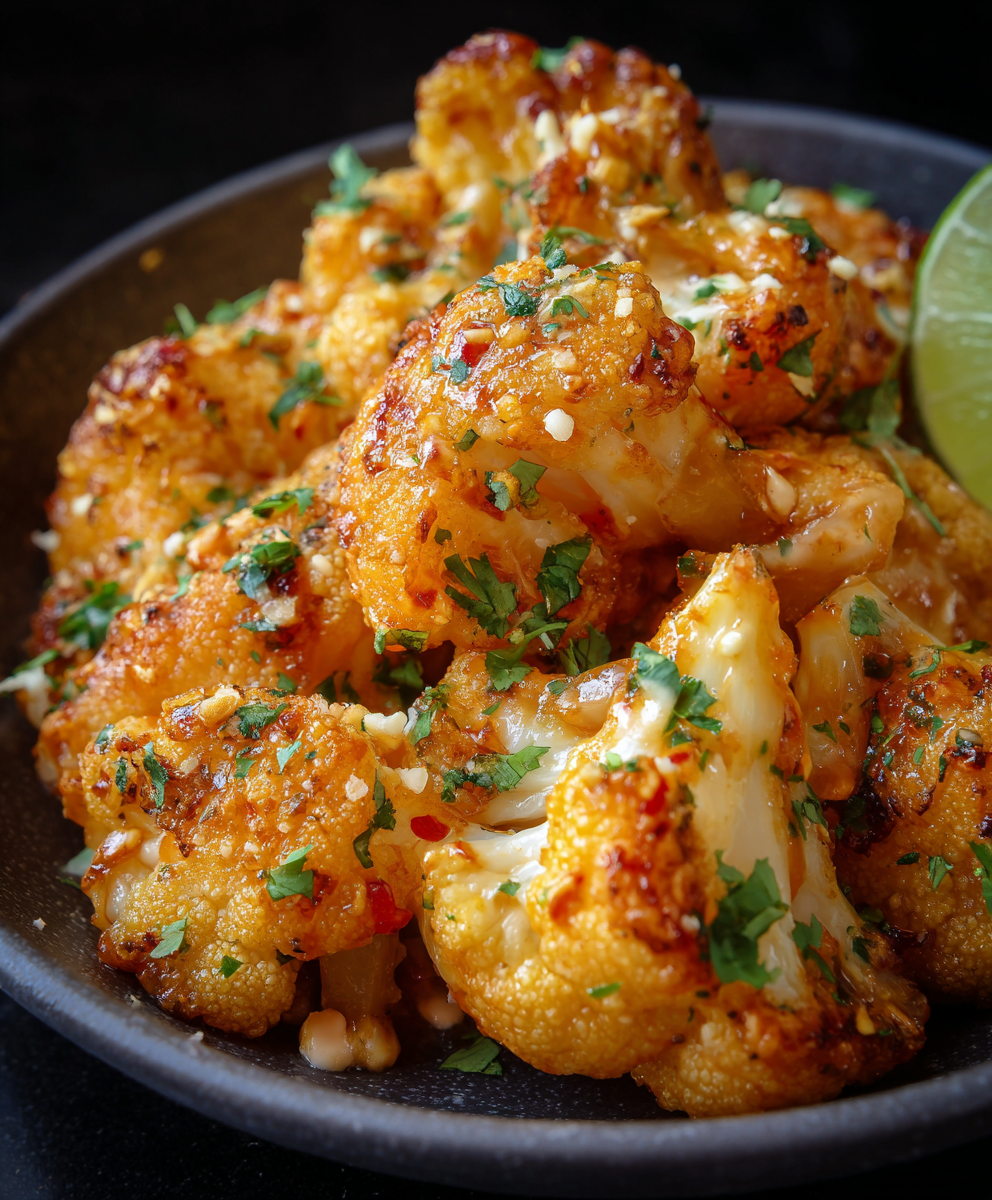
Air Fryer Bang Bang Cauliflower
Crispy air-fried cauliflower tossed in a creamy sweet-spicy bang bang sauce — a crunchy, vegetarian appetizer or weeknight favorite that's ready in about 30 minutes.

Air Fryer Buffalo Cauliflower
Crispy battered cauliflower florets tossed in tangy buffalo sauce — a spicy, vegetarian crowd-pleaser ready in under 40 minutes.
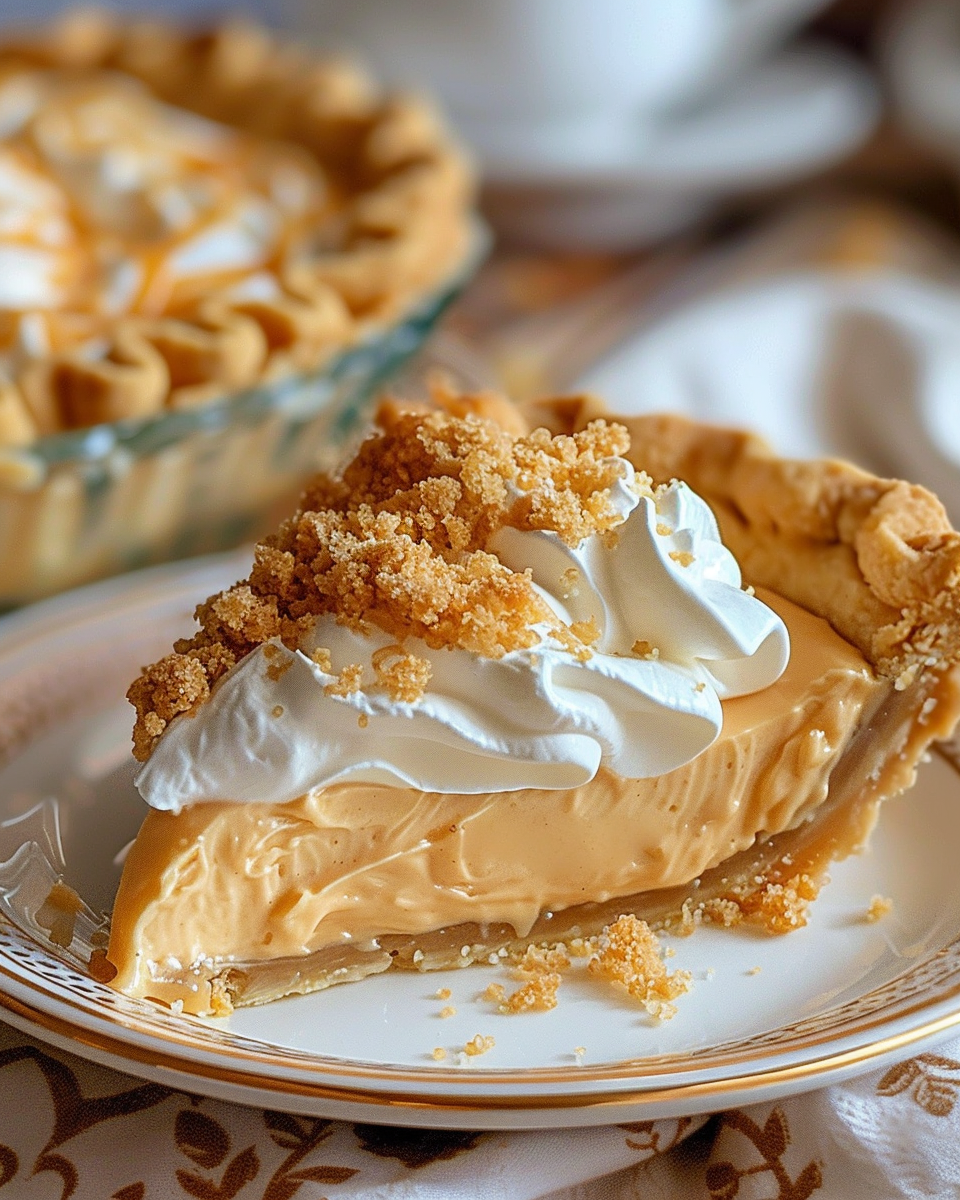
Amish Peanut Butter Cream Pie
A nostalgic, no-bake peanut butter cream pie inspired by Amish kitchens—silky peanut butter filling, crunchy crumbles, and pillowy whipped topping in a buttery 9-inch crust.
Did You Make This?
Leave a comment & rating below or tag @moodcooks on social media!
Rate This Recipe
Share This Recipe
Enjoyed this recipe? Share it with friends and family, and don't forget to leave a review!
Comments (1)
This recipe looks amazing! Can't wait to try it.
Comments are stored locally in your browser. Server comments are displayed alongside your local comments.

Hi, I'm Olivia!
What's Popular
30-Minute Meals!
Join to receive our email series which contains a round-up of some of our quick and easy family favorite recipes.