
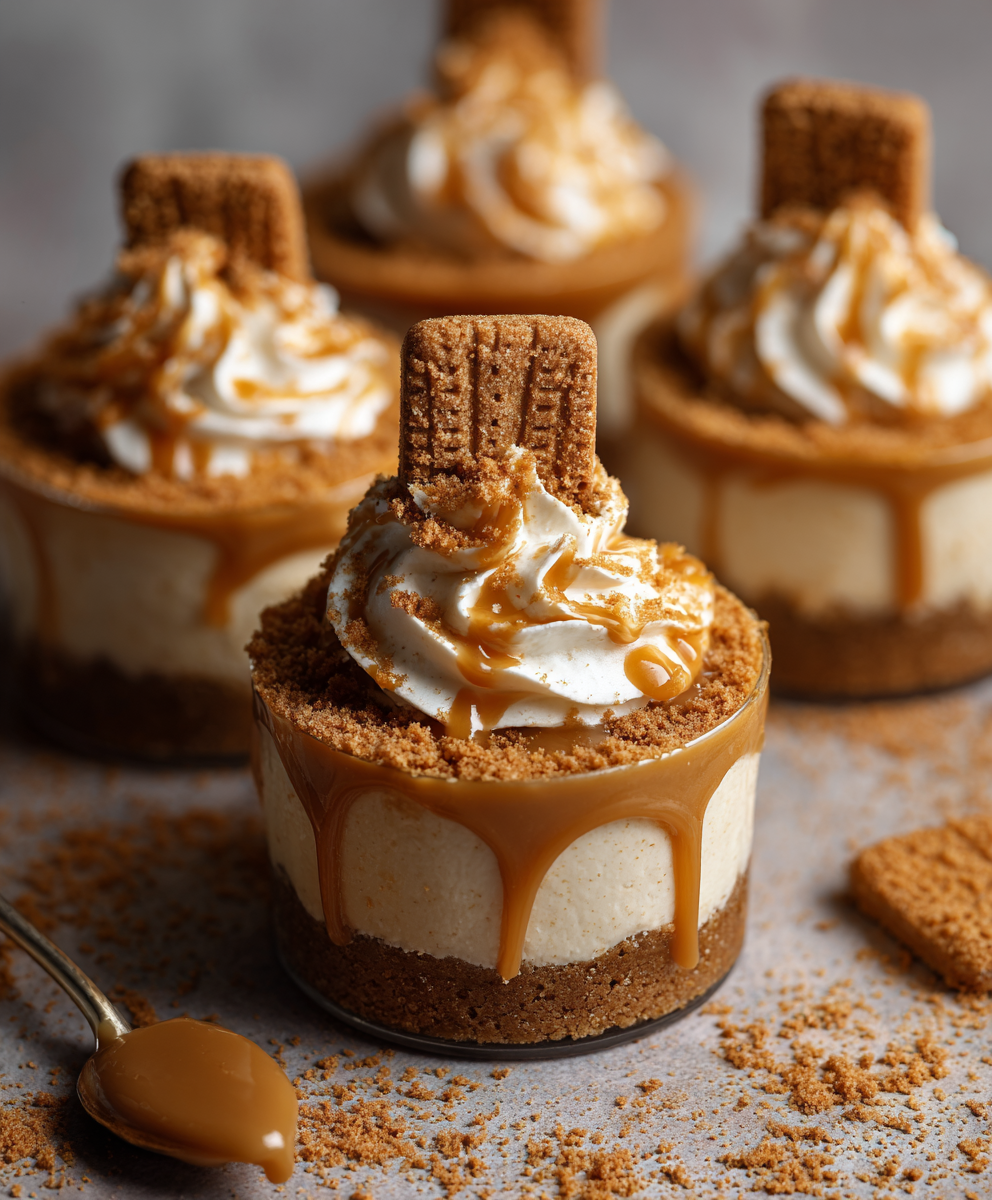
Biscoff Cheesecake Cups

Creamy, no-bake Biscoff cheesecake cups with a crunchy cookie base and silky Biscoff filling—perfect for parties, weeknight treats, or make-ahead dessert.

This Biscoff cheesecake cups recipe is a little jar of indulgence I make whenever I want to impress without turning on the oven. I discovered this combination one rainy afternoon while craving something creamy and spiced; a friend had left a jar of Biscoff spread on my counter and I kept thinking about the caramelized, cinnamon-like warmth it brings. I mixed it with cream cheese and whipped cream, layered it on a crushed cookie base, and the results were addictive. The texture is a delicate balance: a buttery, slightly crunchy base under a cloud-light filling that carries deep caramel and toasted spice notes. Every spoonful gives a contrast of smooth, airy filling and biscuit crunch that feels both sophisticated and comfortingly familiar.
These cups became my go-to when hosting small gatherings because they look elegant in jars but are forgiving to prepare. They are quick to assemble, mostly no-bake, and can be made ahead so you can enjoy company instead of fussing in the kitchen. The recipe yields six to eight generous portions depending on the jars you use, and I’ll walk you through small technique hints that make each portion set perfectly and slice smoothly when spooned. If you love the deep, caramelized flavor of Biscoff and crave a dessert that’s more about texture and flavor than fuss, these are for you.
Why You'll Love This Recipe
- Ready in about 15 minutes of active time and simply requires chilling for 2 to 4 hours so it works for busy evenings or last-minute gatherings.
- Uses pantry staples and one jar of Biscoff spread plus Biscoff cookies so it’s accessible and reliably delicious; no exotic shopping required.
- Make-ahead friendly: prepare the cups the night before and they hold up perfectly in the fridge for entertaining the next day.
- Flexible to serve in jars, small glasses or ramekins — perfect for single servings at parties or as plated desserts.
- Kid-friendly and crowd-pleasing: the sweet cinnamon-caramel profile appeals to a wide range of tastes and even picky eaters tend to finish their cups.
- Minimal equipment required: electric mixer recommended but a good whisk will do in a pinch.
On more than one occasion I have doubled the batch for holiday brunches and watched the cups disappear faster than the savory dishes. My partner’s favorite part is the crunchy cookie sprinkle on top while my toddler prefers the soft filling straight from the jar. These small servings are great for sampling and sharing, and they travel well when chilled—ideal for potlucks.
Ingredients
- Biscoff cookie crumbs: One cup of finely crushed cookies makes the base. Use Lotus Biscoff cookies for the authentic flavor; pulse in a food processor or place in a resealable bag and crush with a rolling pin until sand-like. The cookie base gives caramelized spice notes and structure.
- Unsalted butter, melted: Three tablespoons binds the crumbs and adds richness. Use salted if that’s all you have, but reduce any additional salt elsewhere. Melt gently so it blends easily with the crumbs.
- Cream cheese: Eight ounces at room temperature ensures a smooth filling. Full-fat cream cheese gives the best silky texture; let it soften at room temperature for 30 minutes before whipping.
- Heavy whipping cream: One cup provides the airy lift. Chilled cream whips faster and holds peaks, which keeps the filling light rather than dense.
- Powdered sugar: One third cup sweetens the filling without graininess; sift if lumpy. You can adjust to taste but powdered sugar helps with a stable, even sweetness.
- Biscoff spread: One third cup for the filling plus extra for drizzling. Microwave 10 seconds to loosen; this integrates smoothly into the cream cheese. Choose the crunchy variant if you want tiny bits of cookie in the filling.
- Vanilla extract: One teaspoon rounds the flavors, enhancing both the cookie and cream notes. Pure vanilla is worth it here for aroma.
- Topping ideas: Additional melted Biscoff spread for drizzling and extra crushed cookies for crunch. A pinch of flaky sea salt on top elevates the caramel notes beautifully.
Instructions
Make the Crust: Combine one cup of finely crushed Biscoff cookies with three tablespoons of melted unsalted butter in a mixing bowl. Stir until the mixture resembles wet sand and holds together when pressed between your fingers. Spoon one to two tablespoons into each serving jar and press lightly with the back of a spoon or the bottom of a small measuring cup to form an even base. Chill in the refrigerator while you prepare the filling so the base firms up and won’t mix into the filling when assembling. Prepare the Filling: Beat eight ounces of room-temperature cream cheese in a bowl with an electric mixer until completely smooth, about two to three minutes. Add one third cup powdered sugar, one third cup softened Biscoff spread and one teaspoon vanilla extract; mix until homogenous. In a separate chilled bowl, whip one cup of heavy whipping cream until it reaches stiff peaks—stop when the whisk leaves defined peaks to keep the filling light yet stable. Fold about a quarter of the whipped cream into the cream cheese mixture first to loosen it, then gently fold in the remaining whipped cream in two additions using a rubber spatula, preserving as much air as possible for a fluffy texture. Assemble the Cups: Pipe or spoon the cheesecake filling atop each chilled crust, leaving a little room at the top for a drizzle or garnish. Smooth the tops with an offset spatula or back of a spoon. For a professional look use a piping bag fitted with a plain or star tip to swirl the filling neatly into each cup. Top and Chill: Warm one quarter cup of Biscoff spread briefly in the microwave (10 to 15 seconds) until pourable and drizzle over each filled cup. Sprinkle extra crushed cookies if you like a crunchy finish. Refrigerate the cups for at least two hours and up to four hours for best set; they will firm up and develop cleaner texture when chilled thoroughly.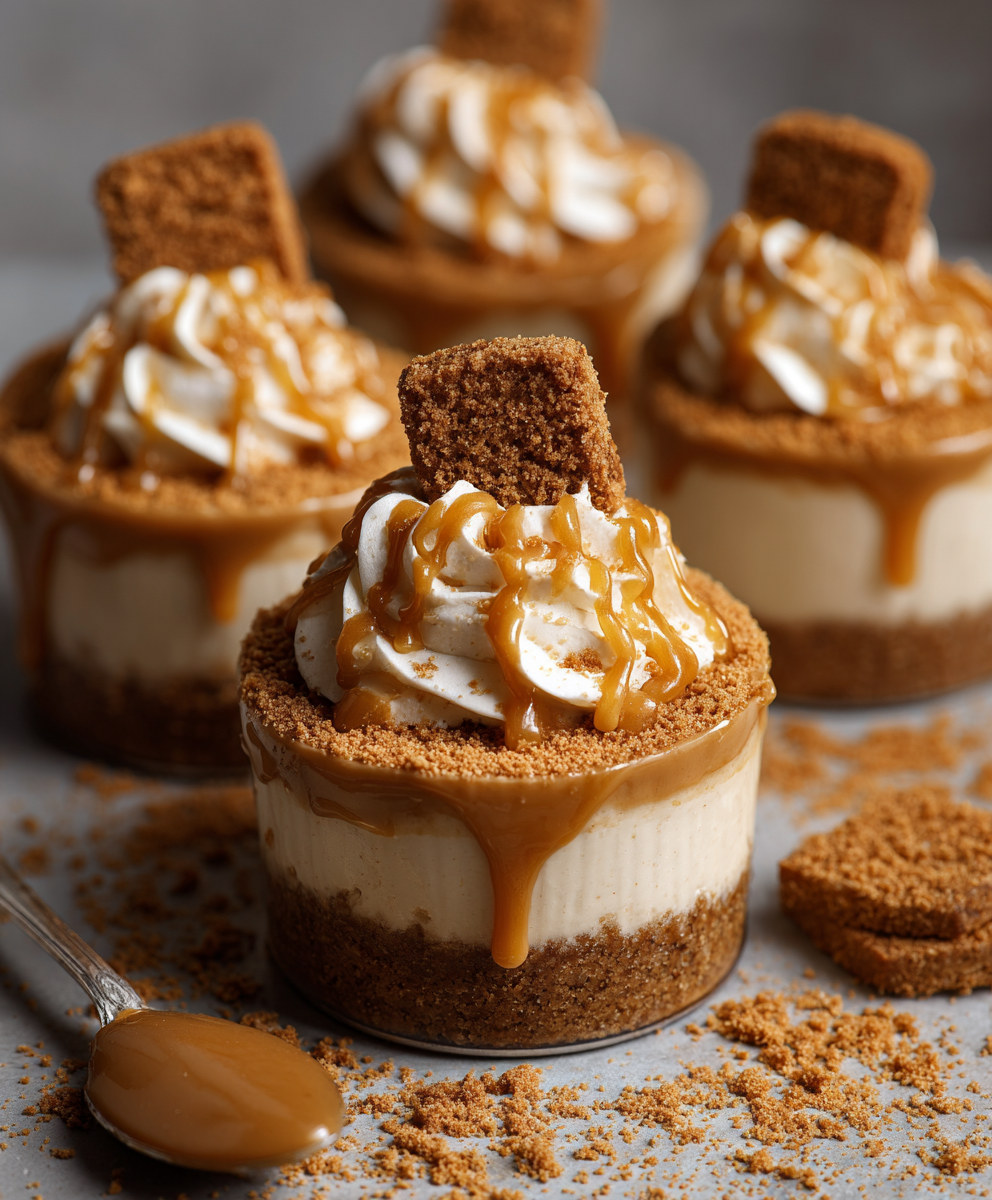
You Must Know
- These cups are high in calories and fat but very satiating; they keep well refrigerated for up to 3 days and freeze well for up to 3 months if stored in airtight containers.
- Because the filling is no-bake, proper chilling is the only step that guarantees structure—do not skip the 2 to 4 hour refrigeration step before serving.
- Allergens: contains dairy and gluten from the cookies; Biscoff spread often contains soy lecithin so check labels if you have allergies.
- Texture tip: use chilled equipment for whipping cream to speed up whipping and achieve stiffer peaks more reliably.
I love that this dessert is both elegant and forgiving. I once prepped a batch in the morning for an evening dinner party and the cups still tasted fresh and light late into the night. Guests often ask for the recipe and the crushed cookie topping becomes a mini-ritual where everyone adds their preferred crunch at the table. It’s one of those dishes that sparks conversation and returns smiles.
Storage Tips
Store assembled cups in the refrigerator in an airtight container or covered with plastic wrap to prevent absorption of other fridge odors. They keep well for up to three days; after that the crust may soften slightly but the flavor remains pleasant. For longer storage freeze cups uncovered on a tray for one to two hours, then wrap individually in plastic and place in a freezer bag for up to three months. Thaw overnight in the refrigerator before serving. To re-crisp the crust after refrigeration, sprinkle a little extra crushed cookie on top just before serving.
Ingredient Substitutions
If you cannot find Biscoff cookies or spread, try speculoos-style cookies and a cookie butter alternative. For a less-sweet version, reduce powdered sugar to one quarter cup and use full-fat cream cheese to maintain body. For a lighter filling, substitute half the heavy cream with Greek yogurt strained through cheesecloth for a tangier finish, but this will change the texture and reduce shelf life to two days.
Serving Suggestions
Serve chilled with a small dusting of cinnamon or a sprinkle of flaky sea salt to enhance the caramel notes. These cups pair beautifully with espresso, black tea, or a citrus-based dessert wine. For brunch, present them alongside fresh berries to cut the richness and add color. Garnish ideas include toasted hazelnuts for a nutty contrast, dark chocolate shavings for depth, or a thin slice of pear for elegance.
Cultural Background
Biscoff originated from Belgium and has a deep caramelized flavor profile from caramelized sugar and spices. While traditional Belgian desserts vary regionally, the modern cookie butter craze repurposes these spiced cookies into spreads that mimic the toasted, caramel notes. Transforming Biscoff into a creamy dessert is an example of how classic flavors are adapted into new formats; the cups echo European layered desserts while remaining distinctly contemporary and portable.
Seasonal Adaptations
For autumn, fold a pinch of pumpkin pie spice into the filling and top with candied pecans. During winter holidays, swirl in a tablespoon of dark rum or brandy to deepen aroma. In summer, lighten the profile with a spoonful of lemon zest in the whipped cream before folding to add brightness against the caramel base.
Meal Prep Tips
Prepare the cookie crumbs and softened spread a day in advance and store covered at room temperature. Make the filling the morning of serving and assemble midday; chilling for several hours means you can prepare early and serve cool at the perfect moment. Use mason jars with lids for transport and individual portions—stack in a cooler filled with ice packs for picnics or potlucks.
These little cups are as much about hospitality as they are about flavor. They travel well, set reliably, and bring a little luxury to simple gatherings. Try them and make small adjustments to suit your taste—once you start, you’ll find endless ways to personalize each jar.
Pro Tips
Soften cream cheese to room temperature first to avoid lumps when mixing.
Chill your mixing bowl and beaters for faster, more stable whipped cream.
Press the cookie crumbs firmly and chill the base before adding filling to prevent mixing.
Microwave Biscoff spread in short bursts and stir between bursts to avoid overheating.
Add a pinch of flaky sea salt to the top to brighten the caramel flavor.
This nourishing biscoff cheesecake cups recipe is sure to be a staple in your kitchen. Enjoy every moist, high protein slice — it is perfect for breakfast or as a wholesome snack any time.
FAQs about Recipes
How long should I chill the cups before serving?
Chill for at least 2 hours, but 4 hours gives a firmer set. If you’re short on time, freeze for 30 minutes and check for firmness.
Can I make these ahead of time?
Yes. Store in an airtight container in the refrigerator for up to 3 days. For longer storage, freeze for up to 3 months.
Any tips for getting stiff peaks?
Use an electric mixer for easiest results, and whip the cream in a chilled bowl for best stability.
Tags
Biscoff Cheesecake Cups
This Biscoff Cheesecake Cups recipe makes perfectly juicy, tender, and flavorful steak every time! Serve with potatoes and a side salad for an unforgettable dinner in under 30 minutes.
Ingredients
Crust
Filling
Topping
Instructions
Make the crust
Combine cookie crumbs and melted butter, press 1-2 tablespoons into each jar to form a base, chill to firm up.
Prepare the filling
Beat cream cheese until smooth, add powdered sugar, vanilla and softened Biscoff spread. Whip heavy cream to stiff peaks and fold gently into the cream cheese mixture until light and airy.
Assemble cups
Pipe or spoon filling over chilled crusts, smooth or swirl the tops, then drizzle with melted Biscoff and sprinkle extra crumbs if desired.
Chill and serve
Refrigerate for 2 to 4 hours until set. Serve chilled and garnish just before serving for best texture.
Last Step: Please leave a rating and comment letting us know how you liked this recipe! This helps our business to thrive and continue providing free, high-quality recipes for you.
Nutrition
Did You Make This?
Leave a comment & rating below or tag
@moodcooks on social media!
Categories:
You might also like...

Air Fryer Bang Bang Cauliflower
Crispy air-fried cauliflower tossed in a creamy sweet-spicy bang bang sauce — a crunchy, vegetarian appetizer or weeknight favorite that's ready in about 30 minutes.

Air Fryer Buffalo Cauliflower
Crispy battered cauliflower florets tossed in tangy buffalo sauce — a spicy, vegetarian crowd-pleaser ready in under 40 minutes.
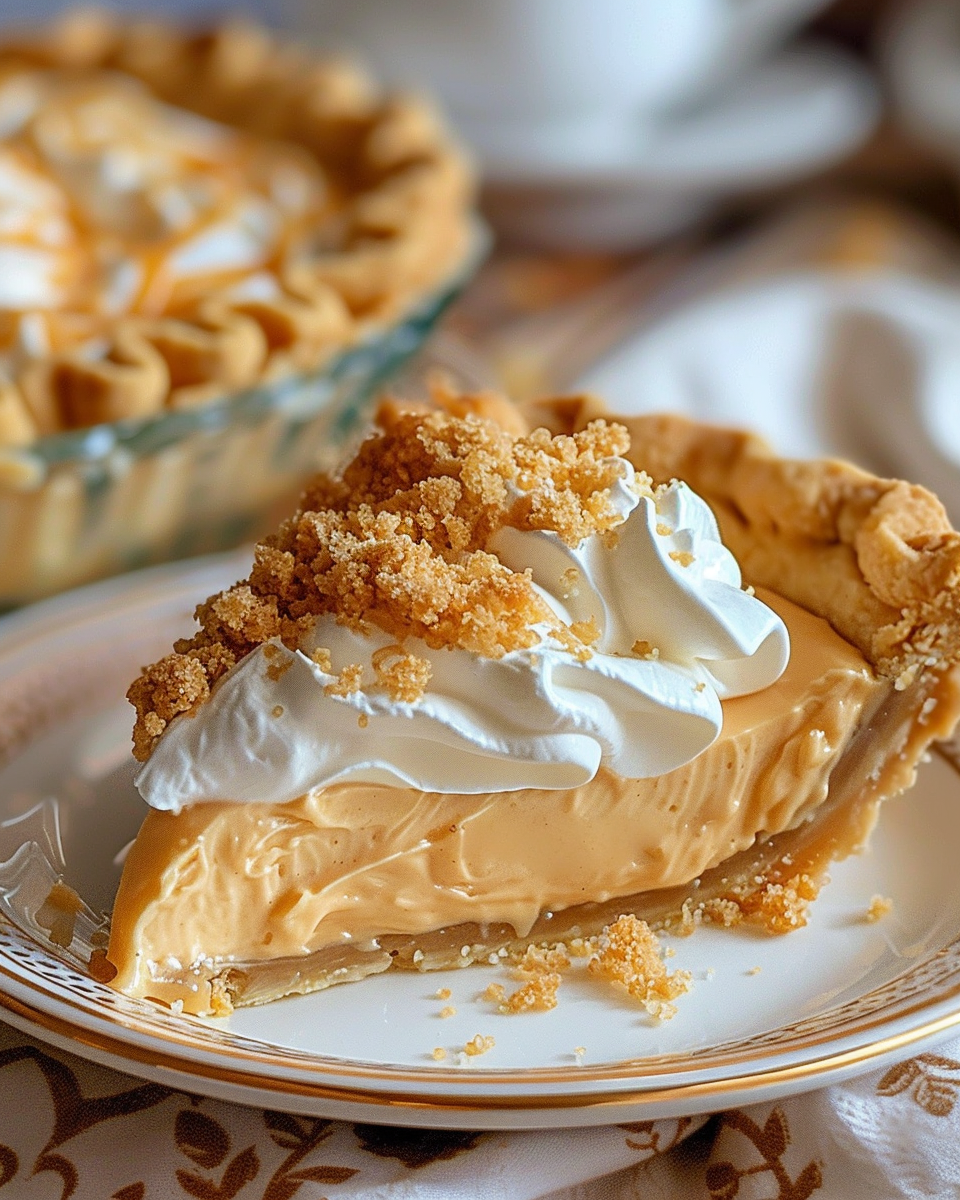
Amish Peanut Butter Cream Pie
A nostalgic, no-bake peanut butter cream pie inspired by Amish kitchens—silky peanut butter filling, crunchy crumbles, and pillowy whipped topping in a buttery 9-inch crust.
Did You Make This?
Leave a comment & rating below or tag @moodcooks on social media!
Rate This Recipe
Share This Recipe
Enjoyed this recipe? Share it with friends and family, and don't forget to leave a review!
Comments (1)
This recipe looks amazing! Can't wait to try it.
Comments are stored locally in your browser. Server comments are displayed alongside your local comments.

Hi, I'm Olivia!
What's Popular
30-Minute Meals!
Join to receive our email series which contains a round-up of some of our quick and easy family favorite recipes.